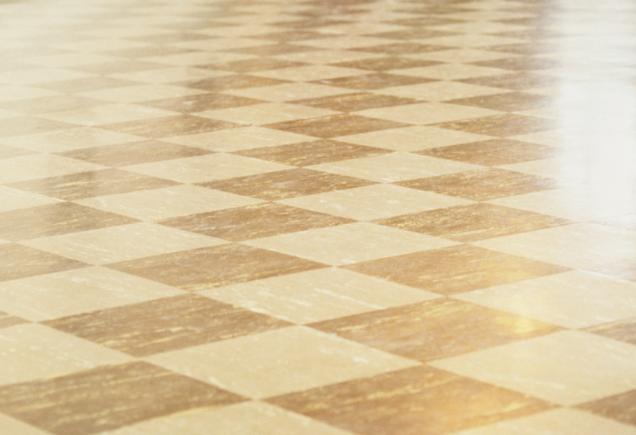
No matter how well a vinyl floor is installed, bubbles can appear days, weeks or even years after installation.
This is because moist air rises from below and gets trapped under the surface, causing a bubble. Fortunately, it’s easy to fix.
Removing Bubbles in Vinyl Flooring
For small bubbles, an inch or less in diameter, use a large needle to prick the bubble, allowing the trapped air to escape.
Then use a towel and a hot iron to heat and flatten the vinyl.
Use a stack of books to weight it down until it rebonds.
For larger bubbles, use a towel and iron first and carefully cut an X with a sharp razor knife. Pull back the triangle cuts and add floor adhesive. Press the cuts back in place and weigh it down.
Be sure to put down a sheet of waxed paper first so you don’t wind up with a stack of books glued in place in the middle of your vinyl floor.
Got a small recessed hexagonal screw that’s stuck on a faucet, towel bar, robe hook or on a piece of machinery? If so, grab an Allen wrench, and, if it’s stuck, use this helpful tip.
These little fasteners, called Allen screws, often freeze up over time, due to rust or dirt and when they do, you can easily strip the head long before you can break it free.
How to Loosen Allen Screws
Rather than struggle, strain, and strip the head, insert a punch or nail inside the screw hole instead! Make sure it reaches all the way to the bottom, then tap several times with a hammer and try again.
If it still won’t loosen, add penetrating oil, let it sit overnight, tap again and it should do it!
Did you know that there are building code rules and regulations about how much natural light and natural ventilation must be present in each and every room of a home?
Before your building department approves a house or an addition, or even a window change, certain light and ventilation rules must be met. Closets, bathrooms, hallways and garages don’t fall under these guidelines.
Here are the rules:
For Natural Light
A given room must have a window or glass door that is sized to equal at least 10 percent of the floor area of the room.
So, if a room is 10 feet wide by 12 feet long, then the room area would be 120 square feet and the minimum size of the window in that room would have to be 12 square feet. A three-foot by four-foot window would provide 12 square feet of natural light to the room – again, the required minimum.
Pretty simple really. For every 10 feet of floor area, you need one foot of natural light area.
For Ventilation
Figuring ventilation is much easier. Natural ventilation must equal 5 percent of the floor area – or exactly half the requirement for that of natural light.
In our natural light example above the window also would qualify for minimum natural ventilation if half of it was operable.
Although handled as separate issues, you can see that natural light and natural ventilation actually have a very specific relationship to one another inasmuch as calculation rules are concerned. The required amount of light is literally double that of natural ventilation. Or stated another way, the amount of natural ventilation required is exactly half that of the natural light requirement. Have it your own way.
Why is this so important?
Simple, natural light cuts down on the need for artificial illumination and therefore can save energy. In the winter warming sunlight can cut on heating costs. As for ventilation, keep in mind that Mother Nature’s breath reduces mildew and mold. And unless you live in downtown LA – the outside air is usually quite medicinal (lots of oxygen) and refreshing.
Lighting Placement
The required window doesn’t need to be in the same exact room. For example: Let’s say we want a family room sliding glass door or window to provide the required light and ventilation for both the family room and the kitchen.
When a window or door in one room will provide light and ventilation to another room then the area of both rooms must be calculated together as one and the window or door must qualify for the entire area. But, there is just one tiny, little hitch.
There must be a big opening between the two rooms. And it can’t be just a doorway. The opening between the two rooms must equal at least 50 percent of the area of the wall space that separates the rooms.
In other words, if the separating wall is 8 feet high and 11 feet long (88 square feet), then the opening in the wall must be at least 44 square feet. Now you see why architects get so much money.
If you have a question simply bring the details to your local building department and ask what you can do – before you spend the money doing it wrong.
Natural Light Benefits
Light also has something to do with how a room feels. Giant windows bring the outside inside. They give a room a feeling of greatness – as big as the all outdoors. Inside colors are warmed up by outside light and make the room feel homier. Ever get locked in a closet when you were a kid? How would you like it if all of the rooms in your home were like that? If you are a sadist – don’t answer that question.
The texture of fabrics and wood in the home is enhanced by natural light – especially the wall texture. Natural light enhances the entire home – color and texture definitely are affected.
The bad side
When it comes to windows and glass doors providing light and ventilation, there are minimums. This is confused by the fact that when it comes to energy efficiency and glass there are maximums. That’s a whole other column.
Suffice to say that when it comes to light and ventilation there are the minimums we have related, but when it comes to windows there are equally as many rules about maximum amounts allowed. Again, always check with your building department when planning any construction.
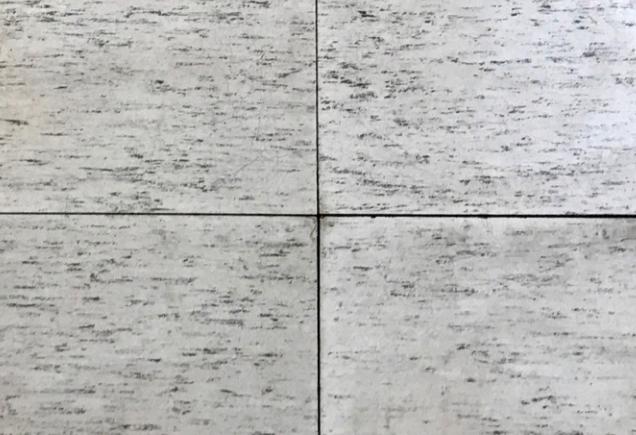
Old linoleum is a major source of asbestos. Ripping it up can release untold numbers of microscopic pieces of friable asbestos into the air.
Removing it requires very special attention.
Removing Asbestos Flooring
If you use proper techniques, the danger of exposure to asbestos resulting from the removal of small quantities of vinyl tile or sheeting from the home is not as great as when removing other materials containing the deadly fibers.
By virtue of quantity, removing 60,000 square feet of tile from a floor in a school or other commercial building poses substantially more danger than the same process in a 50 square-foot bathroom. The degree of asbestos contained in a given building material factored with the amount of the material to be removed determines the degree of danger.
Improper removal of any asbestos material in any quantity can be dangerous. However, most small home flooring removal projects don’t require a special apparatus used to create air-tight conditions and expensive filtration devices used to sterilize the air.
If you take certain precautions, you can remove asbestos flooring safely without the need for special equipment and without the expense of an abatement contractor. The trick during removal is to keep the asbestos confined to the material which contains it. This is not terribly difficult to do with flooring.
Vinyl asbestos flooring comes in two types: tiles and sheeting.
Tile Flooring
Tiles are safer to remove than the sheeting because the asbestos is held together by the vinyl (which is not hazardous). Do not sand the tiles. Sanding will release dangerous quantities of asbestos into the air. Some floor adhesives contain asbestos, so take the same precautions with the glue as with the tile.
The safe way to remove the tiles and the glue is with a floor scraper (looks like a large putty knife on a shovel handle) and warm water. Scrape the residue left after popping up the tiles – don’t sand it. If you have to sand, call an abatement contractor.
If the tiles are glued to a layer of underlayment, remove the underlayment. Removing large sections of the underlayment will reduce the amount of asbestos released. Wet the underlayment before you remove it. Dry asbestos particles are lighter than air – wet ones are less prone to become airborne.
Vinyl Sheet Flooring
Asbestos vinyl sheet flooring can be more dangerous to remove than tiles if you don’t practice proper precautions.
The vinyl sheet flooring has two layers, a top layer of vinyl and a bottom layer made from paper (that contains asbestos). The paper layer can contain from 40 to 70 percent asbestos.
In the case of wood floors, the paper layer is usually glued to a removable layer called underlayment (resides between the paper layer and the subfloor). And in the case of concrete floors, the paper layer is glued directly to the concrete.
During removal, avoid pulling the vinyl layer away from its paper backing as much as possible. Separating the two layers could possibly release a dangerous level of asbestos into the air.
On wood floors, remove the vinyl sheet flooring in large sections with a pry bar. Remove the underlayment while the flooring is still affixed to it. This keeps the paper layer encapsulated between the vinyl layer above and the underlayment below.
On concrete floors, scrape the flooring with a floor scraper using warm water to loosen the adhesive as you go. The moisture will soften the adhesive and help reduce the amount of asbestos released into the air.
Research on Asbestos Removal
Folks licensed in asbestos abatement tell us that removing the floor in large chunks is reasonably safe. However, breaking it into little tiny pieces during the process could be dangerous.
The Environmental Protection Agency’s (EPA) guidelines for asbestos abatement allow for small amounts of asbestos-containing material to be removed from a home without the use of special procedures or equipment (vacuum chamber, special breathing apparatus, filtering devices, etc). Use the list at the end of this article to call for more information.
Barbara Cohrssen, industrial hygienist and environmental health consultant from Cohrssen Environmental in San Francisco, Calif., tells us that “proper removal procedures are extremely important”, and that, “some people will do anything to save a dollar. However, it may not be the safest way to do it.”
The French actually did a study some years back which showed that sweeping vinyl asbestos tile with a broom released small (but measurable) amounts of asbestos. A similar study was done in the United States, and those results were negative. That is, sweeping tests made in the U.S. did not cause asbestos to be released from vinyl asbestos flooring material.
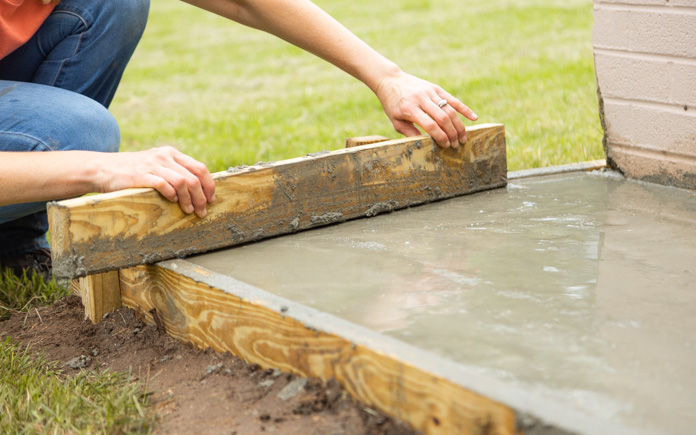
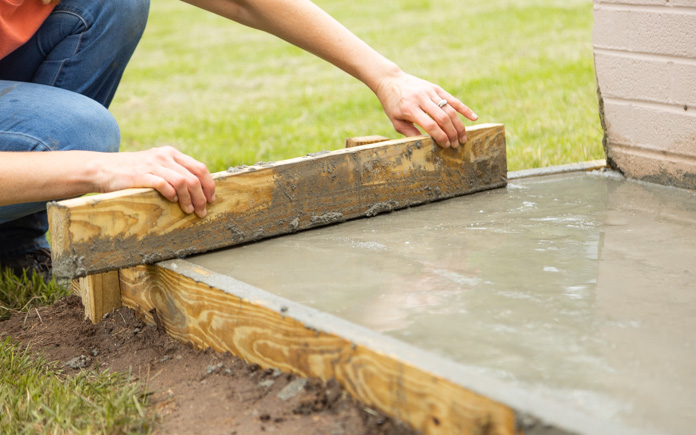
Whether a project is small, like steps, or large, like a patio, figuring how much concrete you need is calculated the same way. How the concrete makes its way to your home is another story.
Define Meausrements
Although most projects are expressed in square feet, when buying concrete, you measure in cubic yards — a project’s length, width and depth determine the amount needed.
Multiply the length by width (to find square feet), multiply that by depth or thickness (for cubic feet) and divide by 27 (the number of cubic feet in a cubic yard) to determine how much concrete (in cubic yards) is required.
Building material suppliers offer free conversion charts for the math-challenged. Or you can buy inexpensive “enter your dimensions” hand-held project calculators; and, there are project estimators on the Internet.
Once you’ve figured out how much concrete you’ll need, determine how to get it to the job.
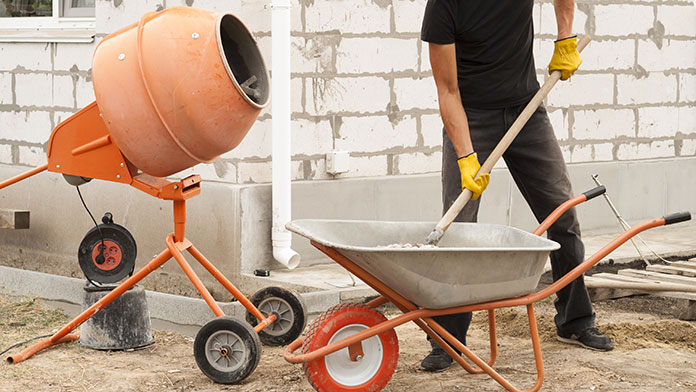
Concrete is a mixture of sand, gravel, water and Portland cement. It can be obtained in three ways: separate dry ingredients that you mix on site, premixed in the sack where you just add water, and ready-mixed from a batch plant and delivered by truck.
There is a variation to the ready-mixed concrete, where you can haul a small amount using a trailer provided by the batch plant or a rental yard.
Of the three methods, raw materials mixed on site are used the least frequently due to the availability of premixed products.
Concrete Types for Different Projects
Small Projects
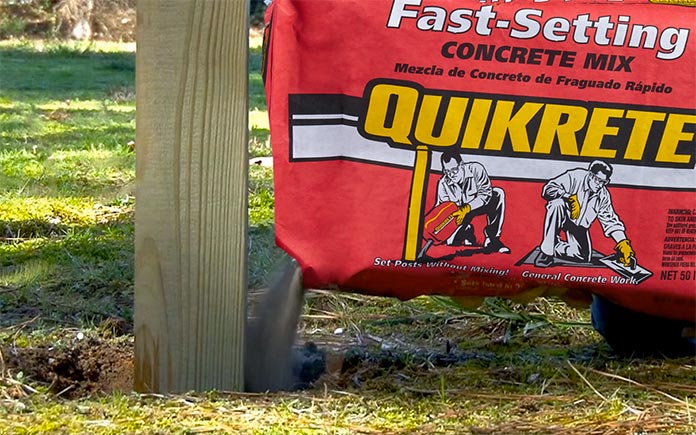
Premixed sack product is best for small projects like pouring a step or stoop, setting a few fence posts or making small repairs.
Premixed bags are reasonably priced. They’re available in two sizes: 60-pound (average $1.35-$1.80) and 90-pound ($2-$2.30). There are also a number of special mixes for setting fence posts and mailboxes.
They’re sold in 40- and 50-pound bags in two “no-mix” formats: 1) you dump the concrete into the hole, then add water, and 2) the reverse—first the water, then the concrete.
Patios and paths
Taking on a path, patio or other sizable project using anything other than ready-mix can be a disaster. There is a point of diminishing returns where the number of bags needed for larger projects simply overwhelms the economy of mixing it yourself.
For example, a 10-foot X 10-foot X 6-inch patio needs 1.85 cubic yards of concrete or about two yards, with waste. Using 60-pound bags that yield 1-half cubic foot per would require 100 bags. The concrete will set faster than you can mix and pour it, and you’ll end up with a poor pour and a nasty finish (unless you are willing to work in phases over time).
Ready-mix is a no-brainer for mid-sized to large projects, but what about cost? If you use 60-pound bags, concrete for a patio this size ranges from $135 to $180. But you’ll need to rent a mixer, which adds another $40 to $60 per day. While ready-mix reduces work, it also boosts the cost. Each cubic yard costs about $65. However, a fully loaded cement truck will hold 10 cubic yards—and partial “short” loads cost $15 to $20 extra for every cubic yard less than a full load.
So, our 1.85 cubic yard patio first requires purchasing two cubic yards (including waste) of ready-mix (2 X $65 = $130) plus another $135 for the “short load” (10 yards full load minus 2 yards = 8 yards “short” X $17 per yard average)—and now totals around $265. With assorted fees added (environmental impact, fuel surcharge, sales tax, etc.), the final cost is about $295.
For this project, ordering ready-mix would cost from $55 to $120 more than premixed — depending on where you buy your bags and rent your mixer. It’s a small price to pay to finish the job in a day and to avoid a concrete project going bad.
More on Ready-Mix
Beyond shopping price, there are things to know about ordering ready-mix. While some think a cement truck goes from site to site dumping concrete until it is empty, this is not how it works.
Rather, each batch is individually formulated and mixed for a specific use. The number of “sacks” of cement used per yard of concrete influences the strength of the fully cured product. For example, “five-sack” mix is stronger than “four-sack,” and so on.
Also, ready-mix concrete must be off-loaded within 90-minutes of being mixed or within 300 revolutions of the truck’s tank — whichever comes first. So, a supplier’s location is a key consideration. Too far away creates problems with “set” times and delivery cost increases.
Narrow your search to those companies closest to your home or job site, then go to work comparing costs and services. Also, determine the lead time needed.
The success of a project depends on knowing how much concrete you need and determining at what point a ready-mixed delivery makes more sense than premixed bags. Knowing there are other ready-mix options helps, too, such as:
“Short-load” services will mix from 1 to 9 cubic yard orders right on your job site. Average cost: $85 service charge plus $70 per cubic yard. Most charge only for what you use (in 1/4 yard increments).
Many building material suppliers and tool rental companies offer ready-mix concrete that can be hauled using a small trailer with about 1 cubic yard capacity that they will provide as part of the price. However, you’ll need to have a vehicle that is powerful enough to haul it and a project that won’t be foiled by the time it takes to go back and forth to the supplier, when more than one yard is needed. Average cost: 1 cubic yard, $75; 1/2, $65; 1/3, $55. Tip: When self-hauling ready-mix cement, regardless of distance, try to rent a “spin-tank” rig vs. “tub-type” trailer if possible—to avoid water separation.
The following tips can help determine the success (or failure) of a project:
Don’t get caught short when ordering material. Always add 10 percent to compensate for grade variations and spills. Trying to save a little can end up costing you a lot.
Concrete “cures” chemically over days. To prevent cracking, cover with plastic or damp fabric.
Additives strengthen, add color and speed or slow cure time. They are available for both premixed bags and ready-mix.
Concrete usually will require added support for strength—steel rebar, wire mesh, etc. Discuss project needs with a pro.
Cement is caustic. Wear eye protection and gloves, and wash off skin immediately. Do not breathe dust.
Concrete strength is measured in PSI (pounds per square inch) indicating the weight it can support or bear.
Strength is increased by adding more cement in the mix.
Weekend ready-mix delivery costs 5 percent to 10 percent more.
Ready-mix companies allow four to five minutes for each yard delivered. After that, the clock ticks at $2 per minute.
If concrete has to be pumped from truck to site, there are additional costs and charges. _Rather than ready-mix truck returning-disposing of order overages, plan ahead for additional use: fence posts, flag pole, stepping stones, etc. Why waste it?
One cubic yard of ready-mix yields nine contractor-size wheelbarrows of concrete.
Smooth concrete is not always best. Leave top of footings and foundations rough for better bond with mortars. Use a broom to texture walks and steps for safety.
If you’re like most people, your home is the single biggest investment that you will make in a lifetime. Therefore, it makes good sense to do everything that you can to take good care of this prized possession.
People who get the best return on their investment – when it comes time to sell – don’t wait for the roof to leak or paint to peel. They perform regular home maintenance that preserves the structural integrity of their home. Regular maintenance also keeps a home looking spiffy which also has a lot to do with its value.
Painting is a maintenance task that offers one of the best returns for the home maintenance and appearance buck – inside or out. However, a fresh coat of house paint can transform an otherwise “plain Jane” home into the “show stopper” of the neighborhood. This can be especially true of a stucco home since stucco has special “problems” such as cracking, fading and efflorescence – not typical of other finishes.
Aside from enhancing a home’s appearance, a fresh coat of paint can help protect the home from the elements (sun, rain, snow, etc.) and the inevitable deterioration that occurs from prolonged exposure to these elements.
How often should you paint the exterior of your home? The answer depends on several factors, such as; exterior siding material, climate, sun exposure and the quality and type of paint used. With proper preparation and when using top-quality paint, a home will typically require painting every five to seven years. Darker shades (as with trim colors) may need repainting every couple of years to retain their original brilliance.
Choose Paint Quality and Color
Use colors that will enhance the architectural appearance of your home. The one or two-color schemes used in the past are just that – a thing of the past. A well-thought-out color “pallet” – using several colors or shades — can be visually pleasing by accentuating various architectural elements. For example, the barge, fascia and general trim can be painted one color, the overhang or soffit another, the body another and shutters (if they exist) another and a “punch” color for the entry door. A reputable paint dealer and/or a professional “color consultant” can be of tremendous help when choosing colors.
When it comes to paint quality, think of paint as an investment and not a cost. If you enjoy painting and want to paint your home often, buy inexpensive “generic” brands. We guarantee that you’ll be busy painting every year or so. If, on the other hand, you like paint, but would rather not enjoy the experience more often than every five to seven years, we suggest that you purchase the best paint that money will buy.
Good paint isn’t cheap! However, when you consider lasting quality and the protection that it offers your home, it’s a real bargain. Shop for a major name brand and plan to spend in the neighborhood of $25 per gallon.
Prepare Your Stucco
Preparation and paint application technique are no less important than the quality of the paint – this is especially true with stucco due to the concerns expressed earlier.
It doesn’t make any difference how good the paint is; it simply won’t stick unless the surface is clean. With stucco, we suggest a thorough power washing to clean the surface and remove chipped and peeling paint. Particularly dirty areas — such as the lowest section close to the ground — should be scrubbed with a coarse nylon brush and powdered laundry detergent. Use 1/3 cup to one gallon of hot water. Add a quart of bleach to this concoction if mildew is present.
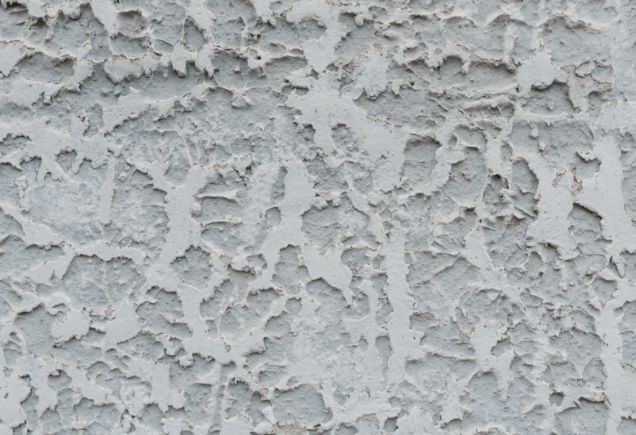
Efflorescence — a white powdery substance that is common with stucco and masonry finishes — should be removed using a wire brush.
Repair cracks
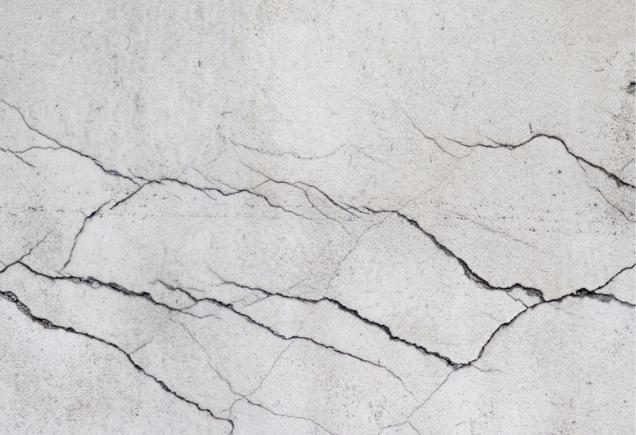
The most challenging aspect of prepping a stucco house for painting is the crack repair. You can literally turn your home into an interstate road map of obvious crack repair if you aren’t cautious. When it comes to stucco crack repair “less is more.” First, don’t attempt to patch every crack. Hairline cracks and those that you can’t get your fingernail into should not be patched. Good quality paint should fill those cracks.
Wider cracks should be filled with a high-quality exterior-grade acrylic latex caulk. Have a damp sponge handy to wipe away excess caulking. There are two trade secrets that are a must when it comes to caulking stucco. First, when using a damp sponge to wipe off excess caulking, wipe in all directions to remove caulking that may be lodged in a textured finish. The other secret – while the caulking is still wet, place fine texturing sand into the palm of your hand and, holding your hand in front of the caulking, blow across the sand to scatter it onto the surface of the damp caulk. This will help make the patch less obvious and prevent the “road map” effect by helping the caulk blend into the surrounding finish.
Begin Painting
Stucco can be painted using a roller or with an airless sprayer – a brush is not recommended. A roller works well for small jobs, but can be overwhelming on larger projects. When it comes to big jobs consider using an airless sprayer. It makes putting paint on a breeze – especially on larger jobs. Don’t be so hasty to put your roller away when using a paint sprayer. Spraying will get the paint onto the surface. Use a deep nap roller (3/4 to 1”) to work the paint into the surface and to achieve a nice uniform surface.
Although one coat may do the trick, stucco will usually require two coats due to its high level of absorption and to conceal cracks and other repairs.