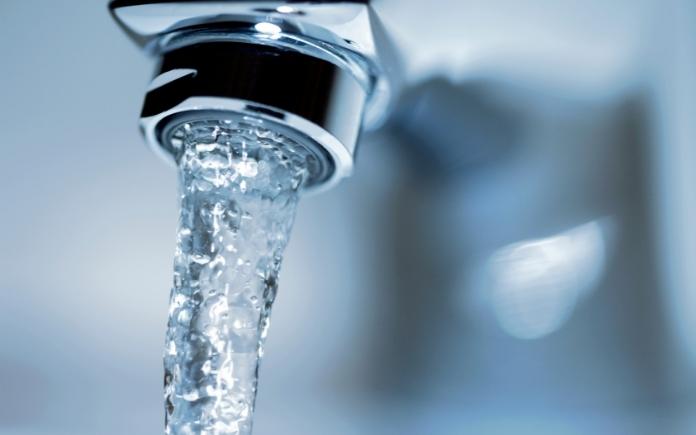
Simple lifestyle changes can conserve water, one of our most precious resources, and save money. (aristotoo, Getty Images Signature)
Water conservation is fast becoming a priority for many homeowners.
The Environmental Protection Agency estimates that leaks account for 9,400 gallons of water wasted each year. That’s about the amount of water needed to wash more than 300 loads of laundry.
Whether your reason for conserving water is mandated because of a drought or to combat high utility bills, adopt these simple water-saving measures to dramatically cut your home’s water usage.
Here are the 5 hot spots to tackle.
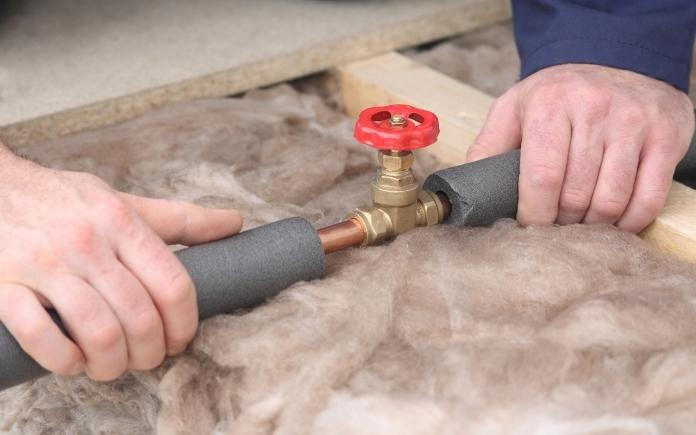
Insulating water pipes with foam helps water heat up faster, so you waste less time waiting for hot water. (nsj-images, Getty Images Signature)
1. Home Infrastructure and Appliances
To conserve more water in your home, start at the source.
First, check for leaks in the pipes. A visual inspection can quickly reveal any problems that need repairs.
In addition, read your water meter when no water is being used, then look at it again after a few hours to see if the gauge has changed.
Fixing the leak could be as simple as replacing a faucet washer, or you may discover a more serious problem such as an unseen leak in a pipe.
Here’s a win-win solution: Installing foam insulation on hot water pipes saves both water and energy by providing hot water faster and keeping it hot longer. This reduces the water wasted from running the tap to heat it up.
Finally, when replacing appliances like dishwashers or washing machines, look for models that have earned the U.S. government’s Energy Star rating, certifying they use less water and energy.
Plumbing fixtures such as faucets and toilets that carry the Environmental Protection Agency WaterSense label use, on average, 20 percent less water than conventional fixtures.
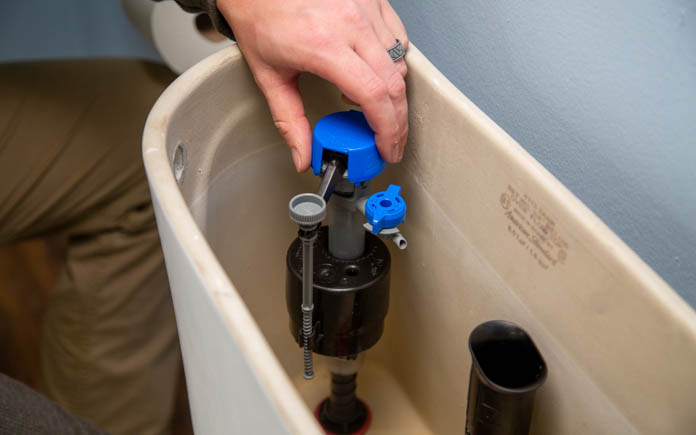
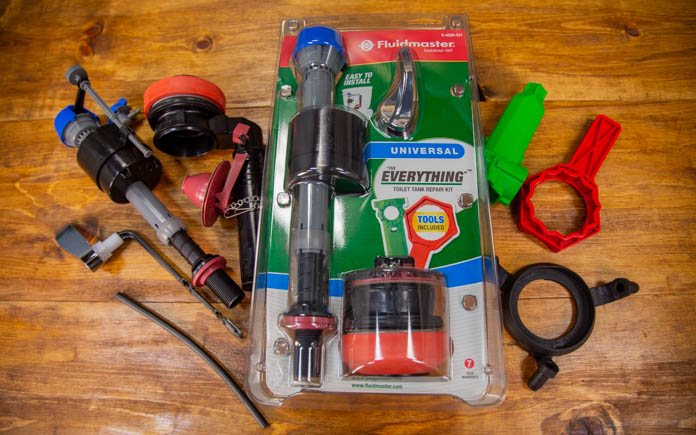
Fluidmaster’s 400H Toilet Fill Valve fixes a constantly running, noisy or slow-filling toilet and is one of the quietest fill valves available. (3 Echoes Content Studio)
2. Your Bathrooms
Toilets are the largest users of water in the home — but some of them are more efficient than others. Look on the bottom of the tank lid, or inside the tank wall, to find the date your toilet was manufactured. Toilets made before 1993 use two to three times the water of new ones.
If you have an older model, consider replacing it with a new low-flush or a dual-flush toilet that can use as little as 1 gallon per flush for maximum water conservation.
If replacing a toilet isn’t in your budget, add a few inches of gravel or sand to a plastic soft drink bottle, fill it with water, screw on the cap, and put it in the tank away from the float and flapper. The increased volume from the bottle reduces the amount of water in the tank, so less is used per flush.
If you notice your toilet refilling periodically when it hasn’t been flushed, it’s a sure sign your toilet has a leak. These leaks can waste thousands of gallons of water if not repaired.
A constantly running toilet, weak or incomplete flushing and a slow-filling tank aren’t just frustrating — they can also increase your water usage.
The DIY-friendly kit comes with a toilet fill valve, flush valve with stainless-steel bolts, Tank-To-Bowl Gasket and color-coded tools for the fastest installation possible and, if necessary, a complete tank rebuild. It eliminates the need for extra trips to the store for an unknown part or tool — and that saves time, money and frustration.
To conserve more water, change up your hygiene routine. Reducing time spent in the shower can save 2 to 5 gallons of water per minute, or GPM. Installing a water-saving showerhead will prevent thousands of gallons a year from going down the drain.
To see if you need a new showerhead, put a 5-gallon bucket in the shower and turn on the water. If it fills in less than two minutes, consider replacing the showerhead with a water-saving model that uses two GPM or less.
Finally, leaving the faucet running while you shave or brush your teeth wastes water. Turn the water off while you brush and fill the sink to rinse your razor.
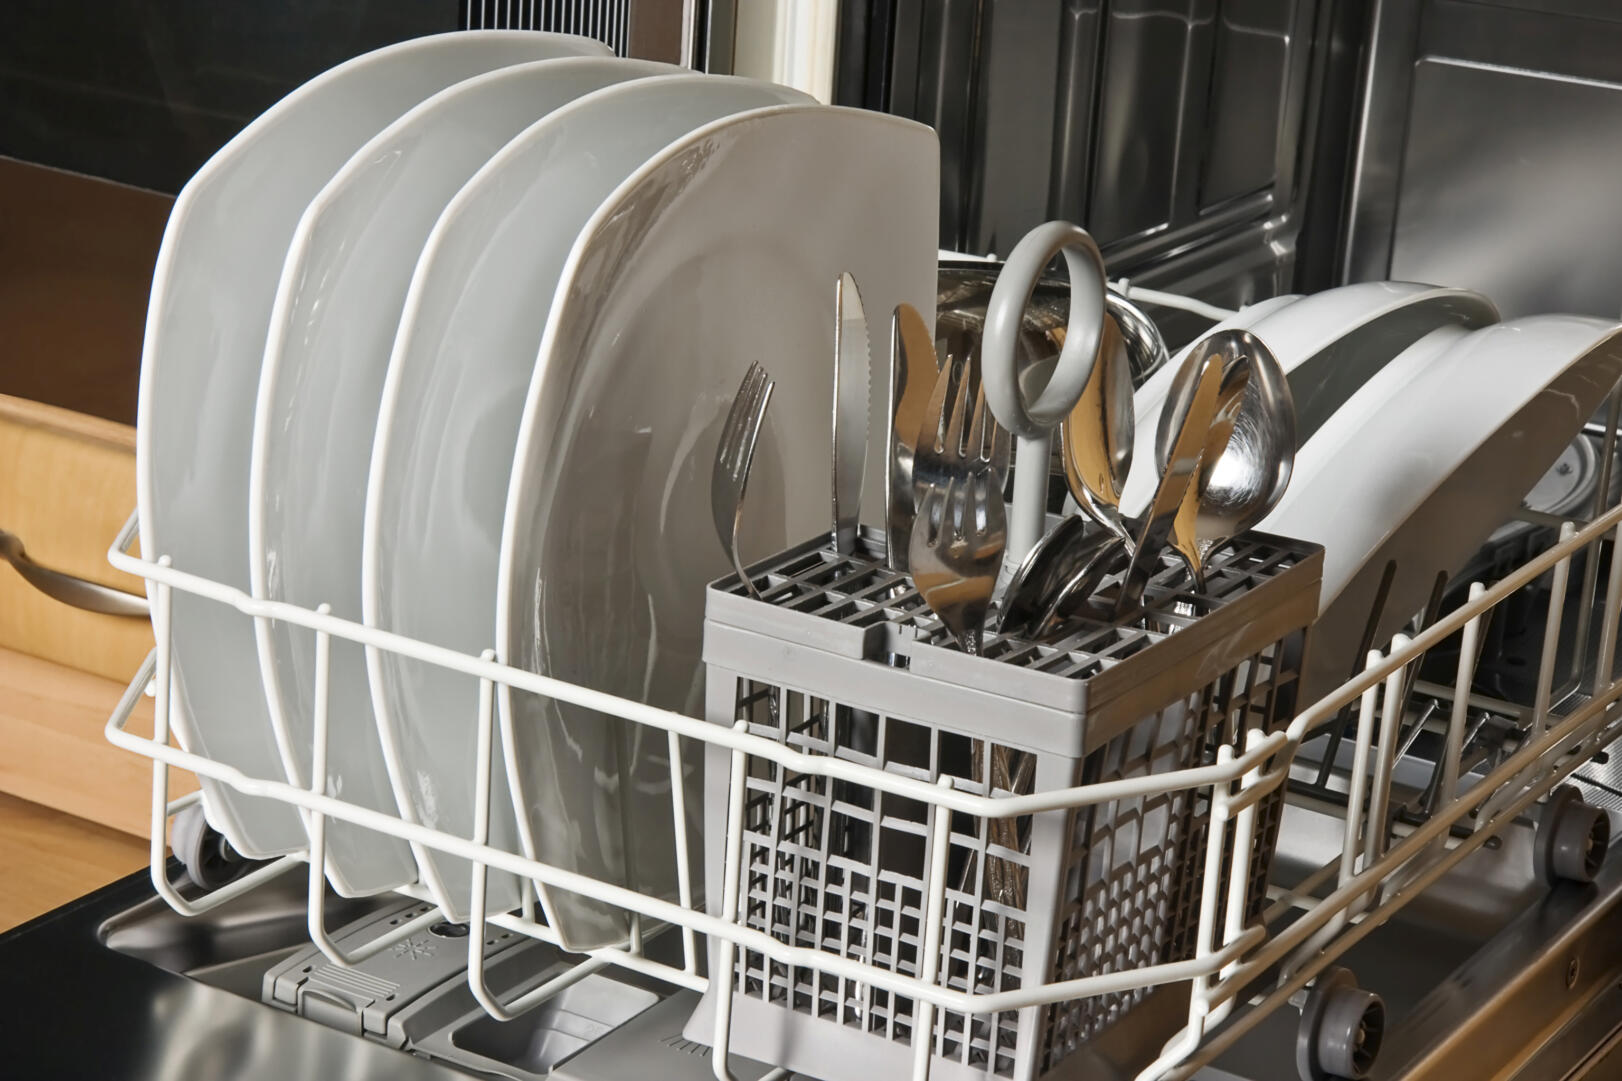
Only running a dishwasher when it’s full can save nearly 320 gallons of water annually. (Irina Drazowa-Fischer, Getty Images)
3. The Kitchen
A few changes in the kitchen can significantly cut down your water usage. For instance, thaw frozen food in the refrigerator overnight instead of using a running tap of hot water — it’s not necessary.
When used properly, a dishwasher uses less water than hand-washing. Run your dishwasher only when it’s full and use water-saving settings for more efficiency. Doing this saves the average family nearly 320 gallons of water annually.
If you hand-wash, fill one side of a double sink with soapy water for washing and the other with clean water for rinsing. Letting your faucet run for five minutes while washing dishes can waste 10 gallons of water.
Also, install low-flow aerators on faucets — these reduce water flow to one gallon per minute or less.
Finally, do you drink a lot of tap water? If so, don’t keep the water running until it cools off for drinking. Instead, fill a pitcher or bottle and keep it in the fridge.
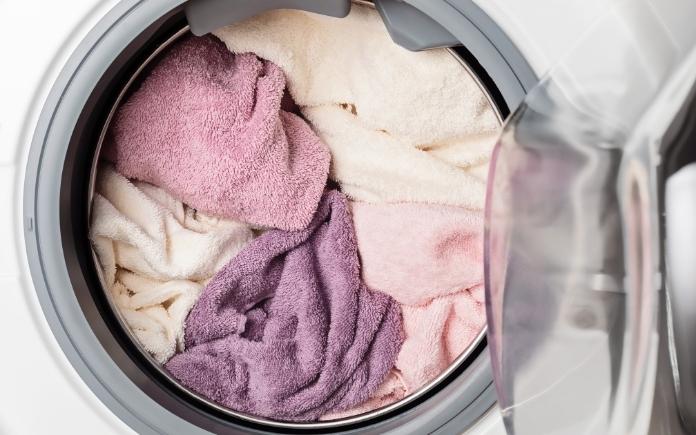
Don’t do laundry until you have enough clothes for a full load. (Oksana Vejus via Canva)
4. Your Laundry Room
Washing clothes accounts for the second-largest water use in the home. Put off doing laundry for the sake of water conservation.
Only run the washer with a full load of clothes and use the shortest cycle for lightly soiled clothing. And if you really want to reduce water use, avoid the permanent press cycle, which uses up to 5 gallons more water per load.
While washing clothes in cold water saves energy by reducing water heating, it uses the same amount of water as warm or hot settings.
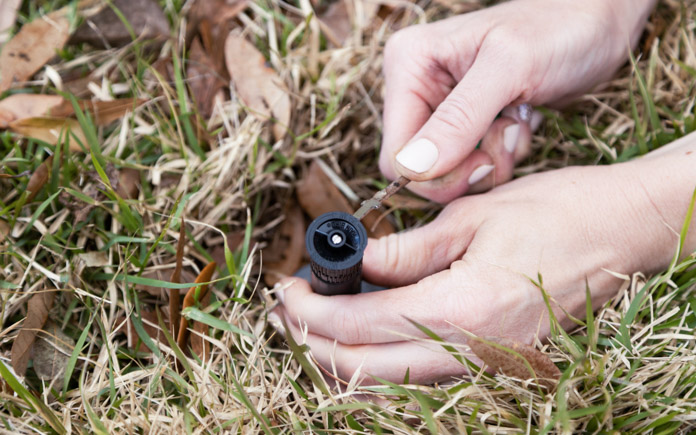
Every year, we waste billions of gallons of water to keep our lawns and gardens green. Much of this water is lost due to overwatering, evaporation, poor sprinkler design or lack of maintenance.
Use a drip irrigation system or a soaker hose to reduce water use. These methods deliver water slowly and directly to the plant’s roots, and much less water is lost to evaporation.
If you have a programmable irrigation system, install a rain sensor. It will interrupt the program cycle when it rains, so you won’t overwater your lawn.
Better yet, start at the ground level to keep your water use at a minimum. Choose native and drought-tolerant plants to create a water-smart landscape that’s beautiful and efficient.
Here are some other water conservation options for the yard:
Sweep driveways, sidewalks and steps rather than hosing them down.
Wash the car with water from a bucket, or consider using a commercial car wash that recycles water.
If you have a pool, use a cover to reduce evaporation when it’s not in use.
Following these water-saving tips can reduce household water use by 30 percent or more.
Start simple by changing wasteful habits and fixing leaks, then move up to installing water-saving fixtures and appliances.
Not only will it save money, but you’ll also reduce the needless drain on one of our most precious resources.
Water conservation is fast becoming a priority for many homeowners.
The Environmental Protection Agency estimates that leaks account for 9,400 gallons of water wasted each year. That’s about the amount of water needed to wash more than 300 loads of laundry.
Whether your reason for conserving water is mandated because of a drought or to combat high utility bills, adopt these simple water-saving measures to dramatically cut your home’s water usage.
Here are the 5 hot spots to tackle.
Insulating water pipes with foam helps water heat up faster, so you waste less time waiting for hot water. (nsj-images, Getty Images Signature)
1. Check Fixtures and Appliances
To conserve more water in your home, start at the source.
First, check for leaks in the pipes. A visual inspection can quickly reveal any problems that need repairs.
In addition, read your water meter when no water is being used, then look at it again after a few hours to see if the gauge has changed.
Fixing the leak could be as simple as replacing a faucet washer, or you may discover a more serious problem such as an unseen leak in a pipe.
Here’s a win-win solution: Installing foam insulation on hot water pipes saves both water and energy by providing hot water faster and keeping it hot longer. This reduces the water wasted from running the tap to heat it up.
Finally, when replacing appliances like dishwashers or washing machines, look for models that have earned the U.S. government’s Energy Star rating, certifying they use less water and energy.
Plumbing fixtures such as faucets and toilets that carry the Environmental Protection Agency WaterSense label use, on average, 20 percent less water than conventional fixtures.
Fluidmaster’s 400H Toilet Fill Valve fixes a constantly running, noisy or slow-filling toilet and is one of the quietest fill valves available. (3 Echoes Content Studio)
2. Improve Your Toilets
Toilets are the largest users of water in the home — but some of them are more efficient than others. Look on the bottom of the tank lid, or inside the tank wall, to find the date your toilet was manufactured. Toilets made before 1993 use two to three times the water of new ones.
If you have an older model, consider replacing it with a new low-flush or a dual-flush toilet that can use as little as 1 gallon per flush for maximum water conservation.
If replacing a toilet isn’t in your budget, add a few inches of gravel or sand to a plastic soft drink bottle, fill it with water, screw on the cap, and put it in the tank away from the float and flapper. The increased volume from the bottle reduces the amount of water in the tank, so less is used per flush.
If you notice your toilet refilling periodically when it hasn’t been flushed, it’s a sure sign your toilet has a leak. These leaks can waste thousands of gallons of water if not repaired.
A constantly running toilet, weak or incomplete flushing and a slow-filling tank aren’t just frustrating — they can also increase your water usage.
The DIY-friendly kit comes with a toilet fill valve, flush valve with stainless-steel bolts, Tank-To-Bowl Gasket and color-coded tools for the fastest installation possible and, if necessary, a complete tank rebuild. It eliminates the need for extra trips to the store for an unknown part or tool — and that saves time, money and frustration.
To conserve more water, change up your hygiene routine. Reducing time spent in the shower can save 2 to 5 gallons of water per minute, or GPM. Installing a water-saving showerhead will prevent thousands of gallons a year from going down the drain.
To see if you need a new showerhead, put a 5-gallon bucket in the shower and turn on the water. If it fills in less than two minutes, consider replacing the showerhead with a water-saving model that uses two GPM or less.
Finally, leaving the faucet running while you shave or brush your teeth wastes water. Turn the water off while you brush and fill the sink to rinse your razor.
Only running a dishwasher when it’s full can save nearly 320 gallons of water annually. (Irina Drazowa-Fischer, Getty Images)
3. Make Changes in the Kitchen
A few changes in the kitchen can significantly cut down your water usage. For instance, thaw frozen food in the refrigerator overnight instead of using a running tap of hot water — it’s not necessary.
When used properly, a dishwasher uses less water than hand-washing. Run your dishwasher only when it’s full and use water-saving settings for more efficiency. Doing this saves the average family nearly 320 gallons of water annually.
If you hand-wash, fill one side of a double sink with soapy water for washing and the other with clean water for rinsing. Letting your faucet run for five minutes while washing dishes can waste 10 gallons of water.
Also, install low-flow aerators on faucets — these reduce water flow to one gallon per minute or less.
Finally, do you drink a lot of tap water? If so, don’t keep the water running until it cools off for drinking. Instead, fill a pitcher or bottle and keep it in the fridge.
Don’t do laundry until you have enough clothes for a full load. (Oksana Vejus via Canva)
4. Adjust Your Laundry Room Routine
Washing clothes accounts for the second-largest water use in the home. Put off doing laundry for the sake of water conservation.
Only run the washer with a full load of clothes and use the shortest cycle for lightly soiled clothing. And if you really want to reduce water use, avoid the permanent press cycle, which uses up to 5 gallons more water per load.
While washing clothes in cold water saves energy by reducing water heating, it uses the same amount of water as warm or hot settings.
Every year, we waste billions of gallons of water to keep our lawns and gardens green. Much of this water is lost due to overwatering, evaporation, poor sprinkler design or lack of maintenance.
Use a drip irrigation system or a soaker hose to reduce water use. These methods deliver water slowly and directly to the plant’s roots, and much less water is lost to evaporation.
If you have a programmable irrigation system, install a rain sensor. It will interrupt the program cycle when it rains, so you won’t overwater your lawn.
Better yet, start at the ground level to keep your water use at a minimum. Choose native and drought-tolerant plants to create a water-smart landscape that’s beautiful and efficient.
Here are some other water conservation options for the yard:
Sweep driveways, sidewalks and steps rather than hosing them down.
Wash the car with water from a bucket, or consider using a commercial car wash that recycles water.
If you have a pool, use a cover to reduce evaporation when it’s not in use.
Following these water-saving tips can reduce household water use by 30 percent or more.
Start simple by changing wasteful habits and fixing leaks, then move up to installing water-saving fixtures and appliances.
Not only will it save money, but you’ll also reduce the needless drain on one of our most precious resources.
PFAS, or forever chemicals, are being detected in drinking water all over the U.S. (nito100, Getty Images)
Residents across the U.S. are on high alert after the Environment Protection Agency announced new limits for the acceptable amount of PFAS in drinking water.
PFAS, or per- and polyfluoroalkyl substances, are “forever chemicals” that don’t break down over time.
The new advisories cut the safe level of PFAS in drinking water down to just four “parts per trillion” — compared to its previous 70 parts per trillion.
Subsequently, local officials across the U.S. are addressing the presence of these forever chemicals in their water supply.
So, how did these harmful chemicals get into drinking water, and what can you do to limit your exposure?
PFAS is a term for man-made chemicals that have been used in industry and consumer products worldwide since the 1950s.
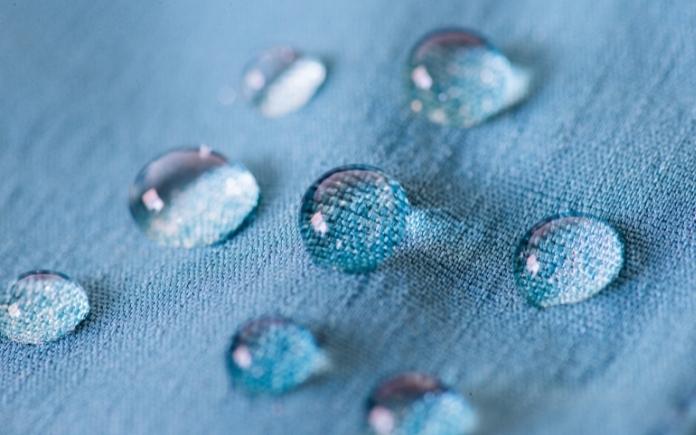
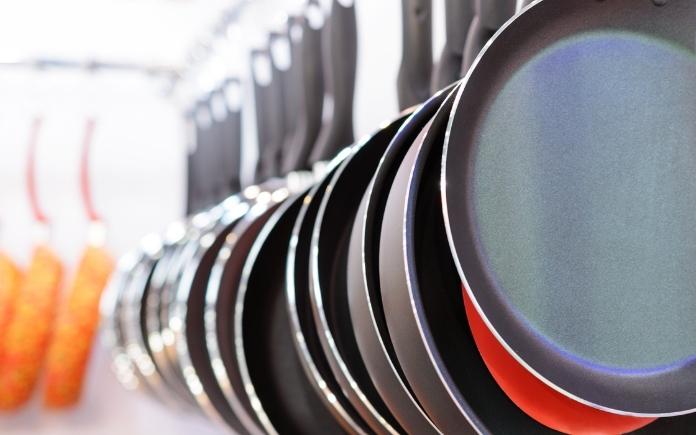
These forever chemicals are in non-stick cookware, water-repellent clothing, stain-resistant fabrics and carpets, some cosmetics, some firefighting foams, and products that resist grease, water, and oil.
While producing and using products with PFAS, the chemicals can migrate into the soil, water and air.
Unfortunately, since they don’t break down naturally, they tend to stay in our environment.
In areas with high PFAS exposure in the environment, trace amounts of these substances are in food products, the environment, and even people and animals.
The Environmental Working Group, a nonprofit organization that researches toxic chemicals and drinking water pollutants, says 200 million Americans could be drinking PFAS-tainted water and 99 percent of Americans may have some amount of PFAS built up in their bodies.
Cooking in non-stick pans may expose you to PFAS. (Nordroden, Getty Images)
Risks of PFAS Exposure
Trace amounts of PFAS have been linked to numerous health issues.
Philippe Grandjean, a Harvard researcher focusing on the long-term impacts of developmental exposure, says PFAS exposure is associated with kidney and testicular cancer, weakened immunity, endocrine disruption, fertility problems, and decreased birth weight.
People can be exposed to PFAS by:
Working in occupations such as firefighting or chemicals manufacturing and processing.
Drinking water contaminated with PFAS.
Eating certain foods that may contain PFAS, including fish.
Swallowing contaminated soil or dust.
Breathing air containing PFAS.
Using products made with PFAS or packaged in materials containing PFAS, including coating on paper and cardboard wrappers used in fast food and bakery goods furniture and carpets, stain-proof and water-repellent clothes, and personal care and cosmetic products.
The EPA announced a comprehensive strategy in 2021 to limit PFAS exposure. (Skyhobo, Getty Images Signature)
How Are We Combating PFAS in Drinking Water?
New studies, new food packaging, lobbying, and bills aim to limit PFAS exposure.
In October 2021, the Environmental Protection Agency launched the PFAS Roadmap. This comprehensive strategy outlines actions over the next three years, including steps to control PFAS at its sources, hold polluters accountable and address the impacts on communities.
Popcorn bags may contain PFAS. Cook it on the stovetop instead. (Jamesmcq, Getty Images Signature)
How to Limit Your Exposure to PFAS
According to Clean Water Action, you can do a few things in everyday life to limit your exposure to PFAS.
They include:
Not using non-stick cookware
Cooking at lower temperatures if you have to use non-stick pans
Popping your own popcorn rather than microwaving bagged popcorn
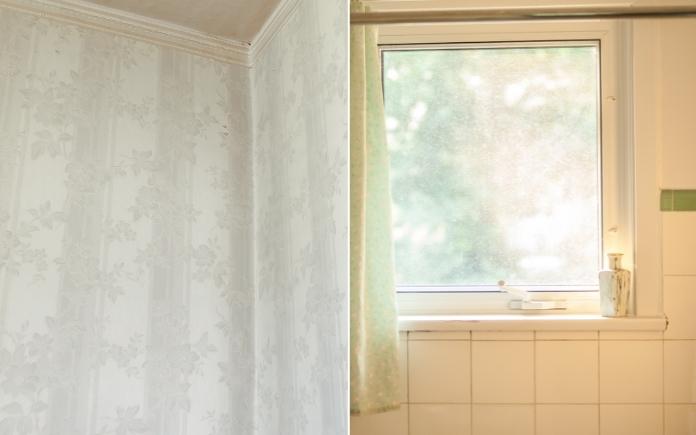
This week, learn how to clean old wallpaper and protect a wood-framed shower window from water damage. (Sandy Knollenburg/simplyzel, Getty Images)
Hour 1
In Hour 1, hear our suggestions for matching wood posts to vinyl, cleaning old wallpaper, and more.
Matching Wood Posts to Vinyl
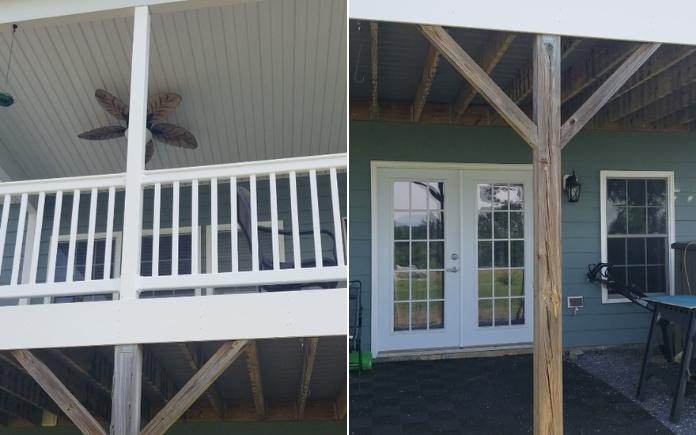
Matching these wooden support posts to the vinyl posts is as easy as applying a coat of paint. (Photos by Doug May)
Doug May has a great view of the Blue Ridge Mountains on his covered back porch. But, the view of his porch isn’t as pleasing.
“The upper part has vinyl sleeves over the top of the posts. Everything’s covered and it’s nice and smooth and white. But down below, it’s just pressure-treated wood, with all the cracks and gaps,” Doug says.
He wants the wooden support posts on the ground to match the white vinyl posts on the porch above. What’s stopping him from covering the wood posts with vinyl is the diagonal wood braces. He’s worried about the hassle of connecting the many vinyl pieces on the diagonals and sealing them.
“What I want is the smooth look and feel of the vinyl on the posts below. Is there a way to do that?” Doug asks.
Vinyl sleeves are expensive! If you want the posts to match, try this budget-friendly option:
First, clean the wood posts and apply a coat of primer.
Then, use auto body filler (like Bondo) to skim out the cracks. Once that dries, lightly sand the posts.
Then, caulk the areas where the diagonal braces meet the vertical posts.
Finally, apply two coats of acrylic latex paint.
Once you do this, no one will know one set of posts is vinyl and the other set isn’t! The acrylic paint will give it a glossy look and seal the joints.
If you decide you want to cover the posts with vinyl, remove one post at a time, including the diagonal supports, and attach the vinyl sleeves to each piece.
Miter cut the ends of the sleeves to fit the diagonal brace posts, and thoroughly caulk each seam so water doesn’t get in.
Don’t caulk the bottom of the diagonal brace pieces where the wood meets the post. If water were to get inside the vinyl, you want it to be able to drain out and dry.
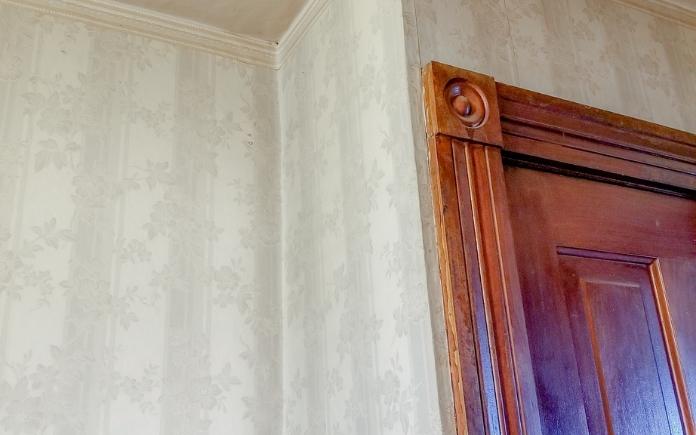
Original wallpaper keeps an old home’s character true to its age. (Photo by Sandy Knollenburg)
How to Clean Old Wallpaper
Sandi Knollenburg bought a 100-year-old farmhouse in Bloomington, Ill., five years ago, and she’s been renovating it little by little.
Right now, she’s working on the stairwell area. The walls that extend from the first floor to the second are covered in wallpaper from the 1960s. She loves the pattern, and the wallpaper is still in pretty good shape! All it needs is a good cleaning.
She asks, “What’s the best way to clean and preserve the wallpaper?”
Most modern wallpapers have an acrylic or latex coating that makes them washable and, in some cases, scrubbable. Older wallpaper is just plain paper, so you don’t want to get it wet. If you do, it will peel off the wall.
Try these options to remove the dirt and dust:
Wipe the wallpaper with a large, dry sponge.
Use a vacuum cleaner.
Attach a microfiber cloth to a Swiffer-type mop for hard-to-reach spots.
To remove skids and scuffs, use a gum eraser. You can buy these at an art supply store. Another option is a dry Magic Eraser. If that doesn’t work, lightly dampen it.
Hour 2
In Hour 2, learn how to prevent wood rot in a shower window, remove sediment from water, and more.
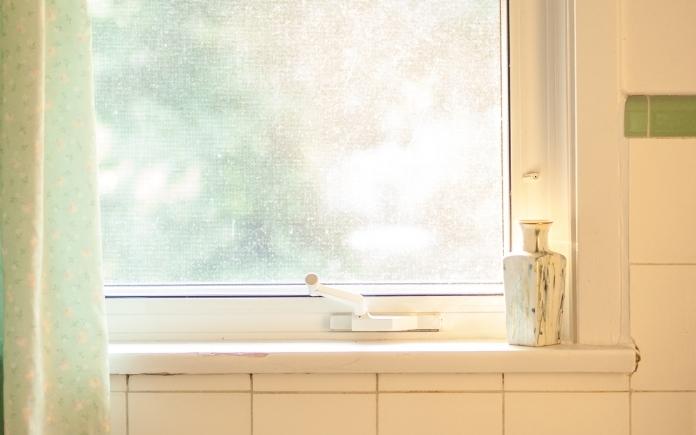
Worried about water damaging a wood-framed shower window? Protect it with tile. (simplyzel, Getty Images)
Protecting a Wood Window Frame in a Shower
A caller needs advice on tiling around a window in his shower. The wood frame sticks out slightly, so he can’t tile over it.
“What do you do to treat that to make it so that the water is not damaging that wood and causing wood rot, and more importantly that water is not getting behind that and causing damage to the shower?” he asks.
A lot of older houses have this problem. Typically, at one point in time, the bathroom had just a tub with a window above it. Then somewhere along the way, a shower was installed.
I’ve seen a lot of homeowners put a shower curtain over the window but rarely does that last long.
To protect the wood frame from water damage, encapsulate the window frame with the tile.
Before you lay the tile, be sure to caulk and paint the frame. Bring the tile up to the wood and then overlap extra tile over the window frame. This will protect the frame from the water and give it a nice, pronounced look.
If water can still hit it directly, install a waterproof window.
To completely eliminate any chance of rood rot, remove the window and replace it with a vinyl one.
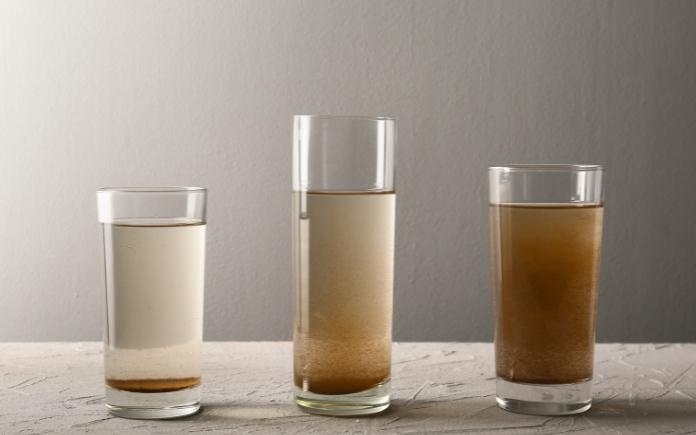
Sick of sediment in your water? It’s time for a new water filter. (pixelshot)
Sediment in Water
Pablo Sandoval in Willow Creek, Calif., is sick of sediment in his water. His home draws water from a deep well and all wastewater flows into a septic tank.
“For most of the year, the water supply is good, but every summer we have a problem with sediment that clogs aerators at sinks and showerheads. Plus, the washing machine takes forever to fill with water. What can we do to alleviate these issues?” he asks.
Sediment problems are more frequent in the summer because water levels are usually lower. There’s less water but the same amount of sediment in the system, so it finds its way to the pump and into your house.
You’ll need to have a well water contractor take a look at your pump. You might need a new screening.
Also, here are two options to consider:
Have a water well contractor install a sand separator on your pump. This device uses centrifugal force to push dirt, sand and debris outward to the separator wall and downward in a spiral motion. The cleaned water then rises and returns back to your plumbing system.
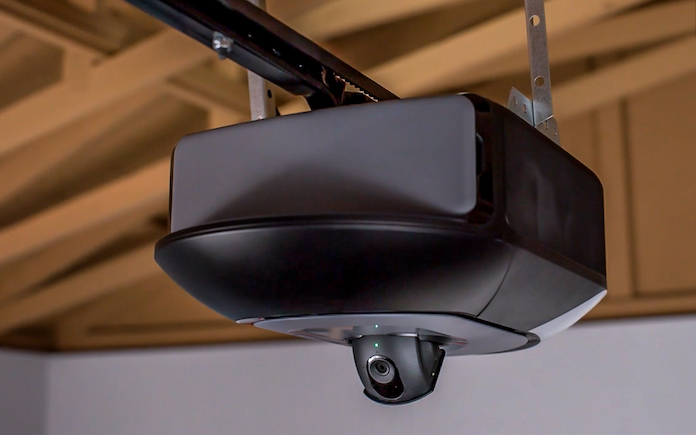
If your home’s primary entrance is in the garage, then you’ll want Chamberlain’s new garage door opener with an integrated camera. Learn More >>
Simple Solutions
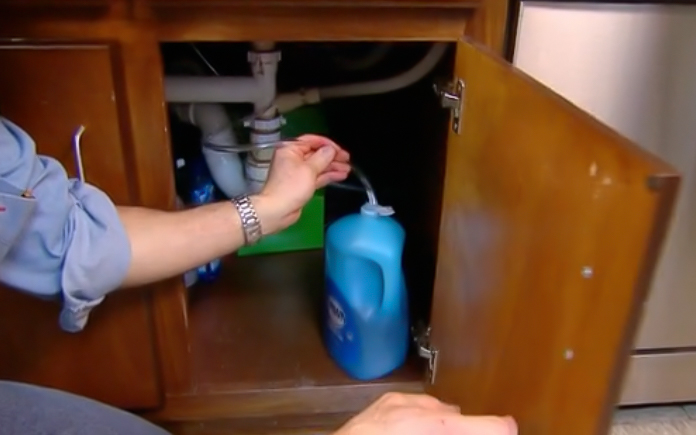
This Simple Solution keeps you from constantly refilling your kitchen soap dispenser. (3 Echoes Content Studio)
Improved Soap Dispenser — Kitchen-sink soap dispensers hold such a small amount of liquid soap that it requires you to constantly refill the reservoir bottle. Here’s a better option:
Lift off the hand pump from the dispenser, pull off the plastic fill tube, and replace it with a long flexible quarter-inch-diameter tubing.
Feed the opposite end of the tubing down through the hole in the sink deck and place it in a large jug of liquid soap.
Now you’ll never have to refill the dispenser; simply replace the soap jug once it’s empty.
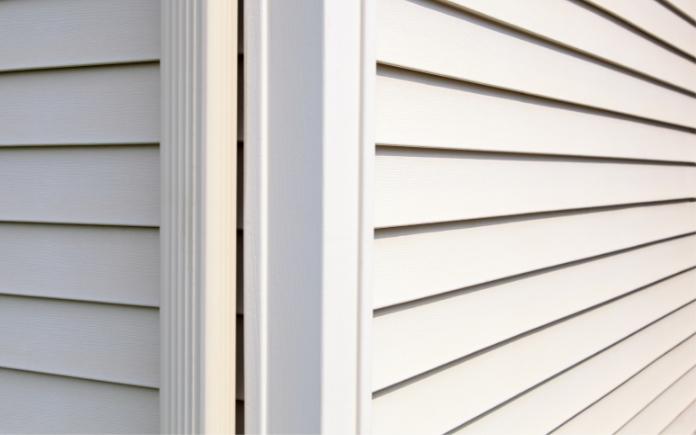
If you’re installing gutters on vinyl siding, run the drill in reverse for smooth holes. (Garrett Aitken, Getty Images)
Smooth Cut in Vinyl Siding — When using a hole saw to drill through vinyl siding, run the drill in reverse. That way, the hole saw will create a nice clean hole with no rough edges.
Once you cut through the siding, switch the drill to forward and bore through the wall sheathing.
Other Products & Links Mentioned
Further Reading
Radio Show & Podcast: Send us your question!
If you have a comment, general question about home improvement, or something we’ve featured on Today’s Homeowner, please fill in this form:
Keep an eye on your home’s entrance with Chamberlain’s new garage door opener with integrated camera. (Image via The Home Depot)
In many homes, the garage door is the primary entrance, so keeping it secure is important. That’s why the new Chamberlain garage door opener comes with an integrated camera.
Here’s why this Best New Product is a must for your garage.
This page contains affiliate links. If you purchase a product from these links, we will earn a small commission at no additional cost to you.
The myQ app provides instant access to what’s going on in your garage. (Image via The Home Depot)
Remote Access
Chamberlain’s new garage door opener has a built-in camera that adds streaming video, recorded events, motion detection and two-way communication.
That means you can keep tabs on what’s happening in your garage with your smartphone. The system operates through the myQapp, so you can see what’s happening and ensure your family and home are safe and secure — anytime, from anywhere.
The system also works with Amazon Key In-Garage Delivery, so your packages and groceries stay safe inside your garage, and not on your doorstep. Simply link the garage door opener in the myQ app.
A motion-activated light adds an extra layer of security. (Image via The Home Depot)
Smart and Functional
In addition to smartphone monitoring and control, this unit boasts ultra-quiet operation thanks to its belt drive and a soft start/stop motor.
Plus the integrated, motion-activated LED brightens high-traffic areas of the garage with 1,000 lumens of light.
Interactive instructions from BILT make installation easy. (Screenshot of BILT instructional video)
Easy Setup
If you’ve never installed a garage door opener, relax. BILT intelligent instructions simplify installation. You can follow along with its audio, text and animated images, zoom and rotate 360 degrees and replay steps instantly.
The garage door opener has integrated Bluetooth technology, reducing setup time and making it even easier to connect to the myQ app, plus other myQ devices and smart home technology solutions.
If you’re still not sure about upgrading to a smart garage door, the Chamberlain Garage Door Opener with Integrated Camera comes with a lifetime motor and belt warranty, five-year parts warranty, and one-year accessories warranty.
Listen above to learn all about this Best New Product.
Lawn and landscape expert Sid Sexton is back to talk more about pruning, landscaping and shrubs.
In this week’s episode of “Ask Danny,” Sid Sexton is back to tell us how to plant shrubs and give some advice on pruning crape myrtles.
Sid is the founder of Sexton Lawn & Landscape in Daphne, Ala., and is licensed in turf and ornament spraying, landscape design, and setting of landscape plants.
Sid Sexton is the founder and president of Sexton Lawn & Landscape. (Photo courtesy Sexton Lawn & Landscape)
About Sid Sexton
As the founder of Sexton Lawn & Landscape, Sid is a down-to-earth, honest businessman with a love for lawn care, landscape design, and delivering the best products to his clients.
Starting at age 16, Sid spent his summers working for a local landscape company and the local country club and golf course in his hometown of Muskogee, Okla.
After earning his bachelor’s degree in business administration with a minor in horticulture, Sid joined the U.S. Coast Guard and was stationed in Hawaii, where he met his future wife, Jourdan.
Sid was our guest for the first episode of “The Ask Danny Podcast,” and he’s back! Listen to “Ask Danny Episode 1: Improving Your Lawn’s Health” to catch up, or read on for more information about this second interview with Sid.
When planting shrubs, the width of the hole is more important than the depth. (Minna Kantonen, Getty Images)
Planting Shrubs: Tips for Success
What are some of the steps our listeners should take when planting shrubs?
Sid: Before you plant shrubs, follow these three steps:
Have a plan. You need the right type of plant for your environment in the right location. Think about space, sunlight and water, then ask yourself these questions: Where will the plants go? Will the area have too much or too little water? Are they the right plants for the right place for the sunlight they need?
Lay out the bed. Use spray paint to outline the bed line, then rent a sod cutter to remove the turf and vegetation.
Add soil: Make sure to build the soil up. You can use top soil, bagged soil or an organic specialty blend. The main goal is to add some kind of amendment to the existing soil so your plants will have the nutrition they need.
When digging holes for your plants, go wide. The hole should be three times the width of the container. Giving it that space to grow out is much more important than how deep the hole is.
However, you don’t want to dig the hole too deep to where water settles around it. Plant it level to the ground or about a half inch above the soil level. You want water to drain away from the base of the plant.
Then add natural mulch, like pine straw, bark and hay. It will create a mat that will prevent weeds from growing. Weeds sprout from seeds that can be spread through the wind. If you create a thick layer of mulch, it will prevent the seeds from reaching the soil.
Landscape fabric also does this, but personally, I don’t use it because of the climate I live in. It stays hot almost year-round in south Alabama, so landscape fabric tends to trap heat underground and damage roots. Also, it can push water to low areas and lead to root rot.
Mulch also insulates the roots, preventing them from getting too hot and cold. And it keeps moisture in the soil from evaporating too quickly. As natural mulch breaks down, it adds organic matter to the soil.
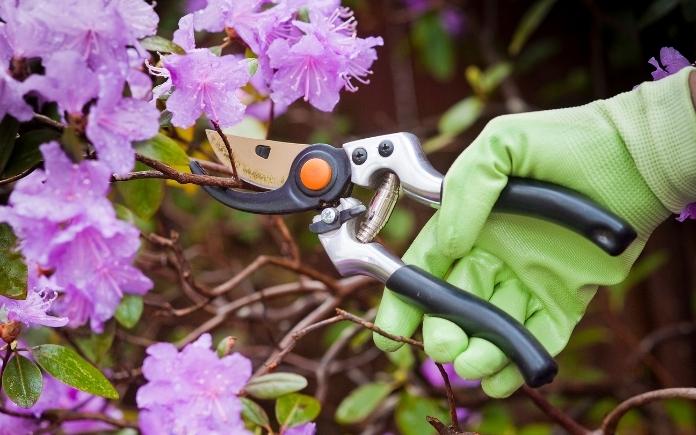
Well-pruned shrubs and trees are a hallmark of a carefully tended yard or garden. (Maudib, Getty Images)
Best Time to Prune
What are some general tips about pruning? When is the best time and are there different steps for different plants?
Sid: All plants require some pruning to keep them in shape and promote healthy growth.
There’s lots of nuance in pruning but a general rule for flowering plants is you want to prune the plant after it blooms.
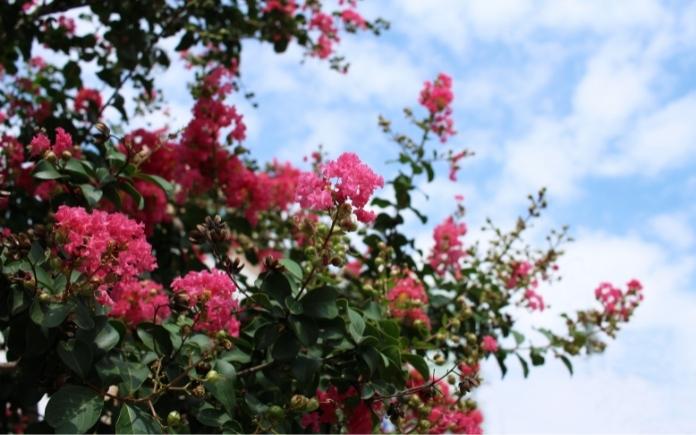
You don’t have to cut a ton of branches to encourage crape myrtle blooms. (c11yg, Getty Images)
Pruning Crape Myrtles
Many people have strong opinions on trimming and pruning crape myrtles. What’s your opinion?
Sid: A crape myrtle blooms off new growth. So, some people hack away at the branches to stimulate this new growth. But this isn’t necessary — you can still produce new growth and keep the shape of the plant with selective pruning.
Select pruning eliminates an ugly knuckle from forming and maintains full foliage. Here’s how to do it.
First, prune cross branches — branches that are rubbing together and growing across from each other. You want the tree to grow up and out, so trim the branches that are growing toward the middle.
Then, prune broken branches and any branch that’s smaller than your pinky.
Make sure you have a plan. If you fail to plan, you plan to fail.
If you’re not sure what to do, consult with a local expert, like a nursery or landscape architect.
Do it in stages so it’s not overwhelming in time and budget.
Further Reading
Ask a Question! (Podcast)
Ask a question and we could answer it on the “Today’s Homeowner Podcast!” We also may use it on our nationally syndicated radio broadcast or on todayshomeowner.com.