Sophie Habboo has unveiled her and her husband Jamie Lang’s bathroom on Instagram, and if you wanted a masterclass on how to make a bathroom both trendy and timeless, you’ve landed in the right place.
Expressive designs with rich colour palettes have defined the year’s bathroom tile trends, and TV personalities and podcasters Sophie and Jamie are proving that you can embrace modern trends, whilst retaining a timeless look that will stay relevant for years to come.
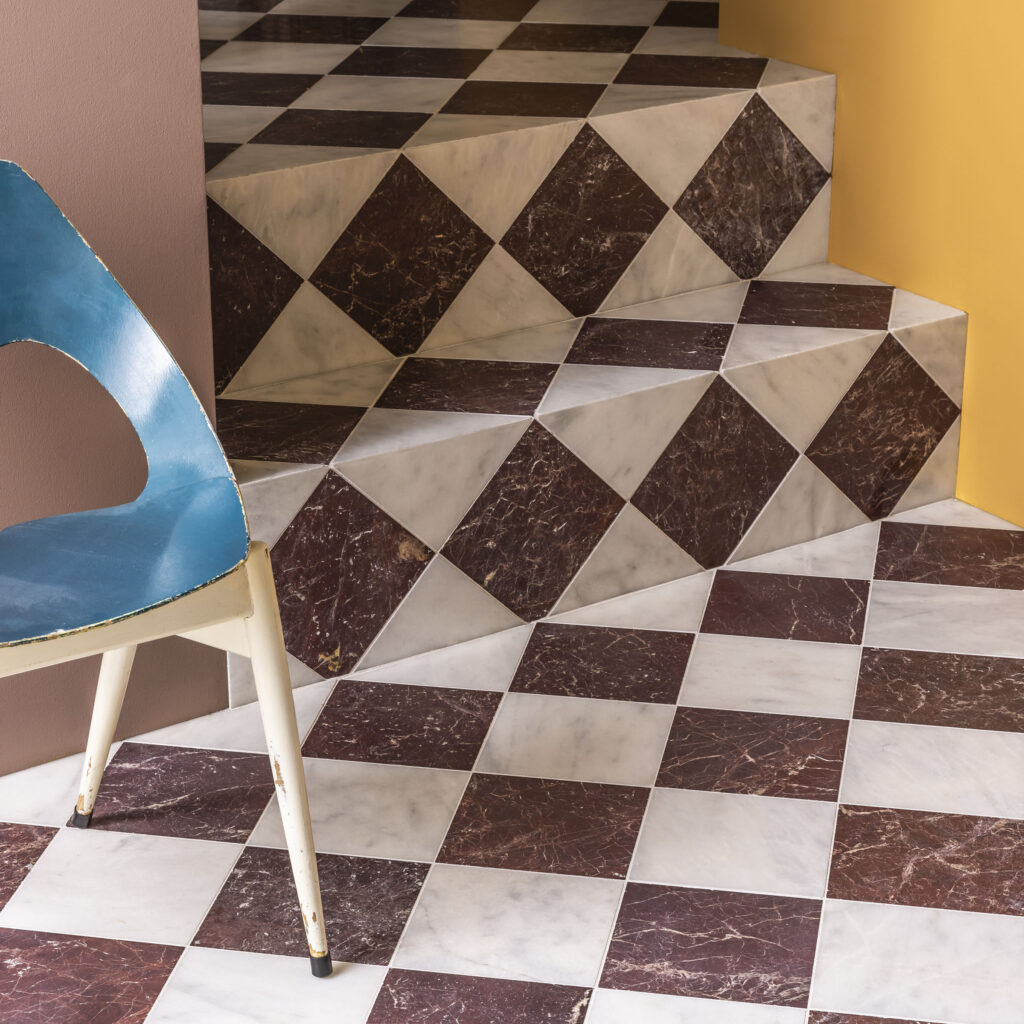
If you’re looking for bathroom tile ideas to inspire you, Sophie and Jamie’s mix of rich reds, marble and checkerboard work in complete harmony to create a timeless, luxury bathroom – and experts have revealed how you can do it, too.
Latest Videos FromIdeal Home
Looking at the bathroom, one word comes to mind: glamorous. With rich red tones, marble and gold finishes, the space has a gorgeous yet dramatic look – there’s something very ‘Hollywood’ about the space, which I love.
‘It feels very good now, but none of the ingredients are flash-in-the-pan choices. Checkerboard, marble and brass have all been used in interiors for generations, so the freshness really comes from how they’ve been put together,’ comments Grazzie Wilson, head of creative at Ca’ Pietra.
‘The deep wine-toned checkerboard feels much more interesting than a predictable black and white, while the marble brings movement and just enough drama without tipping into ‘look at my marble bathroom’. That balance is what makes the whole thing work. It feels glamorous, but it still has personality, and that is usually what gives a room real staying power.’
(Image credit: Future PLC/ Chris Snook)
And Sophie and Jamie’s bathroom is reflecting a growing bathroom trend – that we want our spaces to look and feel luxurious.
Sign up to our newsletter for style inspiration, real homes, project and garden advice and shopping know-how
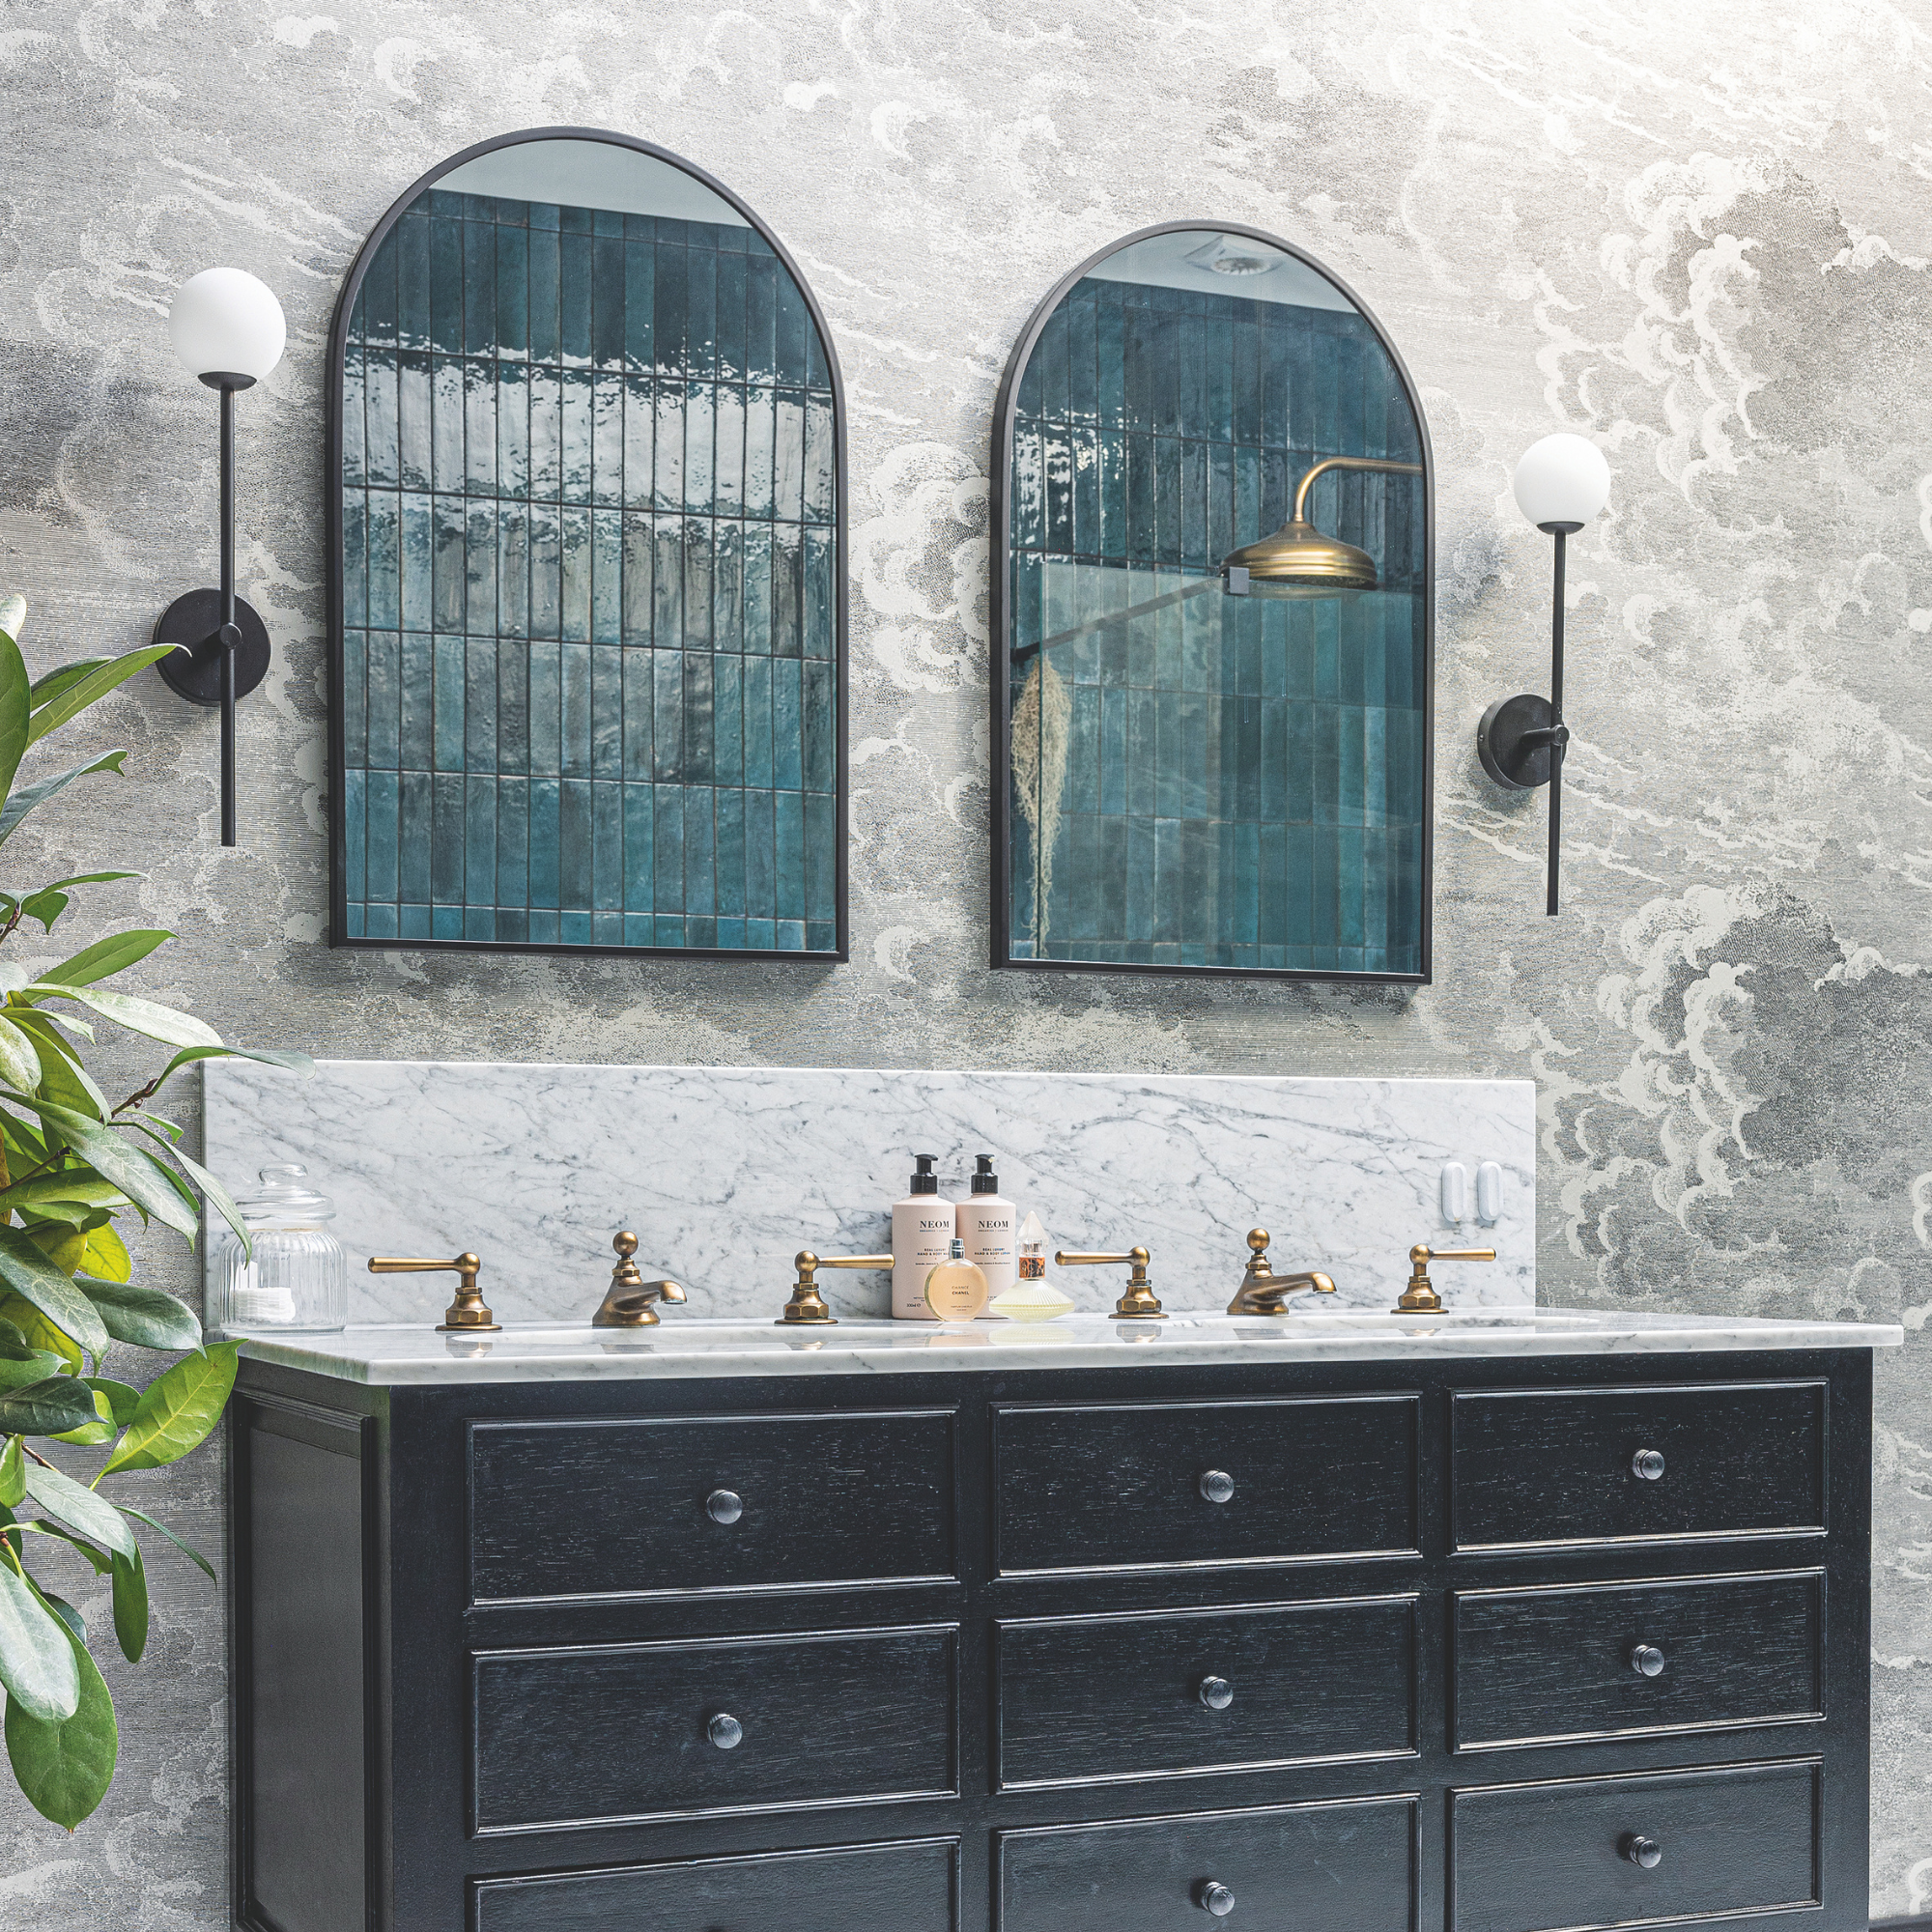
‘Freestanding baths, brushed and unlacquered brass brassware, panelled walls, and marble-effect surfaces are all growing categories for us. Part of it is the influence of boutique hotels and the number of people who now travel and want to bring that feeling home,’ says James Roberts, Director at Sanctuary Bathrooms.
‘Part of it is that the bathroom has become a place to slow down rather than just a functional room, so people are willing to invest in it. And crucially, the look has become far more achievable. Marble-effect porcelain, high-quality acrylic and stone-resin baths, and a much wider range of brass finishes mean the luxe look no longer needs a luxe budget.’
Zoning a bathroom with tiles
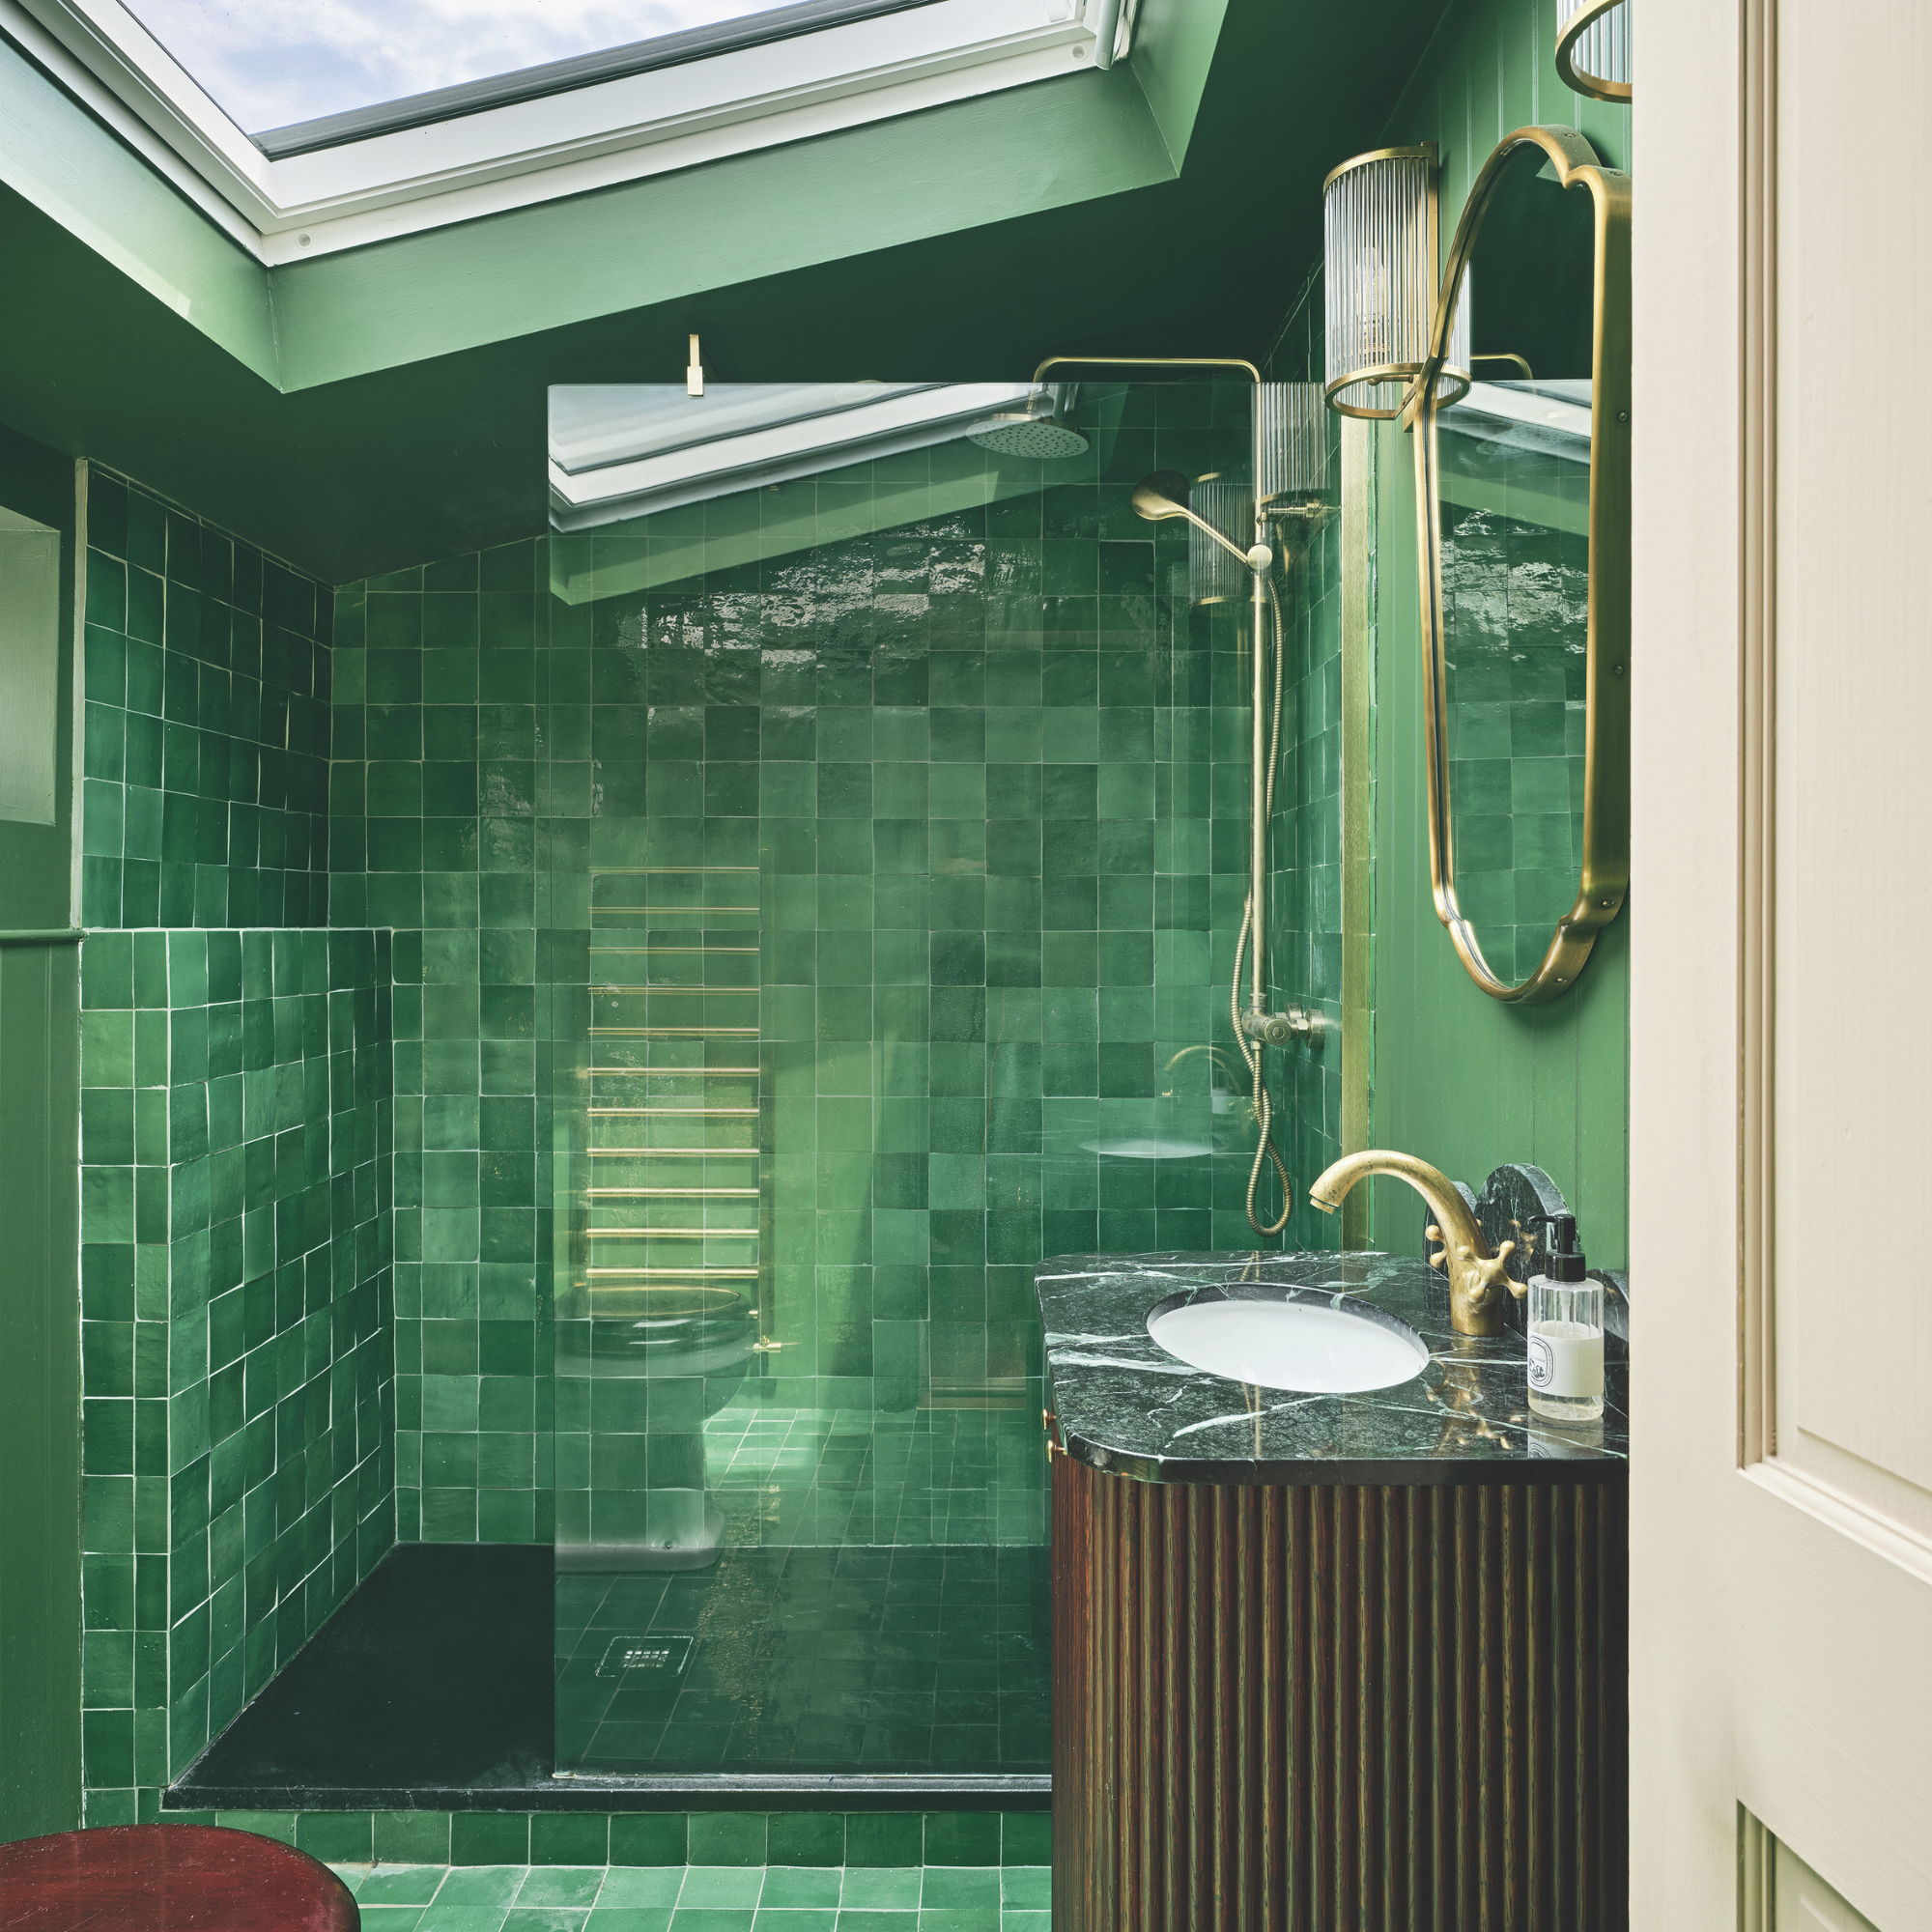
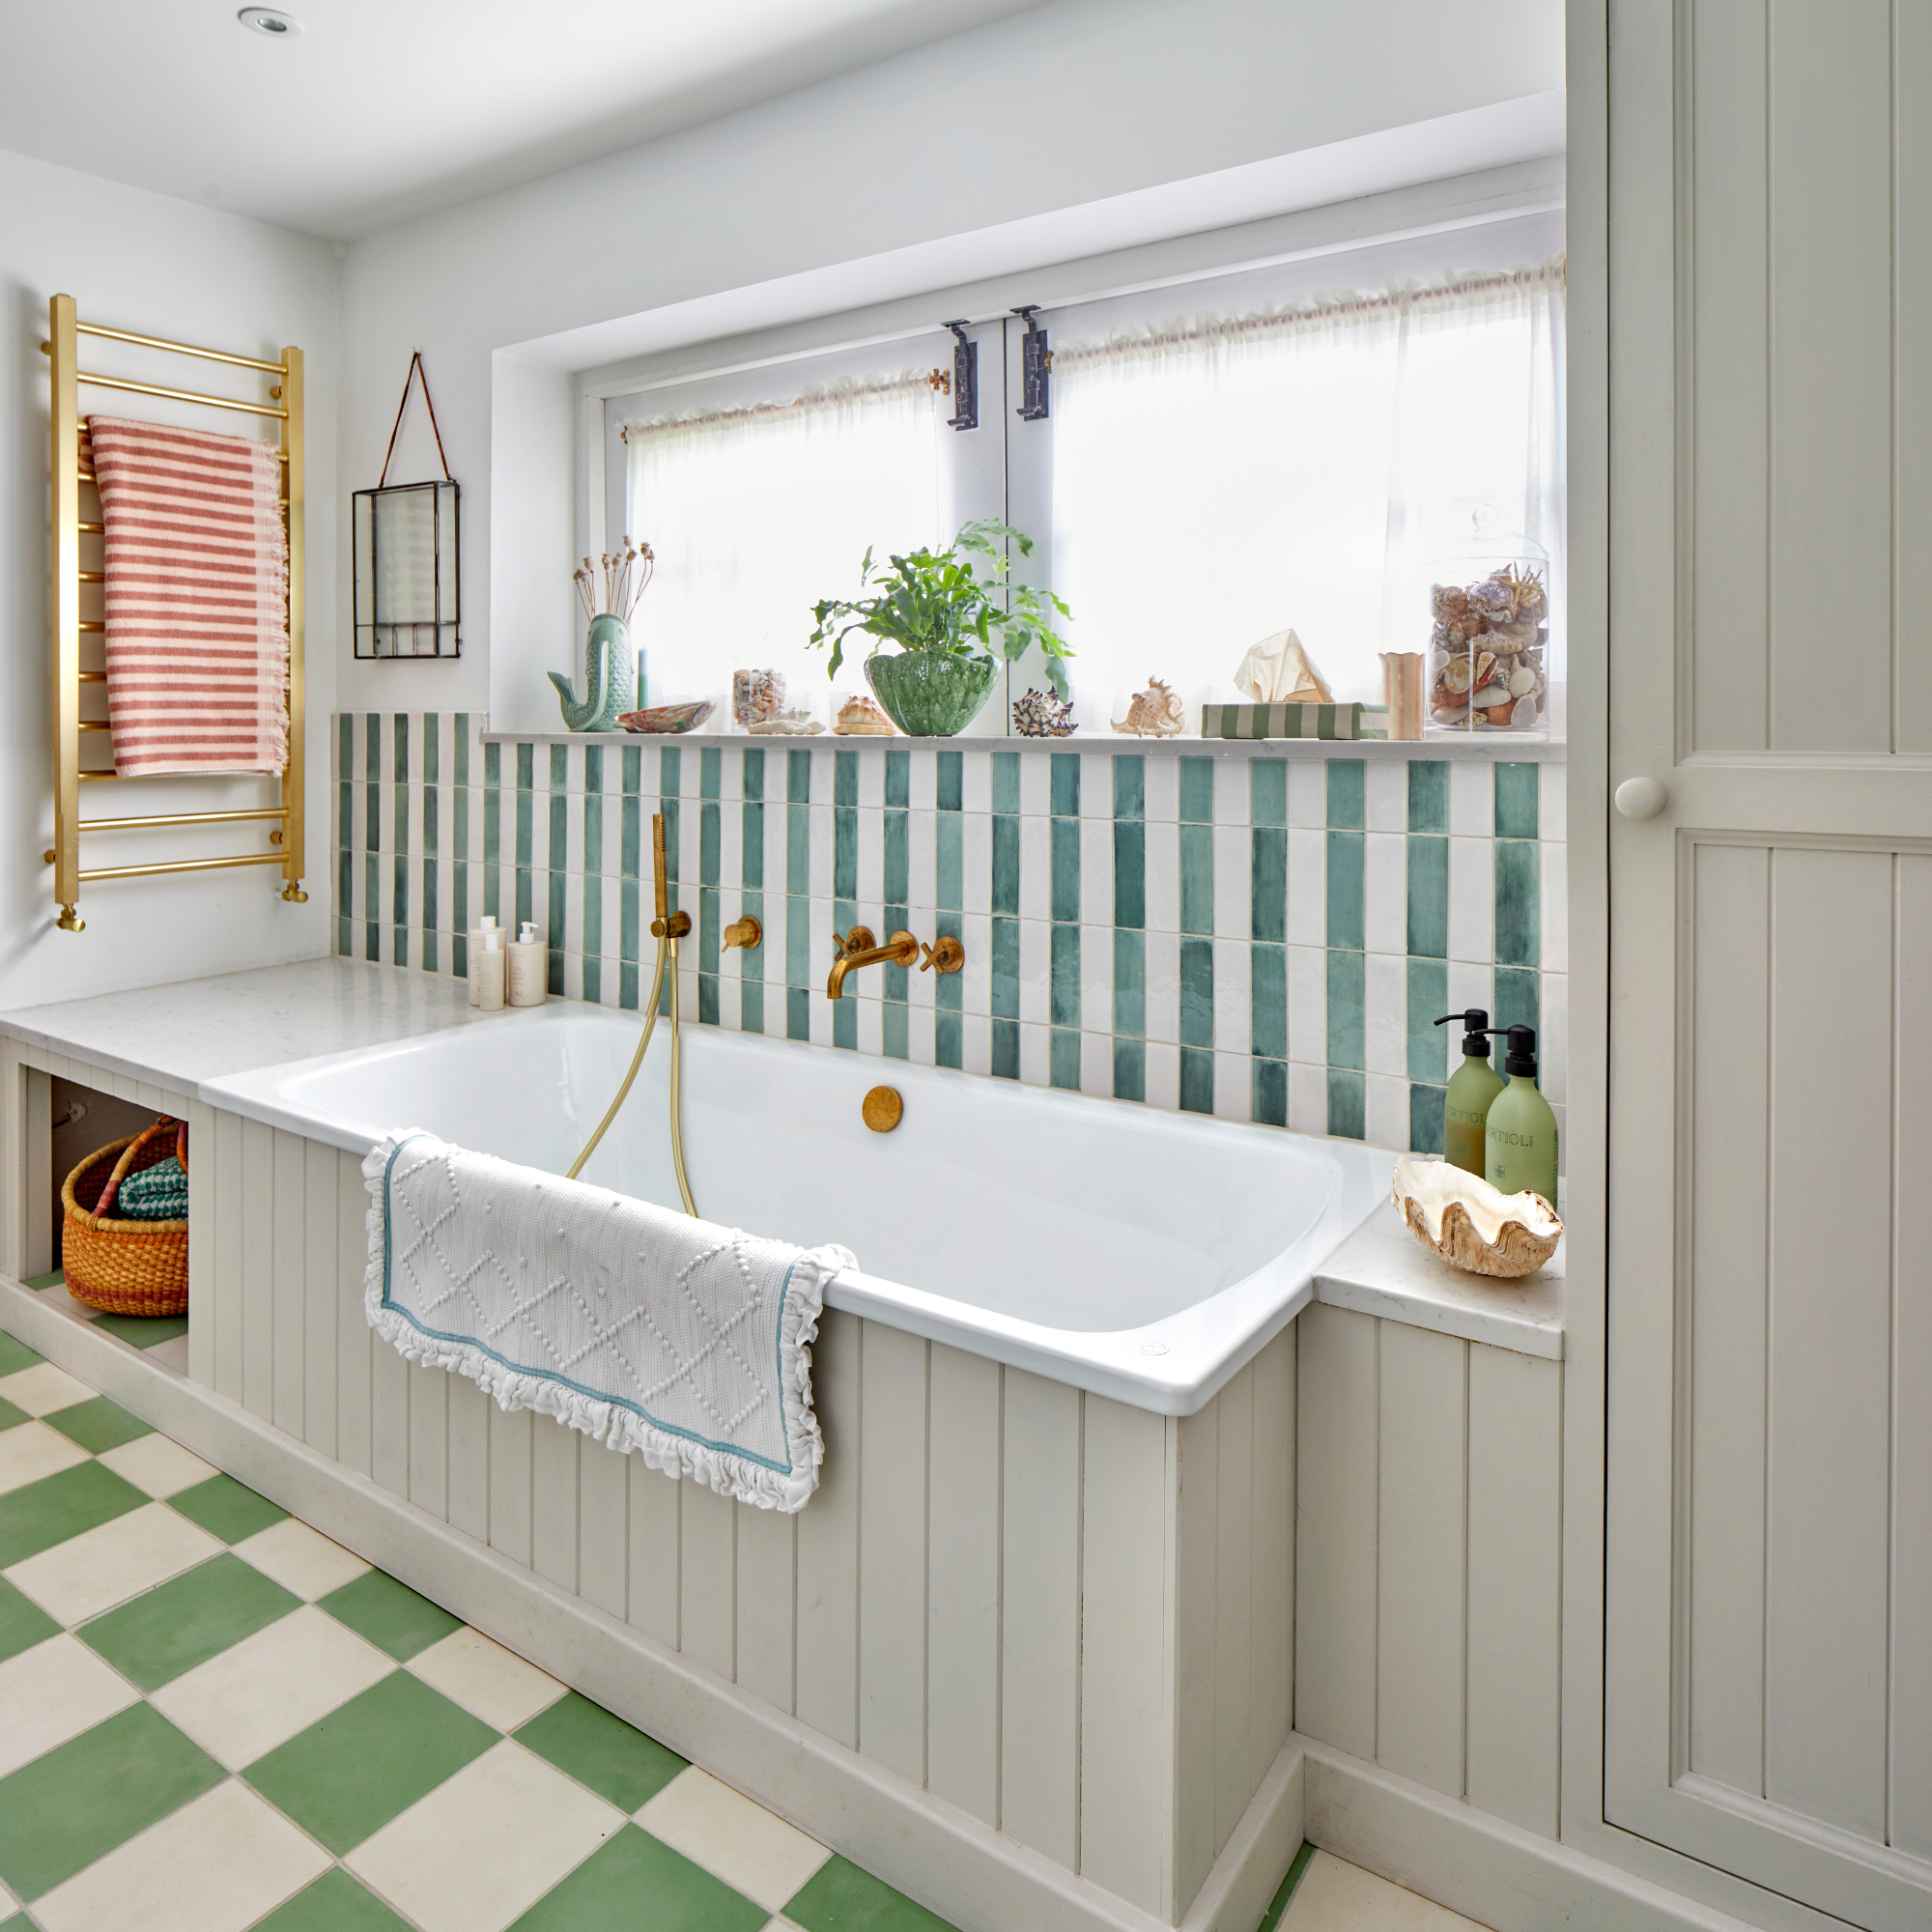
You’ll probably have noticed from Sophie’s photo that a mismatch of patterned tiles has been used throughout. And no, this isn’t a quirky design choice; it’s actually an excellent way to zone a bathroom.
(Image credit: Future PLC/ David Parmiter)
‘Different tiles can do different jobs within the same room. Here, the checkerboard gives the floor rhythm and swagger, while the marble in the shower feels softer and more fluid, so you get contrast without the two fighting for attention,’ says Grazzie.
‘It’s also a really clever way to zone a bathroom without physically dividing it. You can give the shower, floor or vanity area its own identity and still make the whole room feel connected. The trick is to find a thread between the two choices, whether that’s colour, undertone, material or finish, so it feels layered rather than random.
‘I always think a bathroom is more interesting when it reveals itself gradually. You want a little surprise as you move through the room rather than everything announcing itself at once.’
(Image credit: Future PLC/ Been Holmes)
Grazzie also goes on to say that the checkerboard and marble designs not only complement each other, but help modernise the look.
‘I think they rescue each other slightly. Marble can get a bit grand if you let it, and checkerboard can go full period-drama if you’re not careful. Put them together and suddenly both feel cooler,’ she says.
‘The marble brings all that lovely, loose natural movement, while the checkerboard gives you something much more graphic and ordered underfoot. It’s the contrast between the two that makes the combination feel fresh. The marble stops the checkerboard feeling costume-y, and the checkerboard stops the marble feeling like a hotel lobby.’
How to get the look
‘Start with the floor. A large-format checkerboard floor is the foundation of this room and immediately gives it that classic, high-end feel. Marble-effect porcelain tiles can create a very similar look to natural stone, but with easier maintenance and usually at a lower cost,’ says James.
(Image credit: Future PLC/ Paul Raeside)
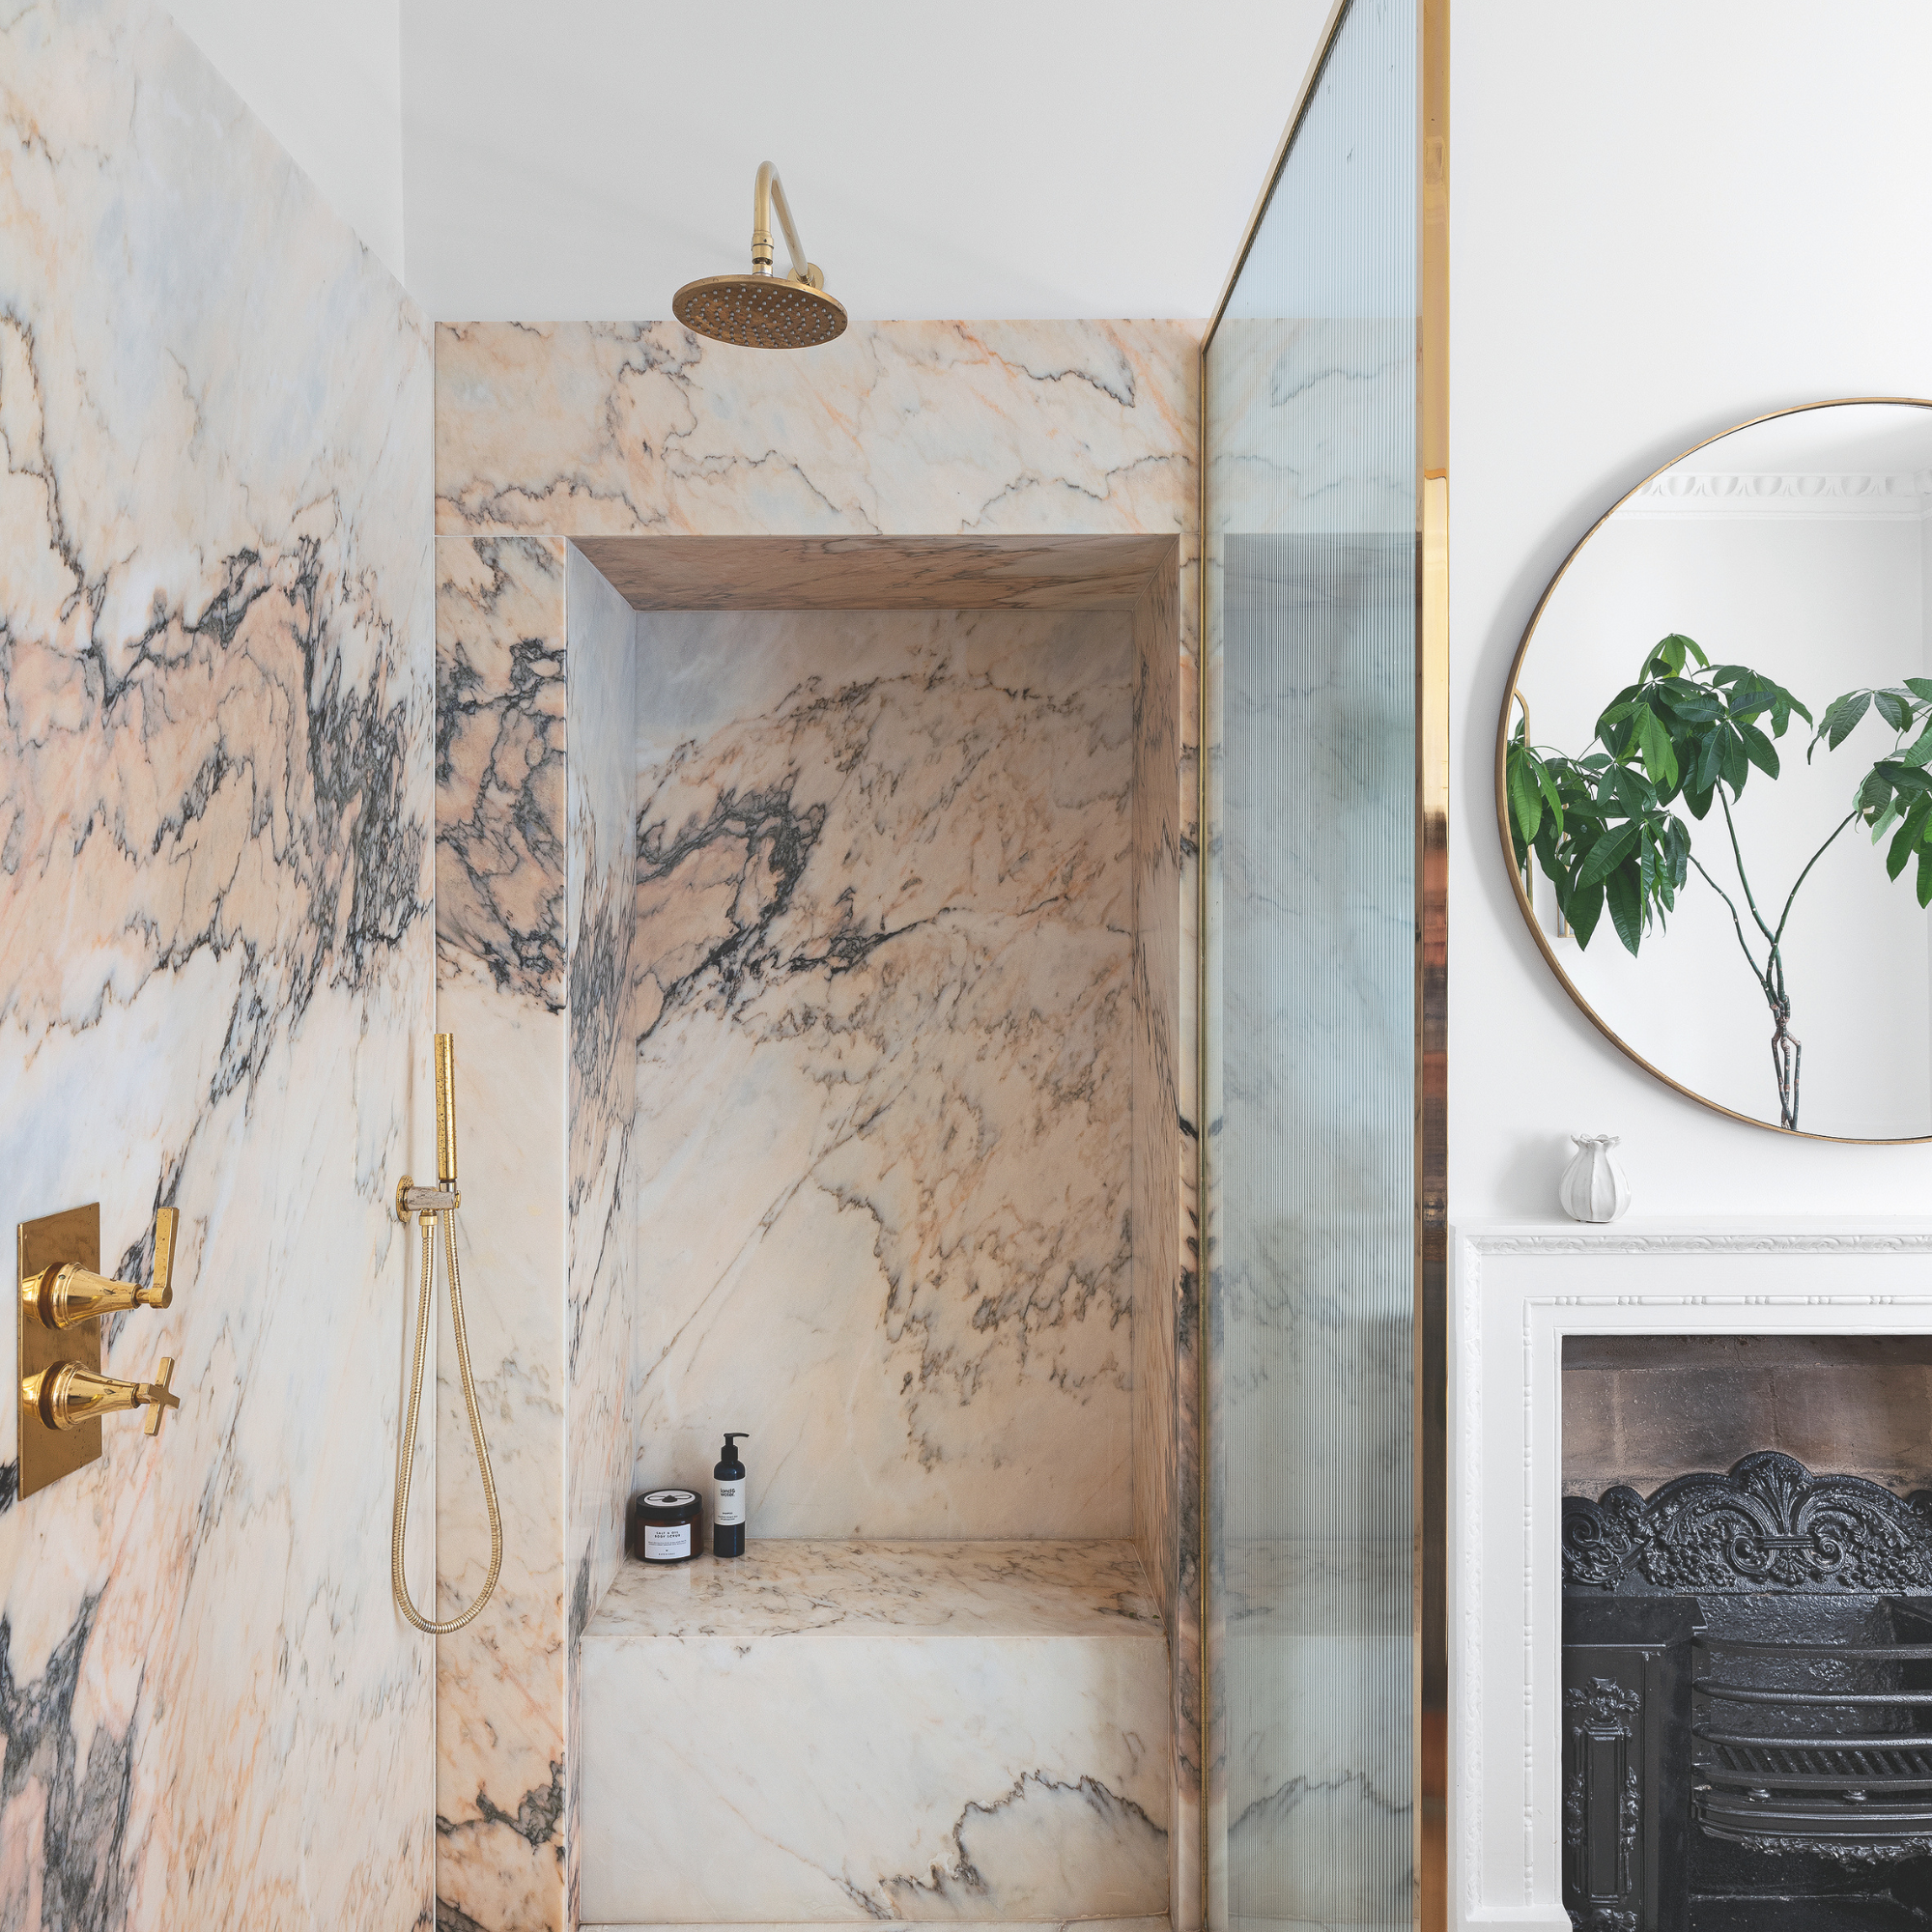
‘Choose one hero marble and repeat it throughout the space. Look for a veined marble or marble-effect tile with a strong colour running through it, then use it in two or three places – for example, around the shower, on the vanity top, and on a shelf or bath surround. Repeating the same finish helps the room feel considered and cohesive rather than overly busy.’
Grazzie agrees, stating that for this bathroom idea, you need to ensure you take scale into account, too.
‘Scale matters too. A bold floor pattern can take a larger-format or quieter wall tile without the room feeling busy, and then you can soften all those hard surfaces with timber, warm metals, painted furniture or textiles,’ she says.
‘And know when to stop. If the floor is dancing, the walls don’t need to start doing jazz hands too.’
Shop the look
Mandarin Stone
Fitz White
Next
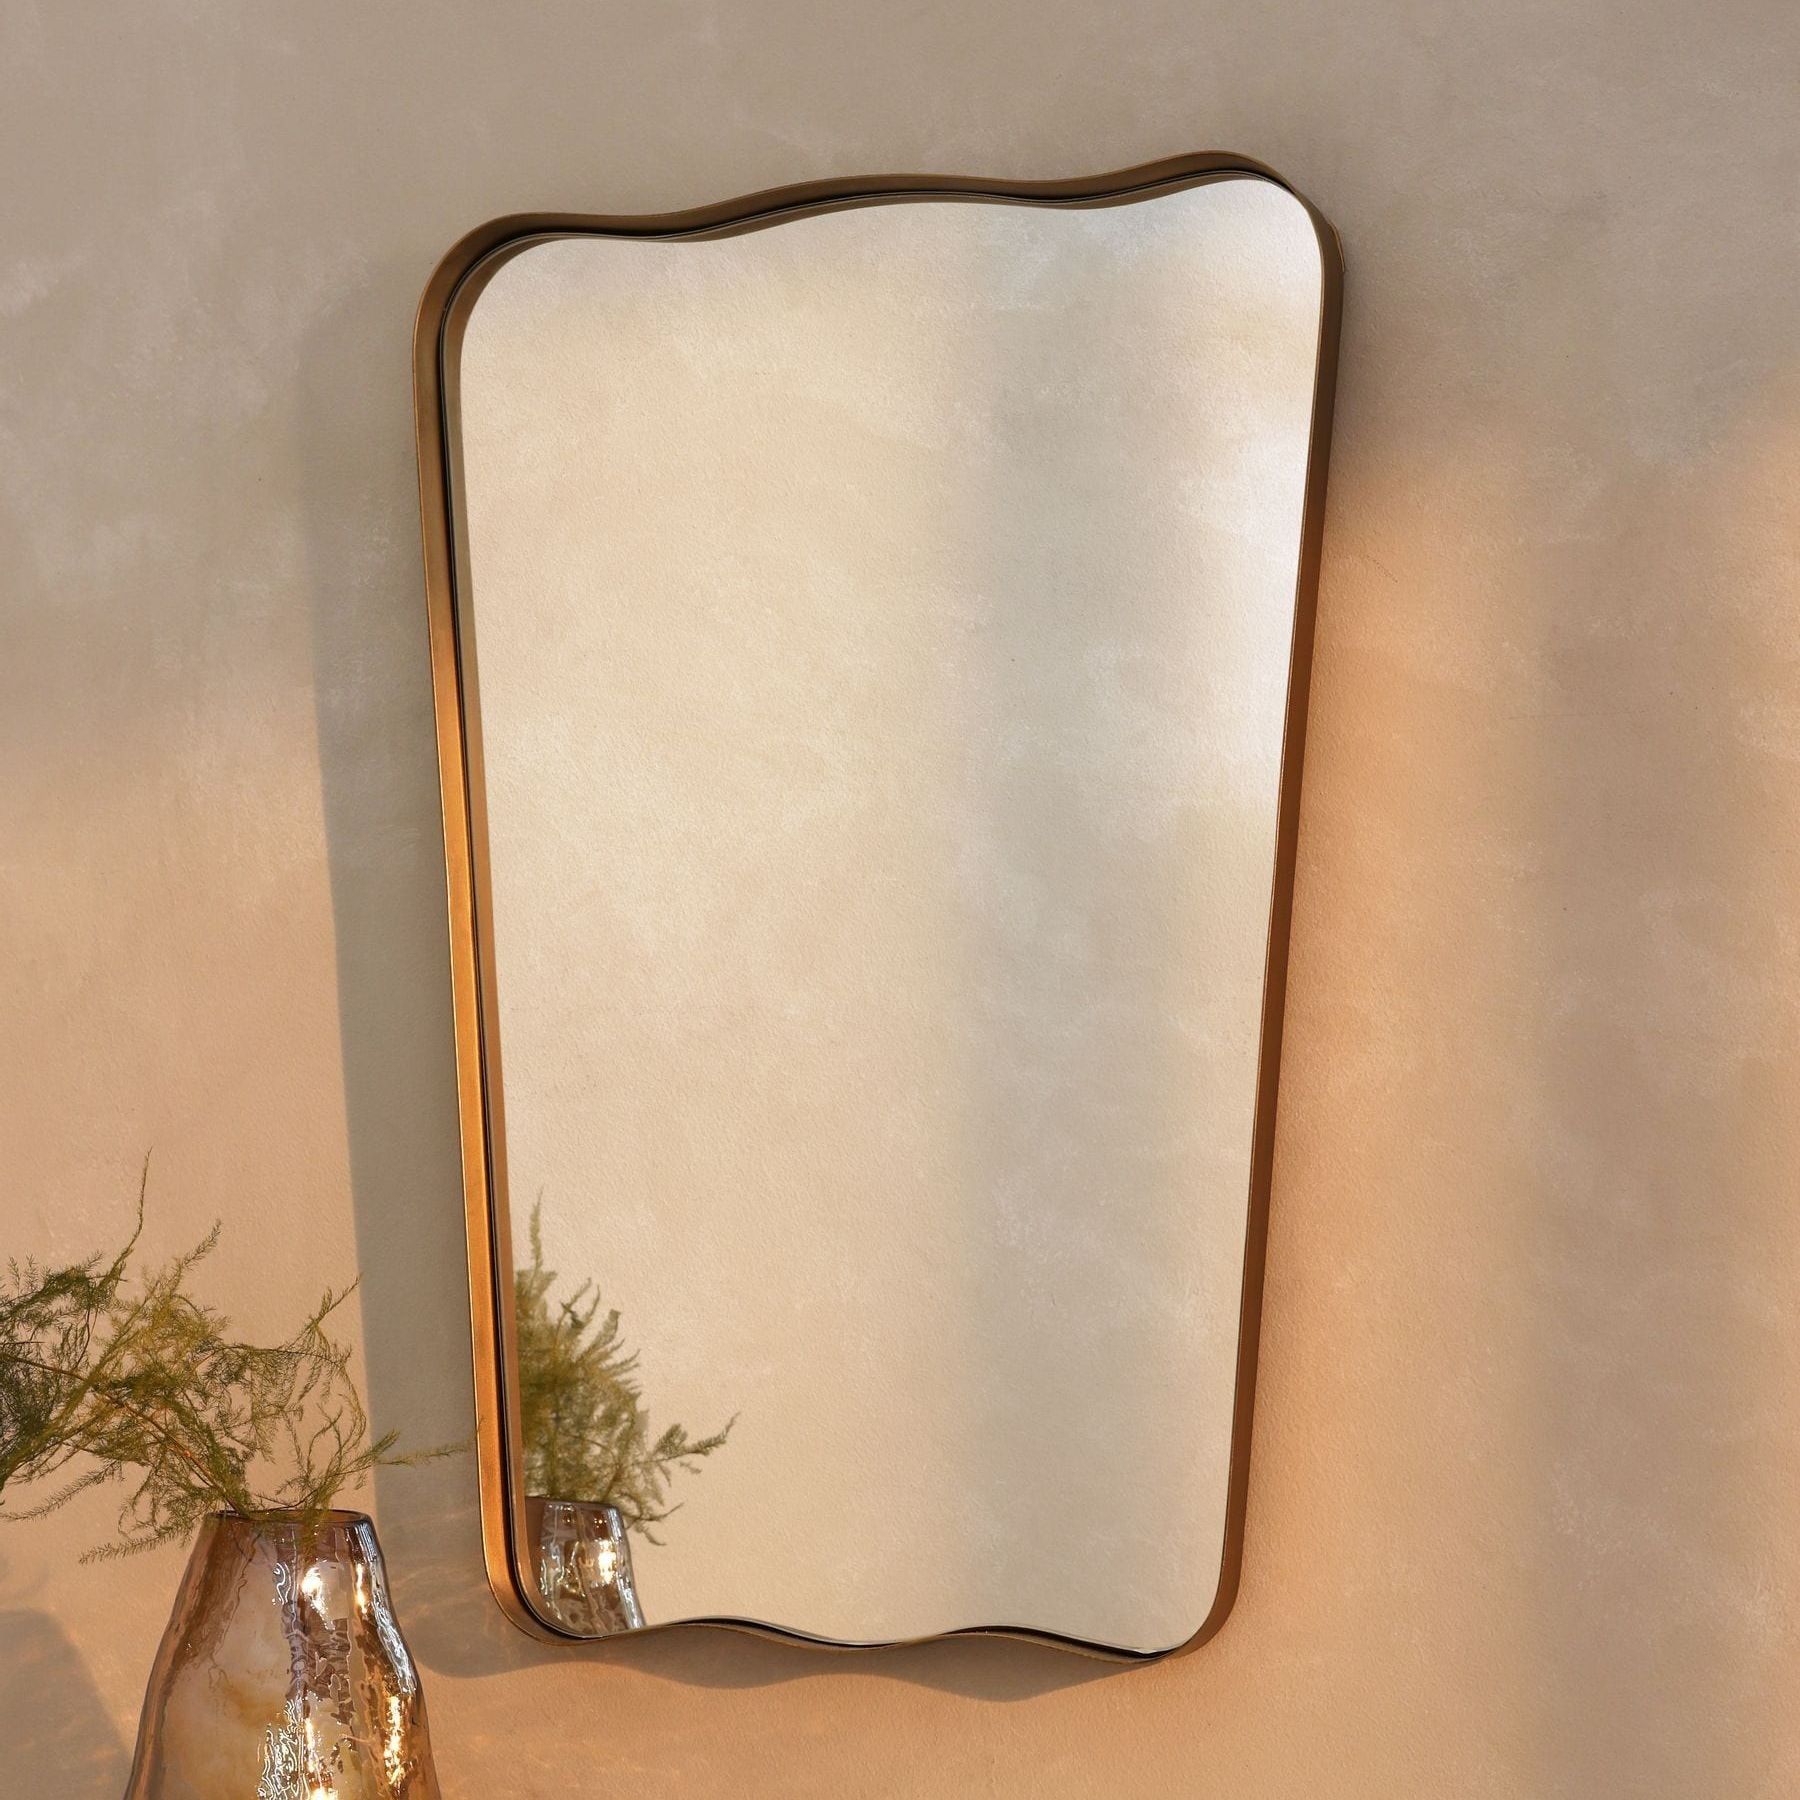
Gold N. Premium Wall Bathroom Mirror – Size One
Nes Home
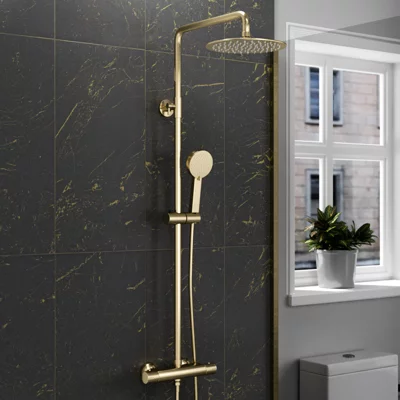
Nes Home Brushed Brass Round Exposed Thermostatic Shower Kit
Sophie and Jamie’s luxury bathroom has gone straight onto my bathroom moodboard. It’s elegant, glamorous and will never go out of style.
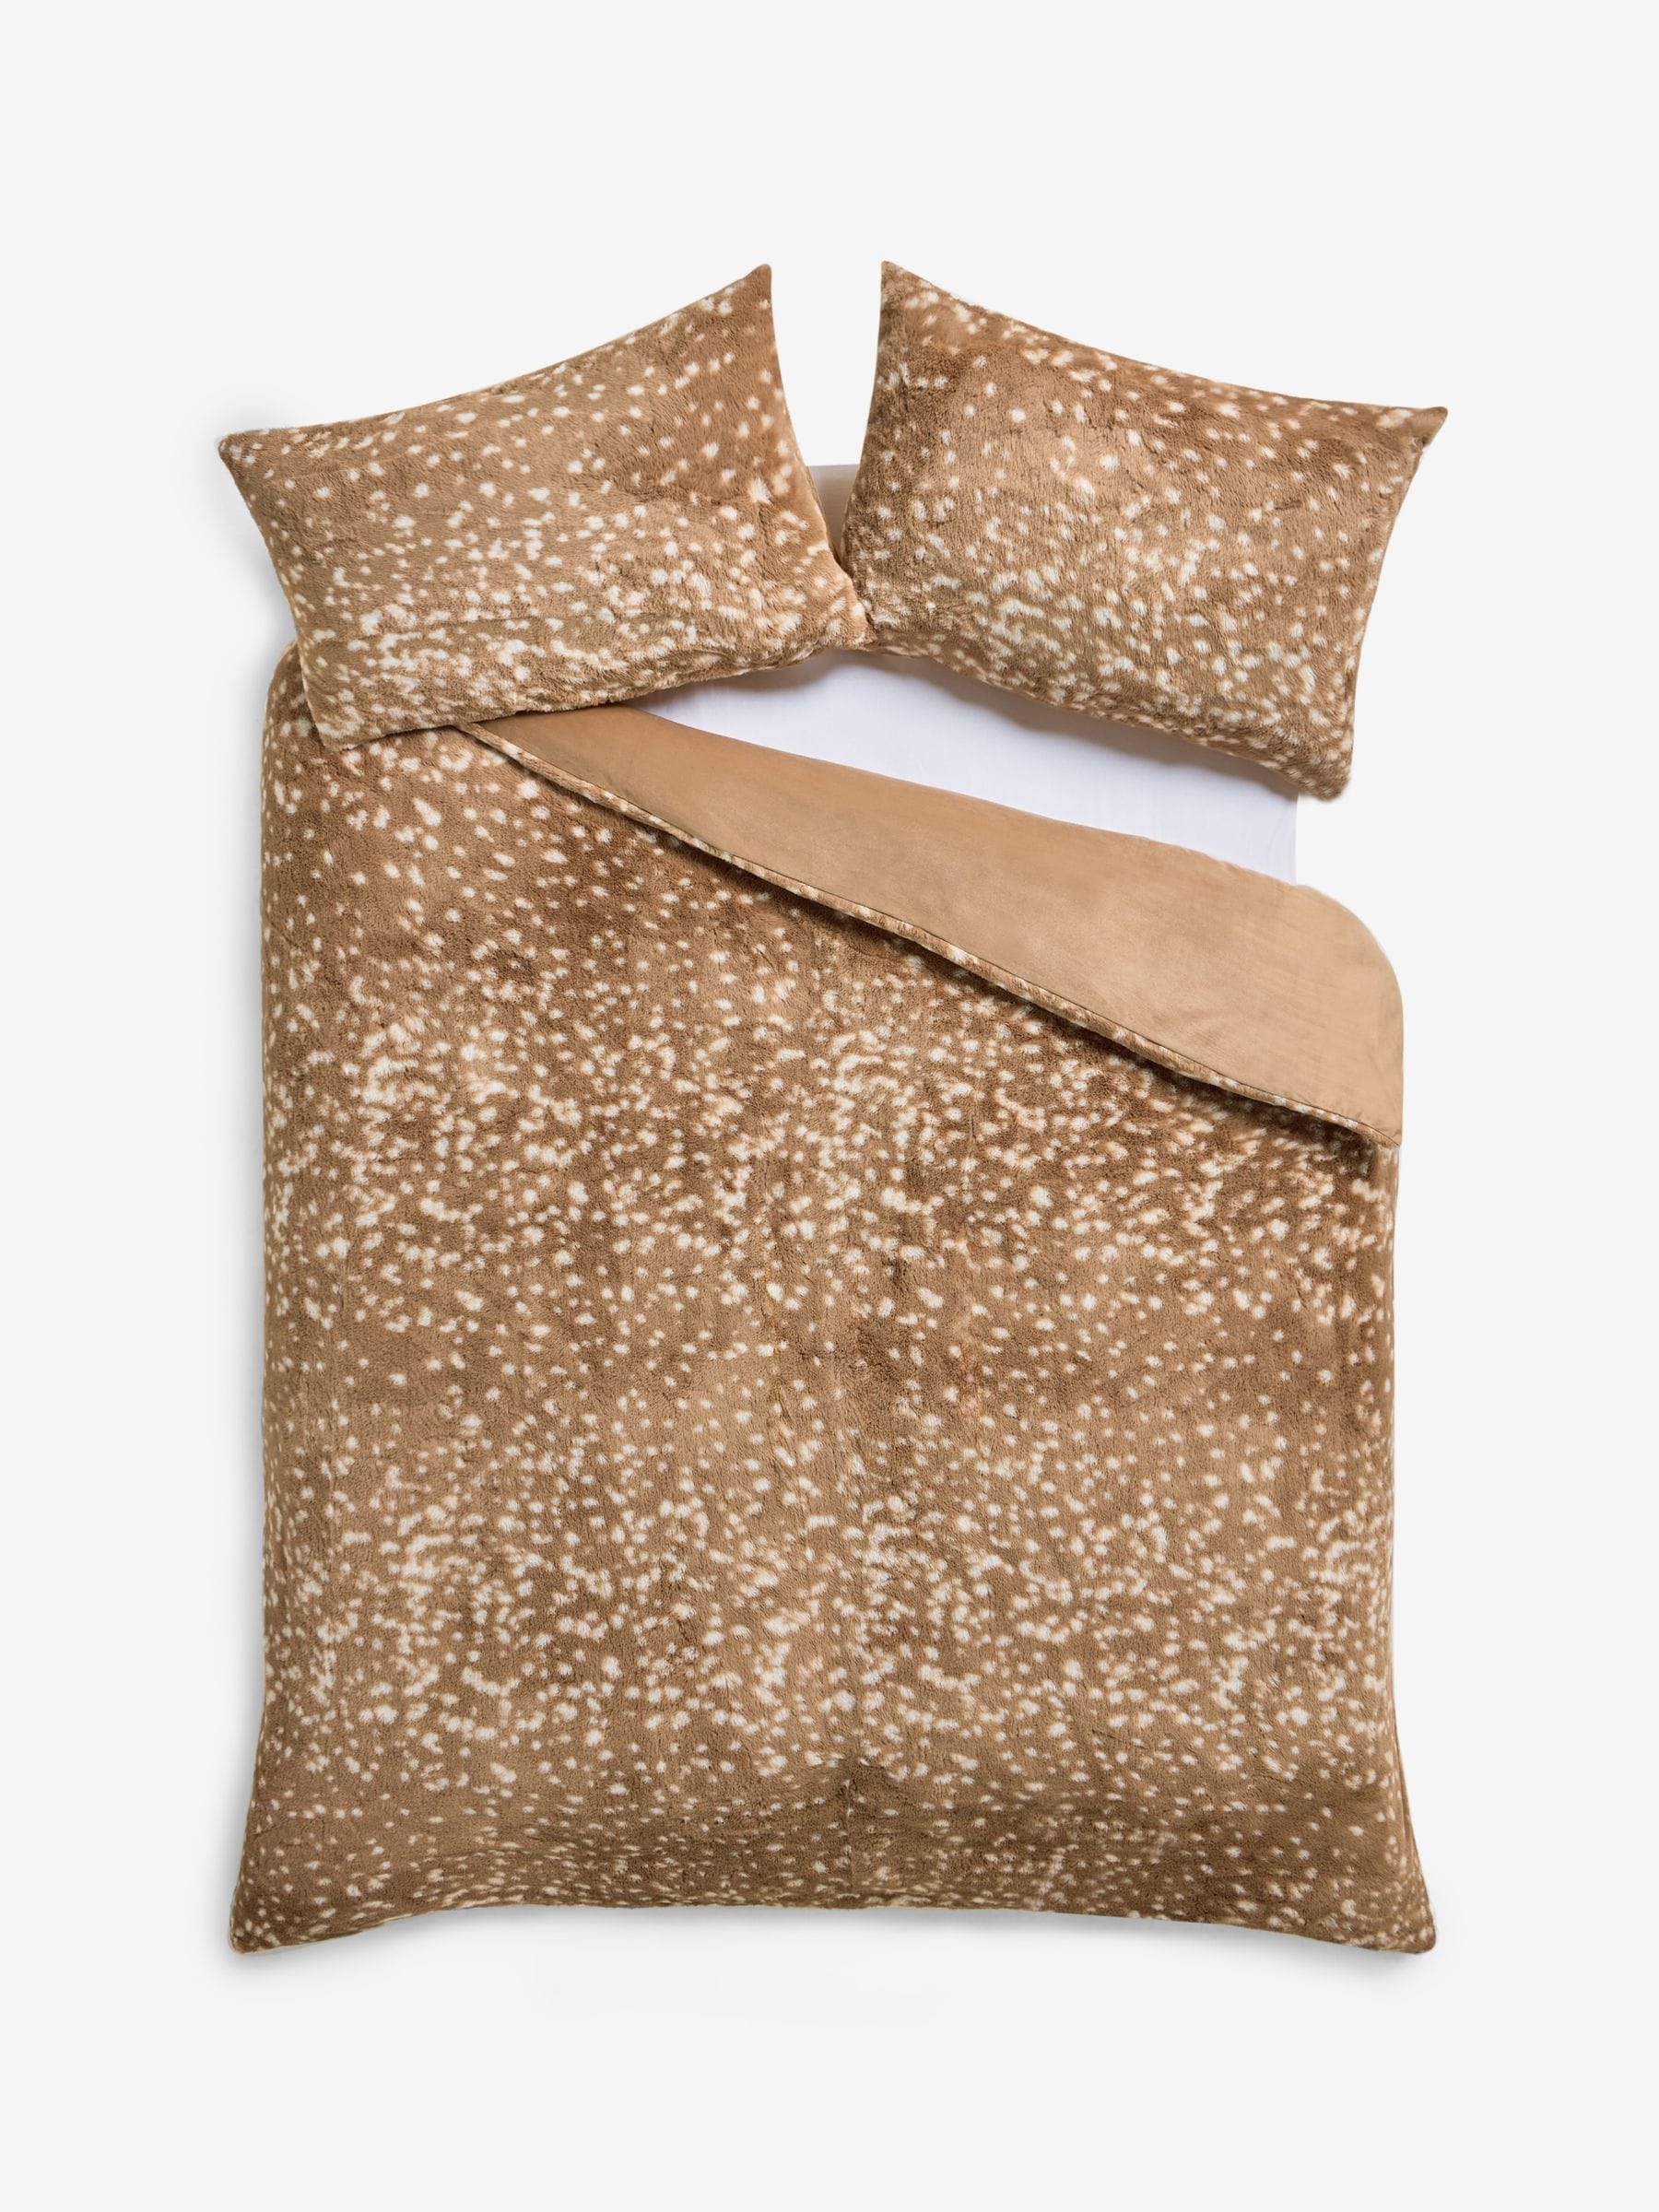
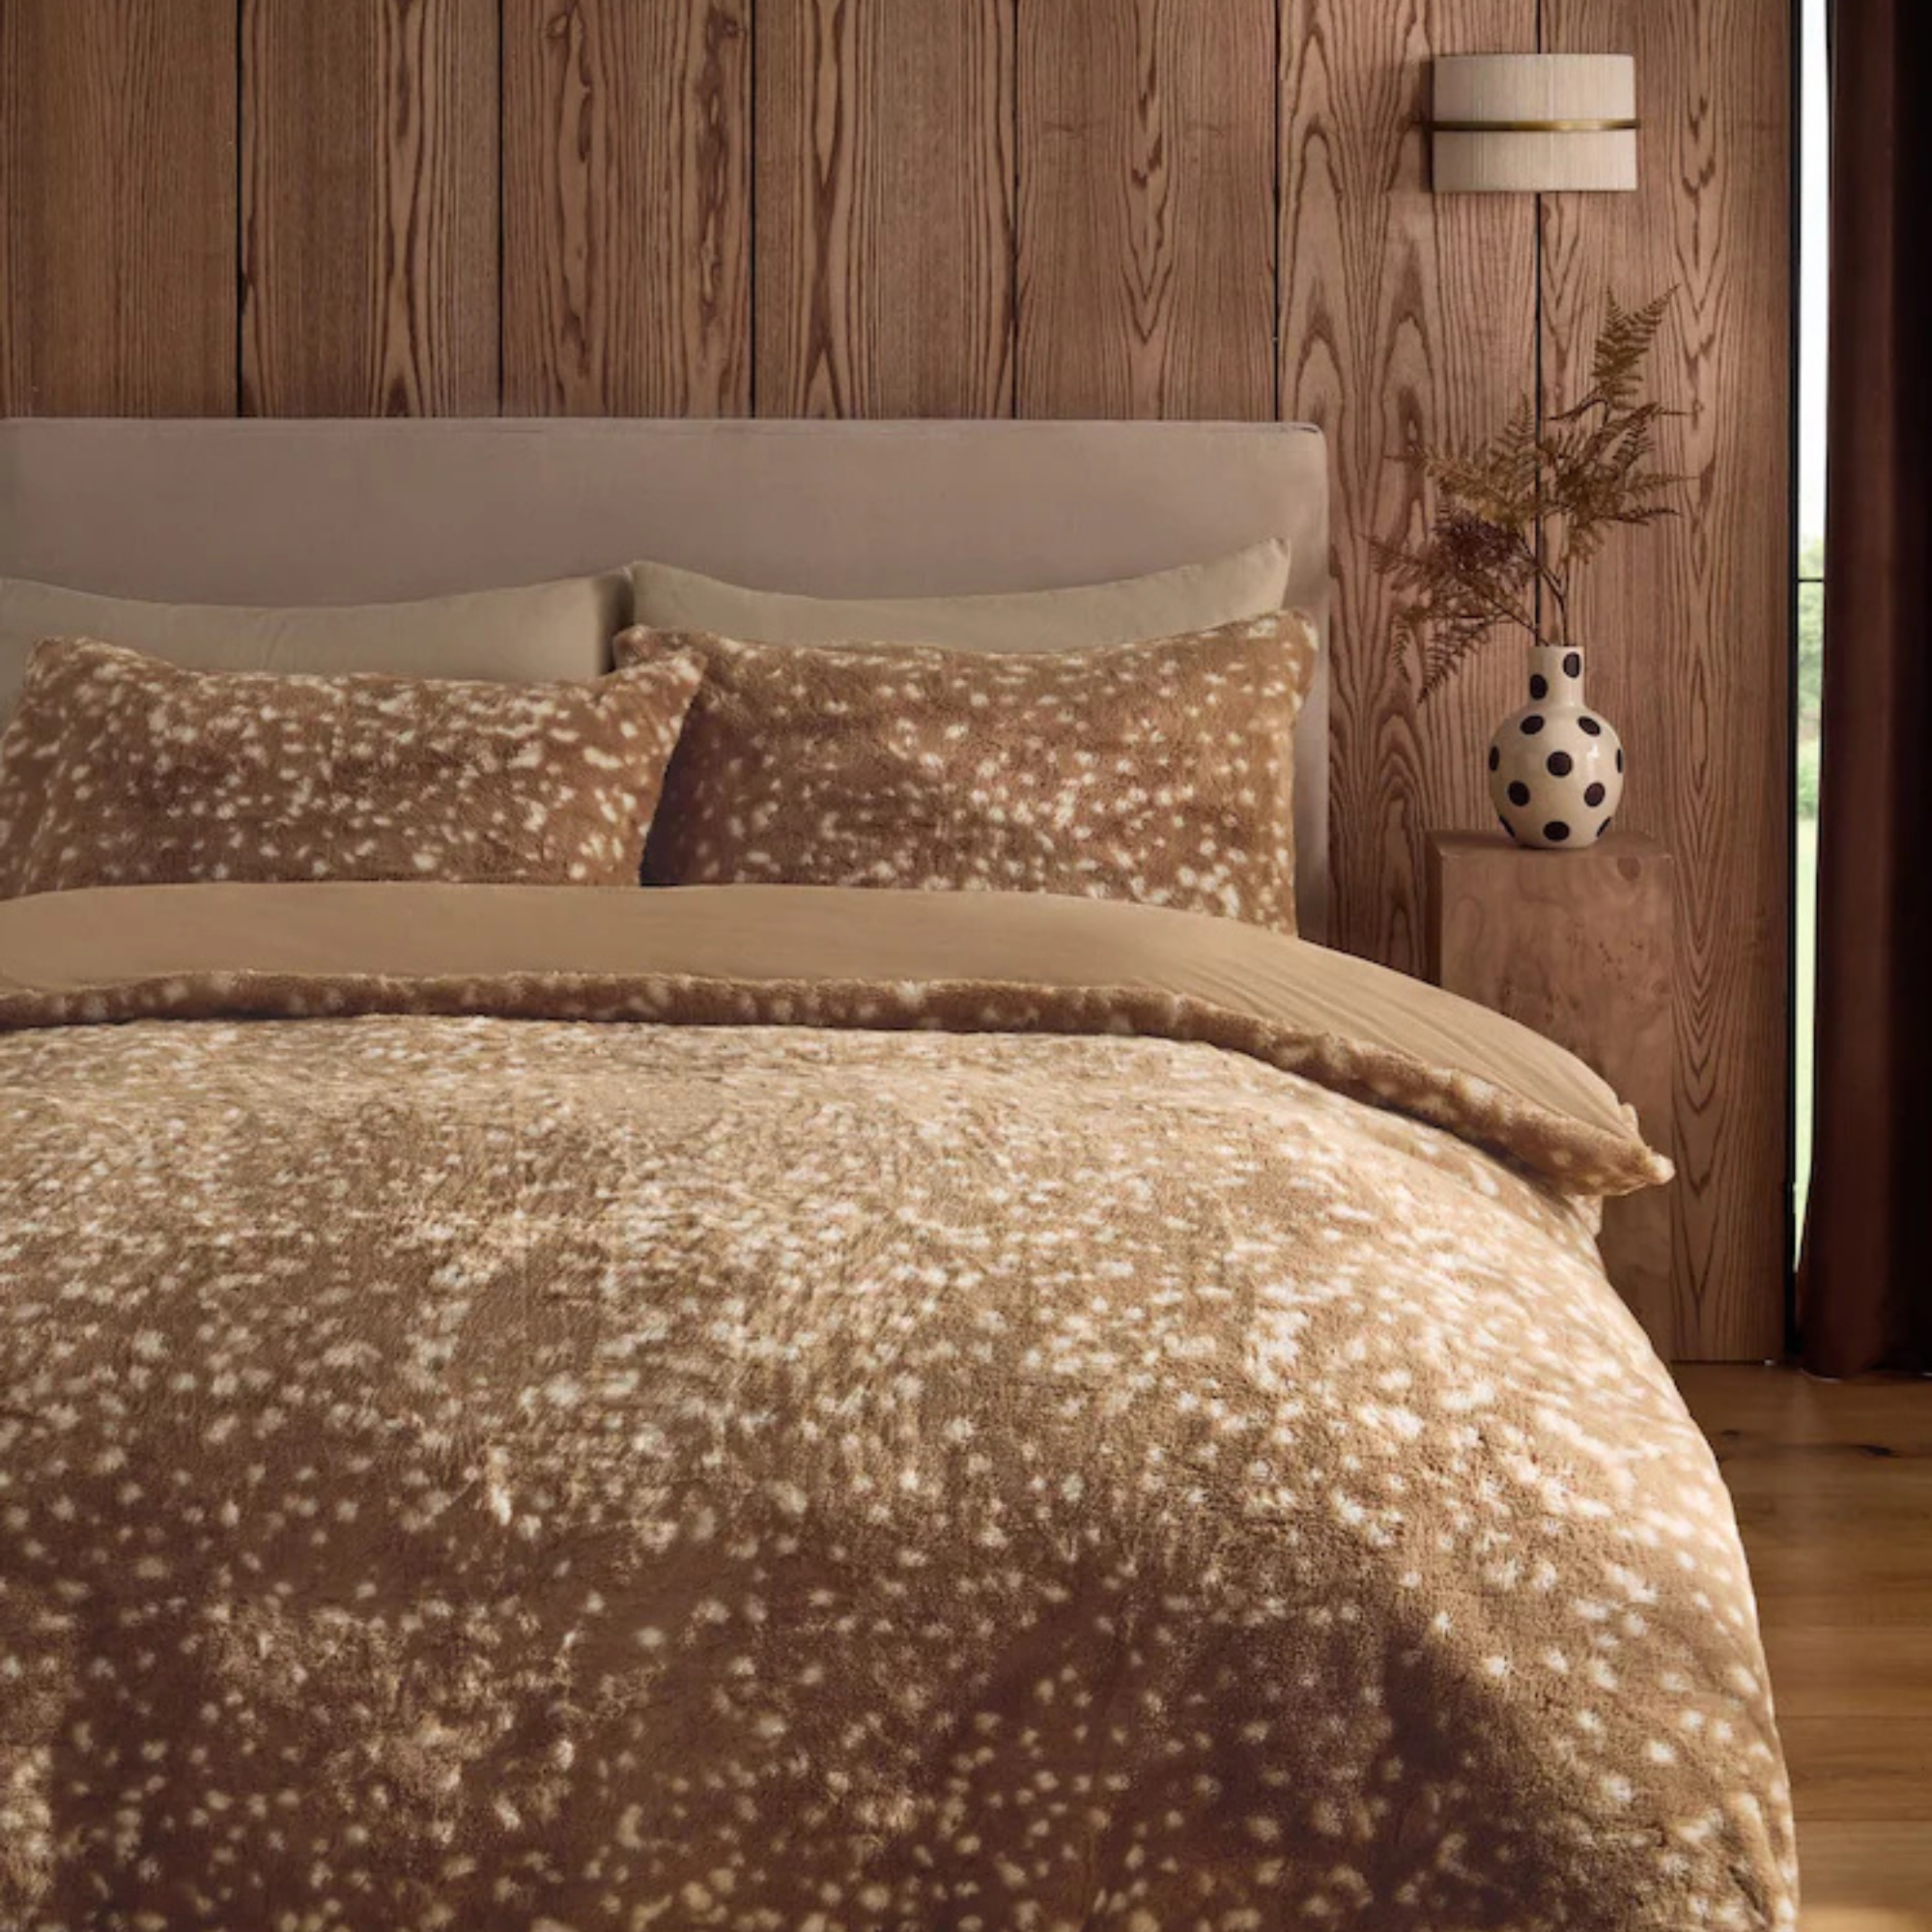
By now, there’s no way you haven’t spotted deer print quietly entrenching itself in both the fashion and interiors world this year. And I’m not about to complain, as Next’s Natural Deer Dapple Faux Fur Duvet Cover and Pillowcase Set (from £50) has to be the cosiest example of how to do this trend well I’ve seen – I can’t wait to put it on my bed this winter.
Perhaps one of the more surprising home decor trends, and subsequently now a bedding trend of 2026, delicate deer print has been everywhere of late, even taking favour over cult animal prints like leopard and zebra.
But I don’t think I’ve seen this trendy print used better than as a cosy bedding set. If you’re excited for snuggling down during the colder months, this is the statement bedding set to get your hands on now.
Latest Videos FromIdeal Home
Next
Natural Deer Dapple Faux Fur Duvet Cover and Pillowcase Set
Right now, deer print is very much centred in the fashion sphere. But as with any clothing trend, it is starting to trickle through into home decor. Most recently, Dunelm dropped a deer print fabric floor lamp, which proved a bold and playful way to embrace the trend. However, I’d argue that it fares far better as a bedding idea.
Deer print is trending because it is a gentler interpretation of the classic animal print trend. It uses a softer colour palette than leopard print, and the pattern is less defined. Because of this, I’d say deer print is better suited to your sleep space (although I do also love this funky leopard print bedding set, also from Next).
Next’s deer dapple duvet set combines a warm, white shade and a tawny brown to create a delightfully warm deer print. Its faux fur material only adds to the overall cosy look, and I do not doubt that it would be a godsend on cold winter nights. Next says this set will turn your bedroom into a ‘cosy sanctuary ’, stating the faux fur material feels incredibly soft to the touch.
(Image credit: Next)
I’m no stranger to fluffy bedding – I whip out Dunelm’s Teddy Duvet Cover and Pillowcase Set in cream (£20) every winter – and it genuinely is the one thing I introduce in winter that makes my bedroom feel miles cosier. However, I have noticed that Next’s deer print set is made from 100% polyester, and if you’re looking to avoid synthetic materials, I’d opt for brushed cotton bedding.
Sign up to our newsletter for style inspiration, real homes, project and garden advice and shopping know-how
If you’re looking for funky, on-trend designs, Next is definitely one of the best places to buy bedding. Their faux fur deer print set went straight to my wishlist as soon as I spotted it, and subsequently had me checking out the rest of Next’s cosy bedding sets. Here are three more stylish designs I spotted.
Next
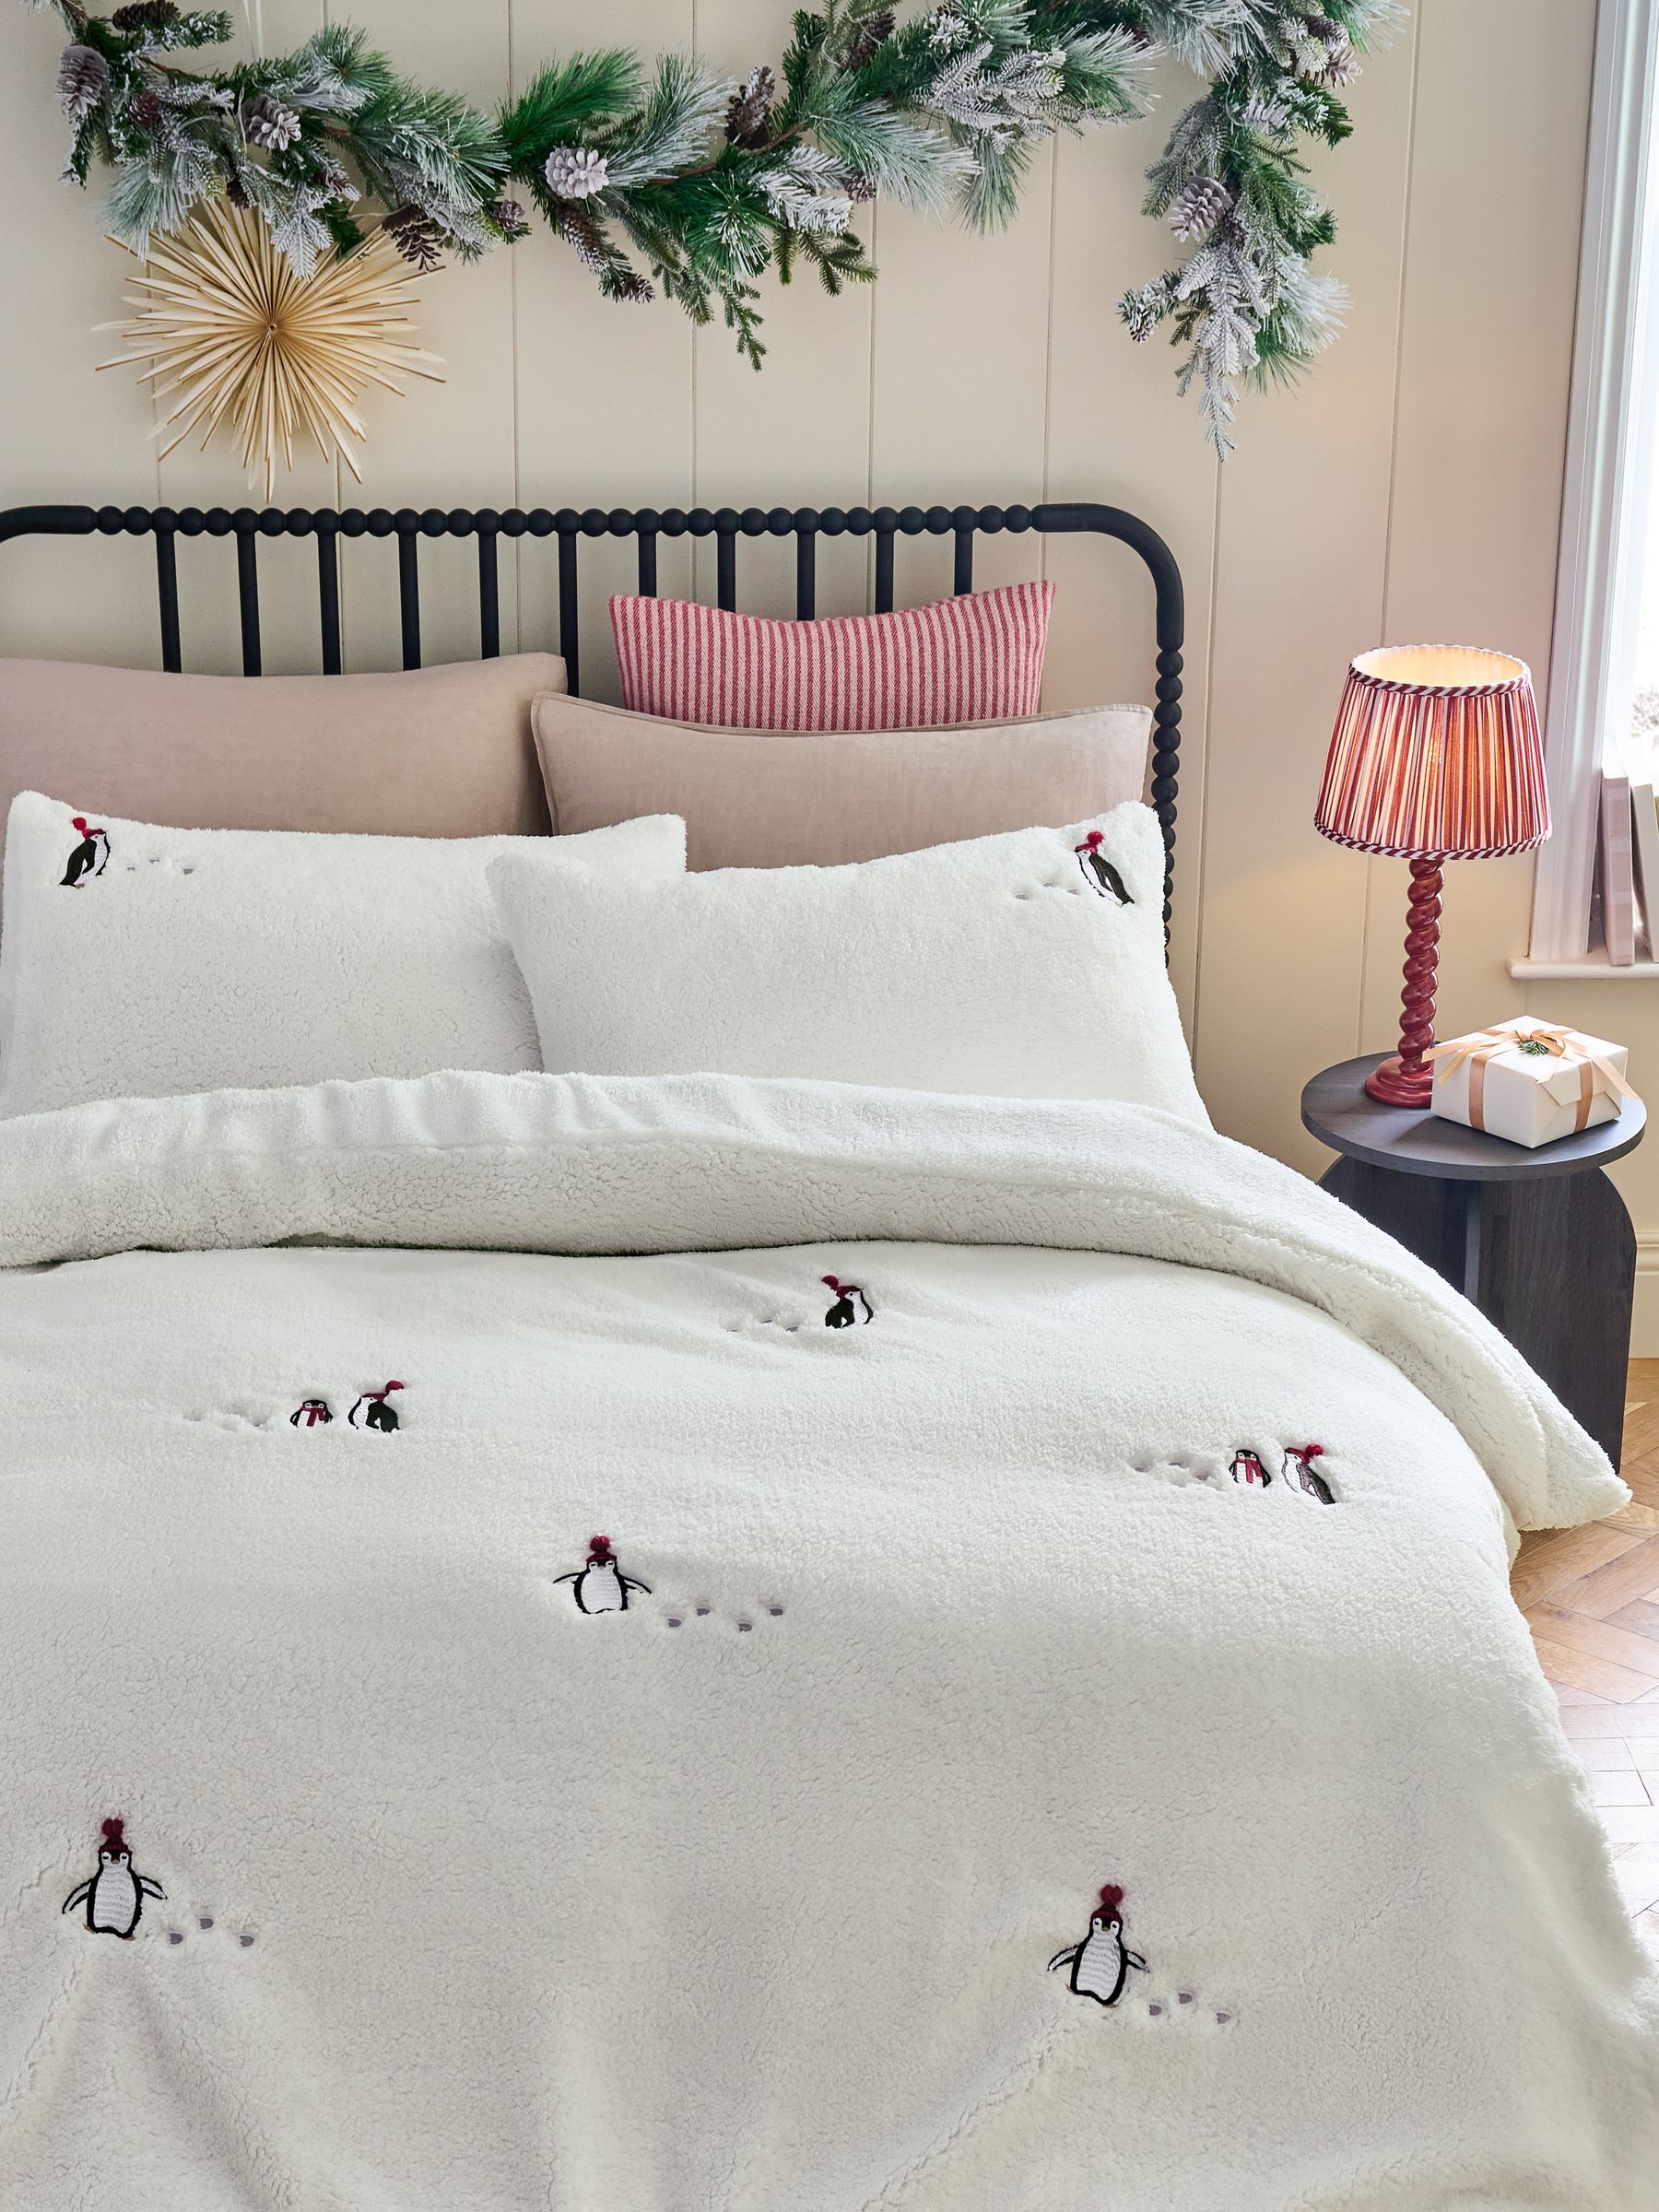
White Penguin Fleece Christmas Duvet Cover and Pillowcase Set – Size Single
<aside data-article-category="all-rooms" data-block-layout="hero" data-block-type="featured-product" data-editorial-currency="GBP" data-editorial-merchant-name="From £50 at Next" data-editorial-price="50" data-hawk-json="{"product":{"variants":{"Default":{"image":{"copyright":"","height":2400,"id":"fZVXtW7ofc9JFLTVgLRFce","mimeType":"image\/jpeg","mos":"https:\/\/cdn.mos.cms.futurecdn.net\/fZVXtW7ofc9JFLTVgLRFce.jpg","role":"","width":1800,"credit":"Next","alt":"White Penguin Fleece Christmas Duvet Cover and Pillowcase Set – Size Single","caption":""},"strapline":"
If you liked last year's robin fluffy bedding set, this penguin version is just as cute (and soft to the touch).","brand":"Next","name":"White Penguin Fleece Christmas Duvet Cover and Pillowcase Set – Size Single","urlStyle":"","layout":"hero","noFollow":true,"noAffiliateTracking":false,"promoLabel":"","price":50,"salePrice":null,"currency":"GBP","linkLayout":"text","sponsored":false,"hawkProductNameMatchedCode":"","review":{"cons":[],"id":"","name":"","pros":[],"rating":0,"strapline":"","url":""},"id":"","externalId":"783086f7aca62531f6f15e27d092929f72ad73fc","lastCheckedPriceDate":"","link":{"url":"https:\/\/click.linksynergy.com\/deeplink?id=kXQk6%2AivFEQ&mid=53096&u1=hawk-custom-tracking&murl=https%3A%2F%2Fwww.next.co.uk%2Fstyle%2Fsv011916%2Fv56726","linkText":"From \u00a350 at Next","editorialMerchantName":"From \u00a350 at Next","merchantName":"Next UK","merchantId":491232,"merchantNetwork":"LSfutureusLlc","merchantUrl":"next.co.uk"}}}}}” data-link=”https://click.linksynergy.com/deeplink?id=kXQk6%2AivFEQ&mid=53096&u1=hawk-custom-tracking&murl=https%3A%2F%2Fwww.next.co.uk%2Fstyle%2Fsv011916%2Fv56726″ data-link-merchant=”Next UK” data-link-text=”From £50 at Next” data-merchant-id=”491232″ data-merchant-name=”Next UK” data-merchant-network=”LSfutureusLlc” data-merchant-url=”next.co.uk” data-model-brand=”Next” data-model-name=”Next White Penguin Fleece Christmas Duvet Cover and Pillowcase Set – Size Single” data-name=”Product Block merchantlink widget” data-render-type=”fte” data-show-fallback=”button” data-widget-type=”merchantlink” class=”ecom-root”>
If you liked last year’s robin fluffy bedding set, this penguin version is just as cute (and soft to the touch).
Next
Natural Polka Dot Frill Soft Fleece Duvet Cover and Pillowcase Set – Size Single
<aside data-article-category="all-rooms" data-block-layout="hero" data-block-type="featured-product" data-editorial-currency="GBP" data-editorial-merchant-name="From £50 at Next" data-editorial-price="50" data-hawk-json="{"product":{"variants":{"Default":{"image":{"copyright":"","height":2400,"id":"8gJXUaQNLLJt55jLf9MF43","mimeType":"image\/jpeg","mos":"https:\/\/cdn.mos.cms.futurecdn.net\/8gJXUaQNLLJt55jLf9MF43.jpg","role":"","width":1800,"credit":"Next","alt":"Natural Polka Dot Frill Soft Fleece Duvet Cover and Pillowcase Set – Size Single","caption":""},"strapline":"
Decked out in a simple yet sophisticated polka dot print, this stylish fleecy set will keep you warm all winter.","brand":"Next","name":"Natural Polka Dot Frill Soft Fleece Duvet Cover and Pillowcase Set – Size Single","urlStyle":"","layout":"hero","noFollow":true,"noAffiliateTracking":false,"promoLabel":"","price":50,"salePrice":null,"currency":"GBP","linkLayout":"text","sponsored":false,"hawkProductNameMatchedCode":"","review":{"cons":[],"id":"","name":"","pros":[],"rating":0,"strapline":"","url":""},"id":"","externalId":"6c14a9e438087367d8ab1cdb43b9a5d21ea75037","lastCheckedPriceDate":"","link":{"url":"https:\/\/click.linksynergy.com\/deeplink?id=kXQk6%2AivFEQ&mid=53096&u1=hawk-custom-tracking&murl=https%3A%2F%2Fwww.next.co.uk%2Fstyle%2Fsv009953%2Fv40739","linkText":"From \u00a350 at Next","editorialMerchantName":"From \u00a350 at Next","merchantName":"Next UK","merchantId":491232,"merchantNetwork":"LSfutureusLlc","merchantUrl":"next.co.uk"}}}}}” data-link=”https://click.linksynergy.com/deeplink?id=kXQk6%2AivFEQ&mid=53096&u1=hawk-custom-tracking&murl=https%3A%2F%2Fwww.next.co.uk%2Fstyle%2Fsv009953%2Fv40739″ data-link-merchant=”Next UK” data-link-text=”From £50 at Next” data-merchant-id=”491232″ data-merchant-name=”Next UK” data-merchant-network=”LSfutureusLlc” data-merchant-url=”next.co.uk” data-model-brand=”Next” data-model-name=”Next Natural Polka Dot Frill Soft Fleece Duvet Cover and Pillowcase Set – Size Single” data-name=”Product Block merchantlink widget” data-render-type=”fte” data-show-fallback=”button” data-widget-type=”merchantlink” class=”ecom-root”>
Decked out in a simple yet sophisticated polka dot print, this stylish fleecy set will keep you warm all winter.
Next
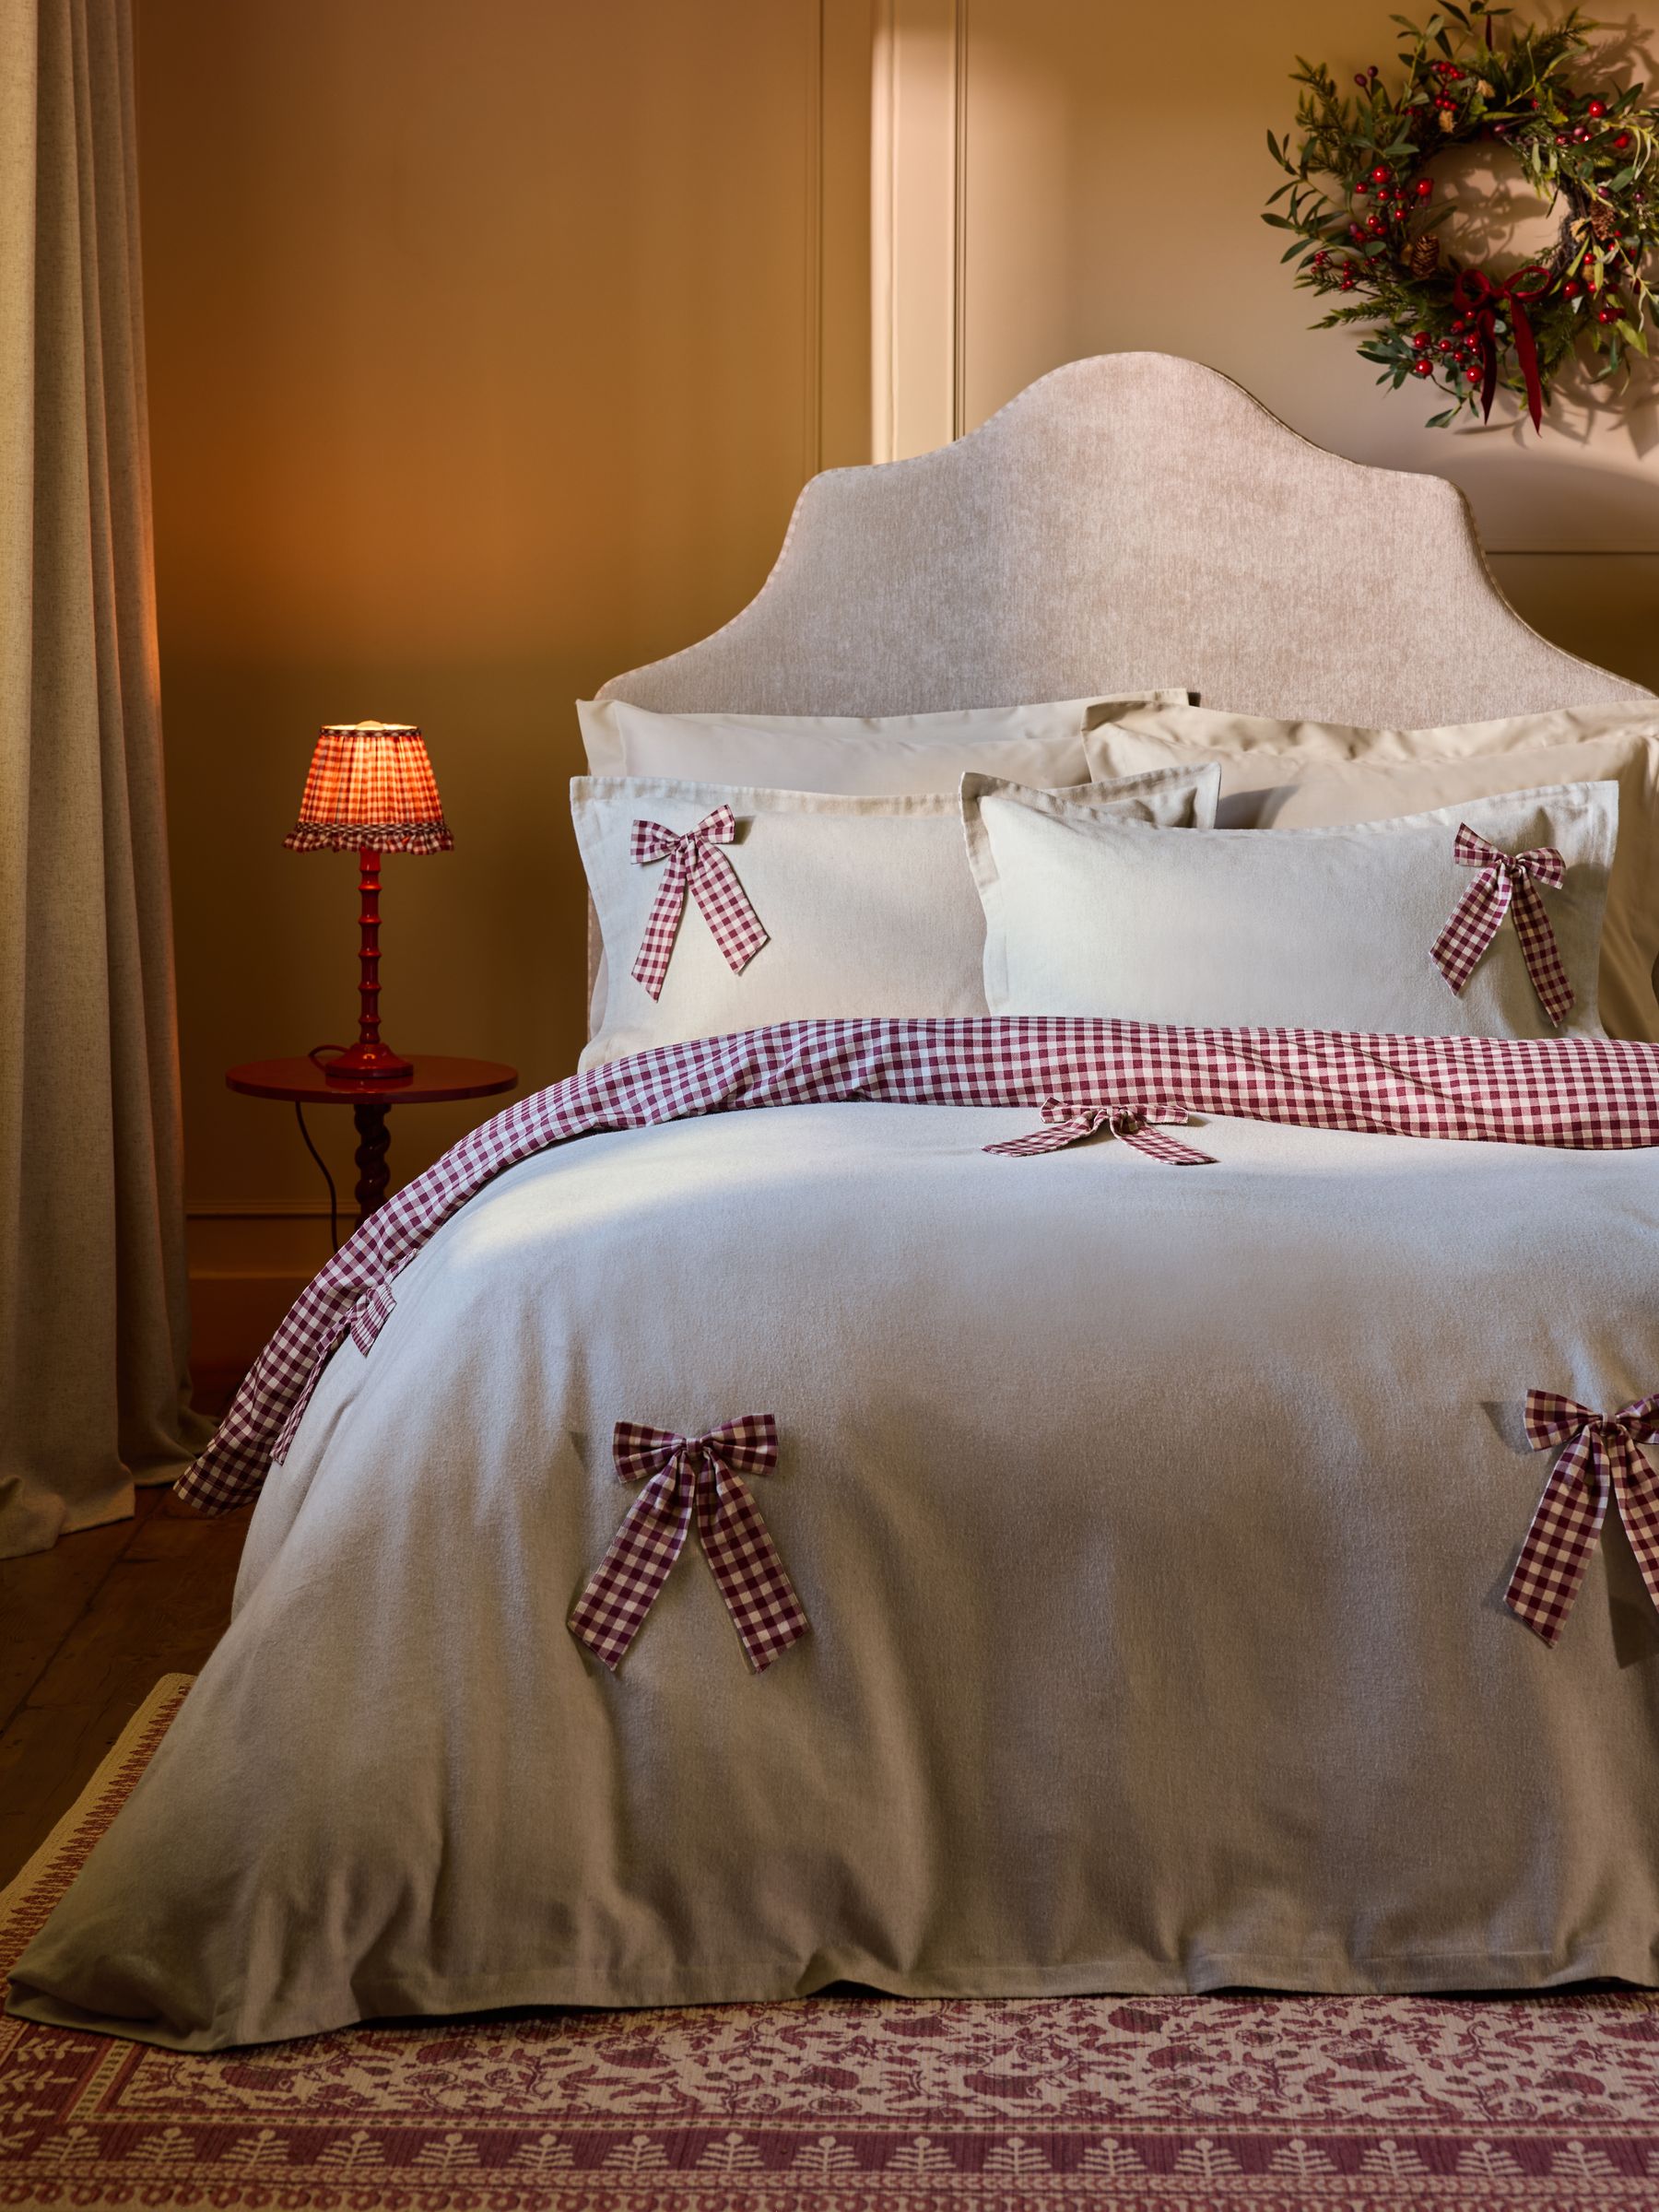
Red/natural Gingham Bows Brushed Collection Luxe Duvet Cover and Pillowcase Set – Size Single
<aside data-article-category="all-rooms" data-block-layout="hero" data-block-type="featured-product" data-editorial-currency="GBP" data-editorial-merchant-name="From £60 at Next" data-editorial-price="60" data-hawk-json="{"product":{"variants":{"Default":{"image":{"copyright":"","height":2400,"id":"8EcPoseymhGu5JJ82ave6f","mimeType":"image\/jpeg","mos":"https:\/\/cdn.mos.cms.futurecdn.net\/8EcPoseymhGu5JJ82ave6f.jpg","role":"","width":1800,"credit":"Next","alt":"Red\/natural Gingham Bows Brushed Collection Luxe Duvet Cover and Pillowcase Set – Size Single","caption":""},"strapline":"
I'm obsessed with the 3D ginham bows on this brushed cotton set. It's playful, yet retains a luxe feel.","brand":"Next","name":"Red\/natural Gingham Bows Brushed Collection Luxe Duvet Cover and Pillowcase Set – Size Single","urlStyle":"","layout":"hero","noFollow":true,"noAffiliateTracking":false,"promoLabel":"","price":60,"salePrice":null,"currency":"GBP","linkLayout":"text","sponsored":false,"hawkProductNameMatchedCode":"","review":{"cons":[],"id":"","name":"","pros":[],"rating":0,"strapline":"","url":""},"id":"","externalId":"31d818eff9195894db6d83e97c929c4015be8e0f","lastCheckedPriceDate":"","link":{"url":"https:\/\/click.linksynergy.com\/deeplink?id=kXQk6%2AivFEQ&mid=53096&u1=hawk-custom-tracking&murl=https%3A%2F%2Fwww.next.co.uk%2Fstyle%2Fsv009940%2Fg74569","linkText":"From \u00a360 at Next","editorialMerchantName":"From \u00a360 at Next","merchantName":"Next UK","merchantId":491232,"merchantNetwork":"LSfutureusLlc","merchantUrl":"next.co.uk"}}}}}” data-link=”https://click.linksynergy.com/deeplink?id=kXQk6%2AivFEQ&mid=53096&u1=hawk-custom-tracking&murl=https%3A%2F%2Fwww.next.co.uk%2Fstyle%2Fsv009940%2Fg74569″ data-link-merchant=”Next UK” data-link-text=”From £60 at Next” data-merchant-id=”491232″ data-merchant-name=”Next UK” data-merchant-network=”LSfutureusLlc” data-merchant-url=”next.co.uk” data-model-brand=”Next” data-model-name=”Next Red/natural Gingham Bows Brushed Collection Luxe Duvet Cover and Pillowcase Set – Size Single” data-name=”Product Block merchantlink widget” data-render-type=”fte” data-show-fallback=”button” data-widget-type=”merchantlink” class=”ecom-root”>
I’m obsessed with the 3D ginham bows on this brushed cotton set. It’s playful, yet retains a luxe feel.
Is the Next deer print duvet set going on your wishlist, too?
I hate to say it, but it’s definitely spider season in the UK, and if you’ve noticed an influx of arachnids to your home, then you may benefit from introducing a window curfew to your home.
While I must point out that spiders won’t harm you in the UK, many adults are afraid of them, which is why many of us will be looking for ways to get rid of spiders during this time of year.
Instead of worrying about the things luring spiders into your home, it’s time to be proactive and stop them from entering your home in the first place. Introducing a 7 pm window curfew can help prevent spiders from creeping into your house. Here’s everything you need to know.
Latest Videos FromIdeal Home
What is a window curfew?
A spider curfew is a completely free and easy way to keep pests out of your home, without having to rely on chemicals such as spider spray. All you have to do is shut your windows before 7 pm every night, and you should see a reduction in the number of spiders in your home.
(Image credit: Getty Images/Arterra/Contributor)
‘A lot of people notice more spiders around the home at this time of year, but they’re not usually coming inside looking for shelter. More often than not, they’re following their food. As the evenings get darker, insects are attracted to the lights in our homes, and spiders tend to follow where there’s an easy meal to be found,’ comments Simon Browne, product expert at Luxaflex.
‘Open windows can provide an easy route indoors, especially in the early evening when it’s cooler, and people are trying to let fresh air in. Once it starts getting dark outside, the glow from lights inside the home can attract insects towards windows and doorways, which is why you may see more spider activity around these areas.
‘Closing your windows from around 7 pm can help reduce the chances of spiders finding their way inside, particularly during late summer and early autumn when they’re most active. It’s not a guaranteed fix, but limiting access points after dusk can certainly help make your home less inviting to both insects and the spiders that follow them.’
Sign up to our newsletter for style inspiration, real homes, project and garden advice and shopping know-how
Is this a good method to use?
While we can’t quite promise you’ll see spiders disappear completely from your home, introducing a curfew can be handy alongside using other deterrents such as scents spiders can’t stand.
(Image credit: Future PLC/Mel Yates)
‘It won’t guarantee you never see a spider, because they can get in through other gaps and some will already be living in and around the building, but closing windows and external doors earlier in the evening should reduce the chances of more wandering in,’ says Darren Coates, window expert and sales director at SolarFrame.
Simon points out that you should also consider opening your windows during different parts of the day during spider season.
‘If you want to keep rooms feeling fresh without leaving windows open late into the evening, it’s worth thinking about ways to manage ventilation earlier in the day. Keeping windows open in the morning or afternoon, then closing them as night falls, can help strike a balance between maintaining airflow and reducing the likelihood of unwanted visitors making their way indoors,’ he says.
Deter spiders from your home:
Zero In
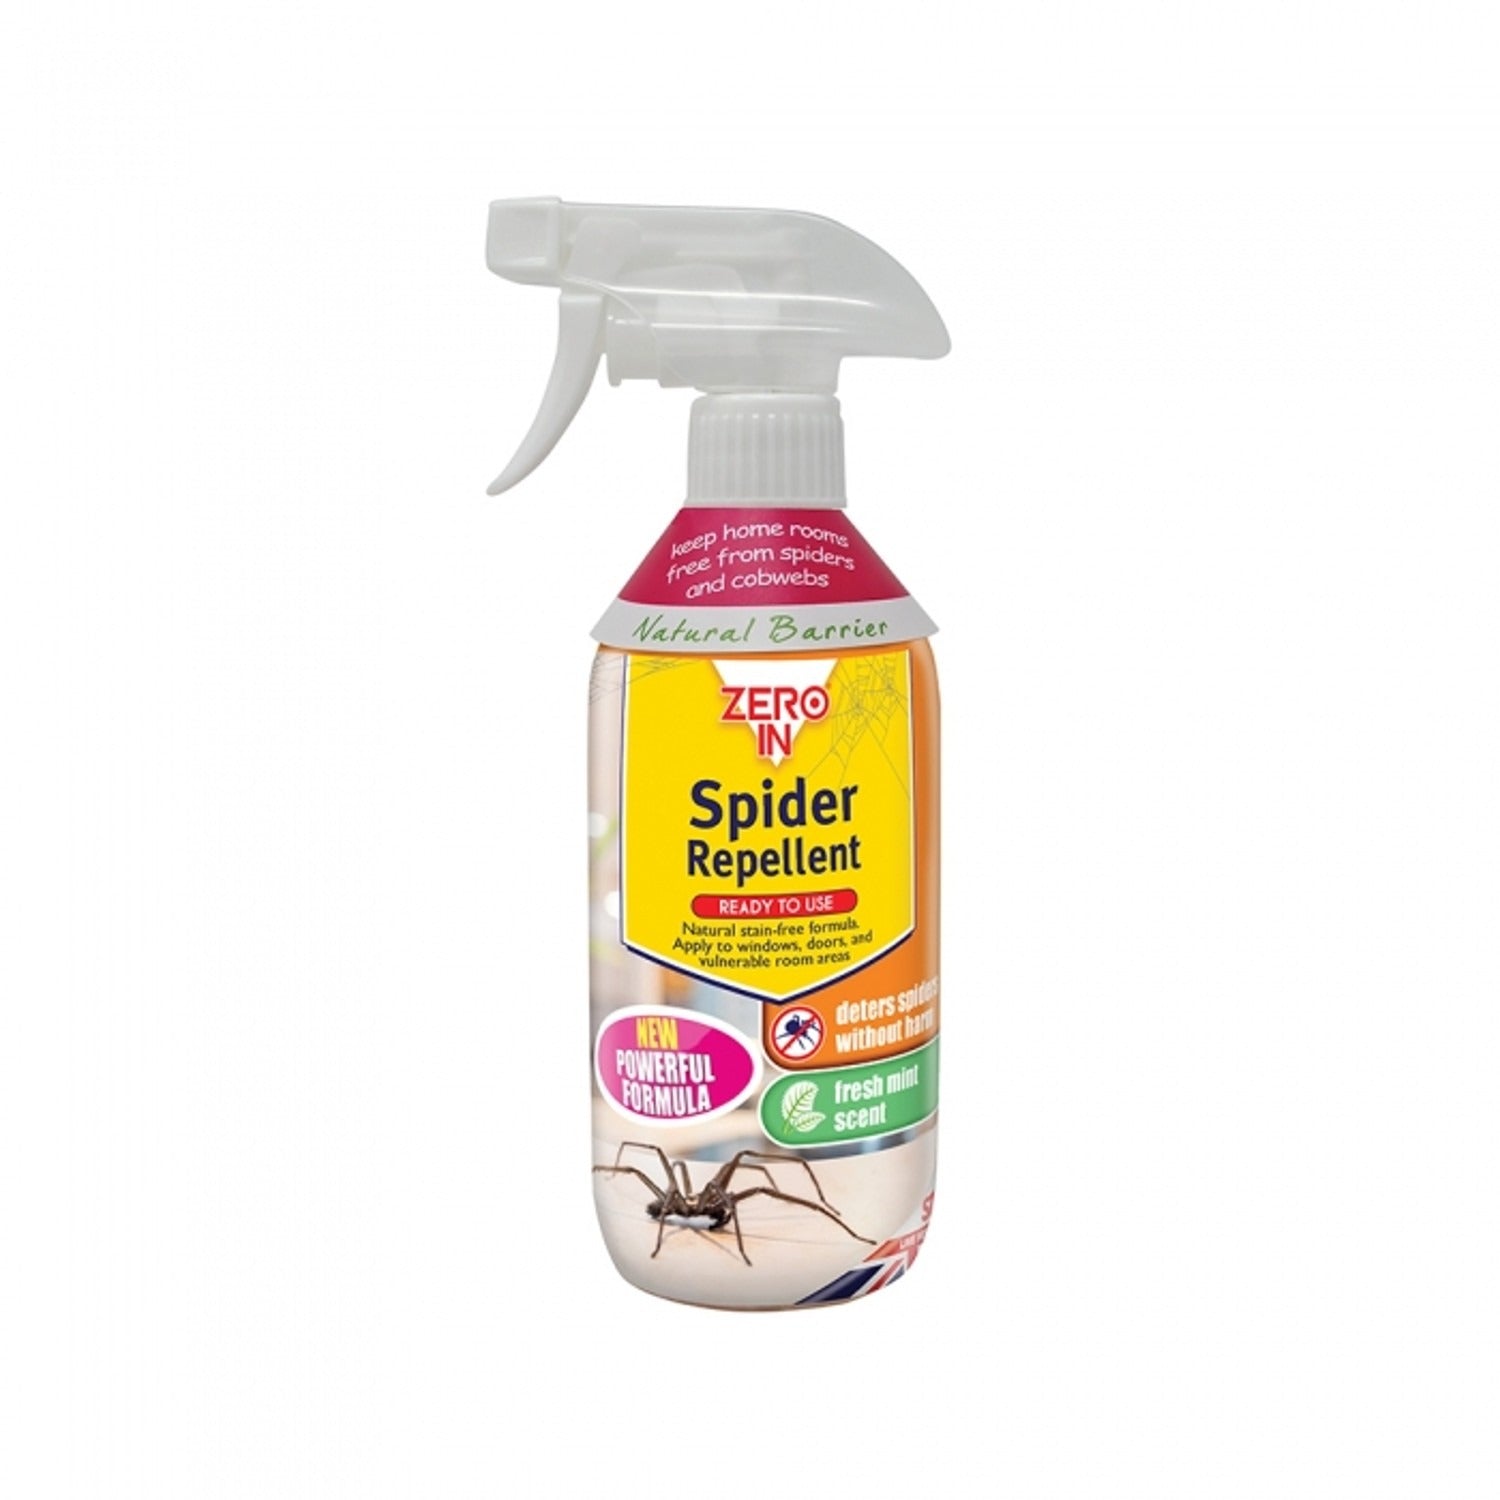
Zero in Spider Repellent Spray 500ml
<aside data-article-category="house-manual" data-block-layout="hero" data-block-type="featured-product" data-editorial-currency="GBP" data-editorial-merchant-name="£5.99 at Lakeland" data-editorial-price="5.99" data-hawk-json="{"product":{"variants":{"Default":{"image":{"copyright":"","height":1500,"id":"3CdyYeLFYoaurSCu5pqAQA","mimeType":"image\/jpeg","mos":"https:\/\/cdn.mos.cms.futurecdn.net\/3CdyYeLFYoaurSCu5pqAQA.jpg","role":"","width":1500,"credit":"Zero In","alt":"Zero in Spider Repellent Spray 500ml","caption":""},"strapline":"
Spray this chemical free mixture around windows and doors. Spiders can't stand the smell and will avoid the area.","brand":"Zero In","name":"Zero in Spider Repellent Spray 500ml","urlStyle":"","layout":"hero","noFollow":true,"noAffiliateTracking":false,"promoLabel":"","price":5.99,"salePrice":null,"currency":"GBP","linkLayout":"text","sponsored":false,"hawkProductNameMatchedCode":"","review":{"cons":[],"id":"","name":"","pros":[],"rating":0,"strapline":"","url":""},"id":"","externalId":"7859df8619c2a1810cf62e5e6df0a20b48318f67","lastCheckedPriceDate":"","link":{"url":"https:\/\/www.awin1.com\/awclick.php?awinmid=1751&awinaffid=103504&clickref=hawk-custom-tracking&p=https%3A%2F%2Fwww.lakeland.co.uk%2Fproducts%2Fzero-in-spider-repellent-spray-500ml","linkText":"\u00a35.99 at Lakeland","editorialMerchantName":"\u00a35.99 at Lakeland","merchantName":"Lakeland","merchantId":2595,"merchantNetwork":"AW","merchantUrl":"lakeland.co.uk"}}}}}” data-link=”https://www.awin1.com/awclick.php?awinmid=1751&awinaffid=103504&clickref=hawk-custom-tracking&p=https%3A%2F%2Fwww.lakeland.co.uk%2Fproducts%2Fzero-in-spider-repellent-spray-500ml” data-link-merchant=”Lakeland” data-link-text=”£5.99 at Lakeland” data-merchant-id=”2595″ data-merchant-name=”Lakeland” data-merchant-network=”AW” data-merchant-url=”lakeland.co.uk” data-model-brand=”Zero In” data-model-name=”Zero In Zero in Spider Repellent Spray 500ml” data-name=”Product Block merchantlink widget” data-render-type=”fte” data-show-fallback=”button” data-widget-type=”merchantlink” class=”ecom-root”>
Spray this chemical free mixture around windows and doors. Spiders can’t stand the smell and will avoid the area.
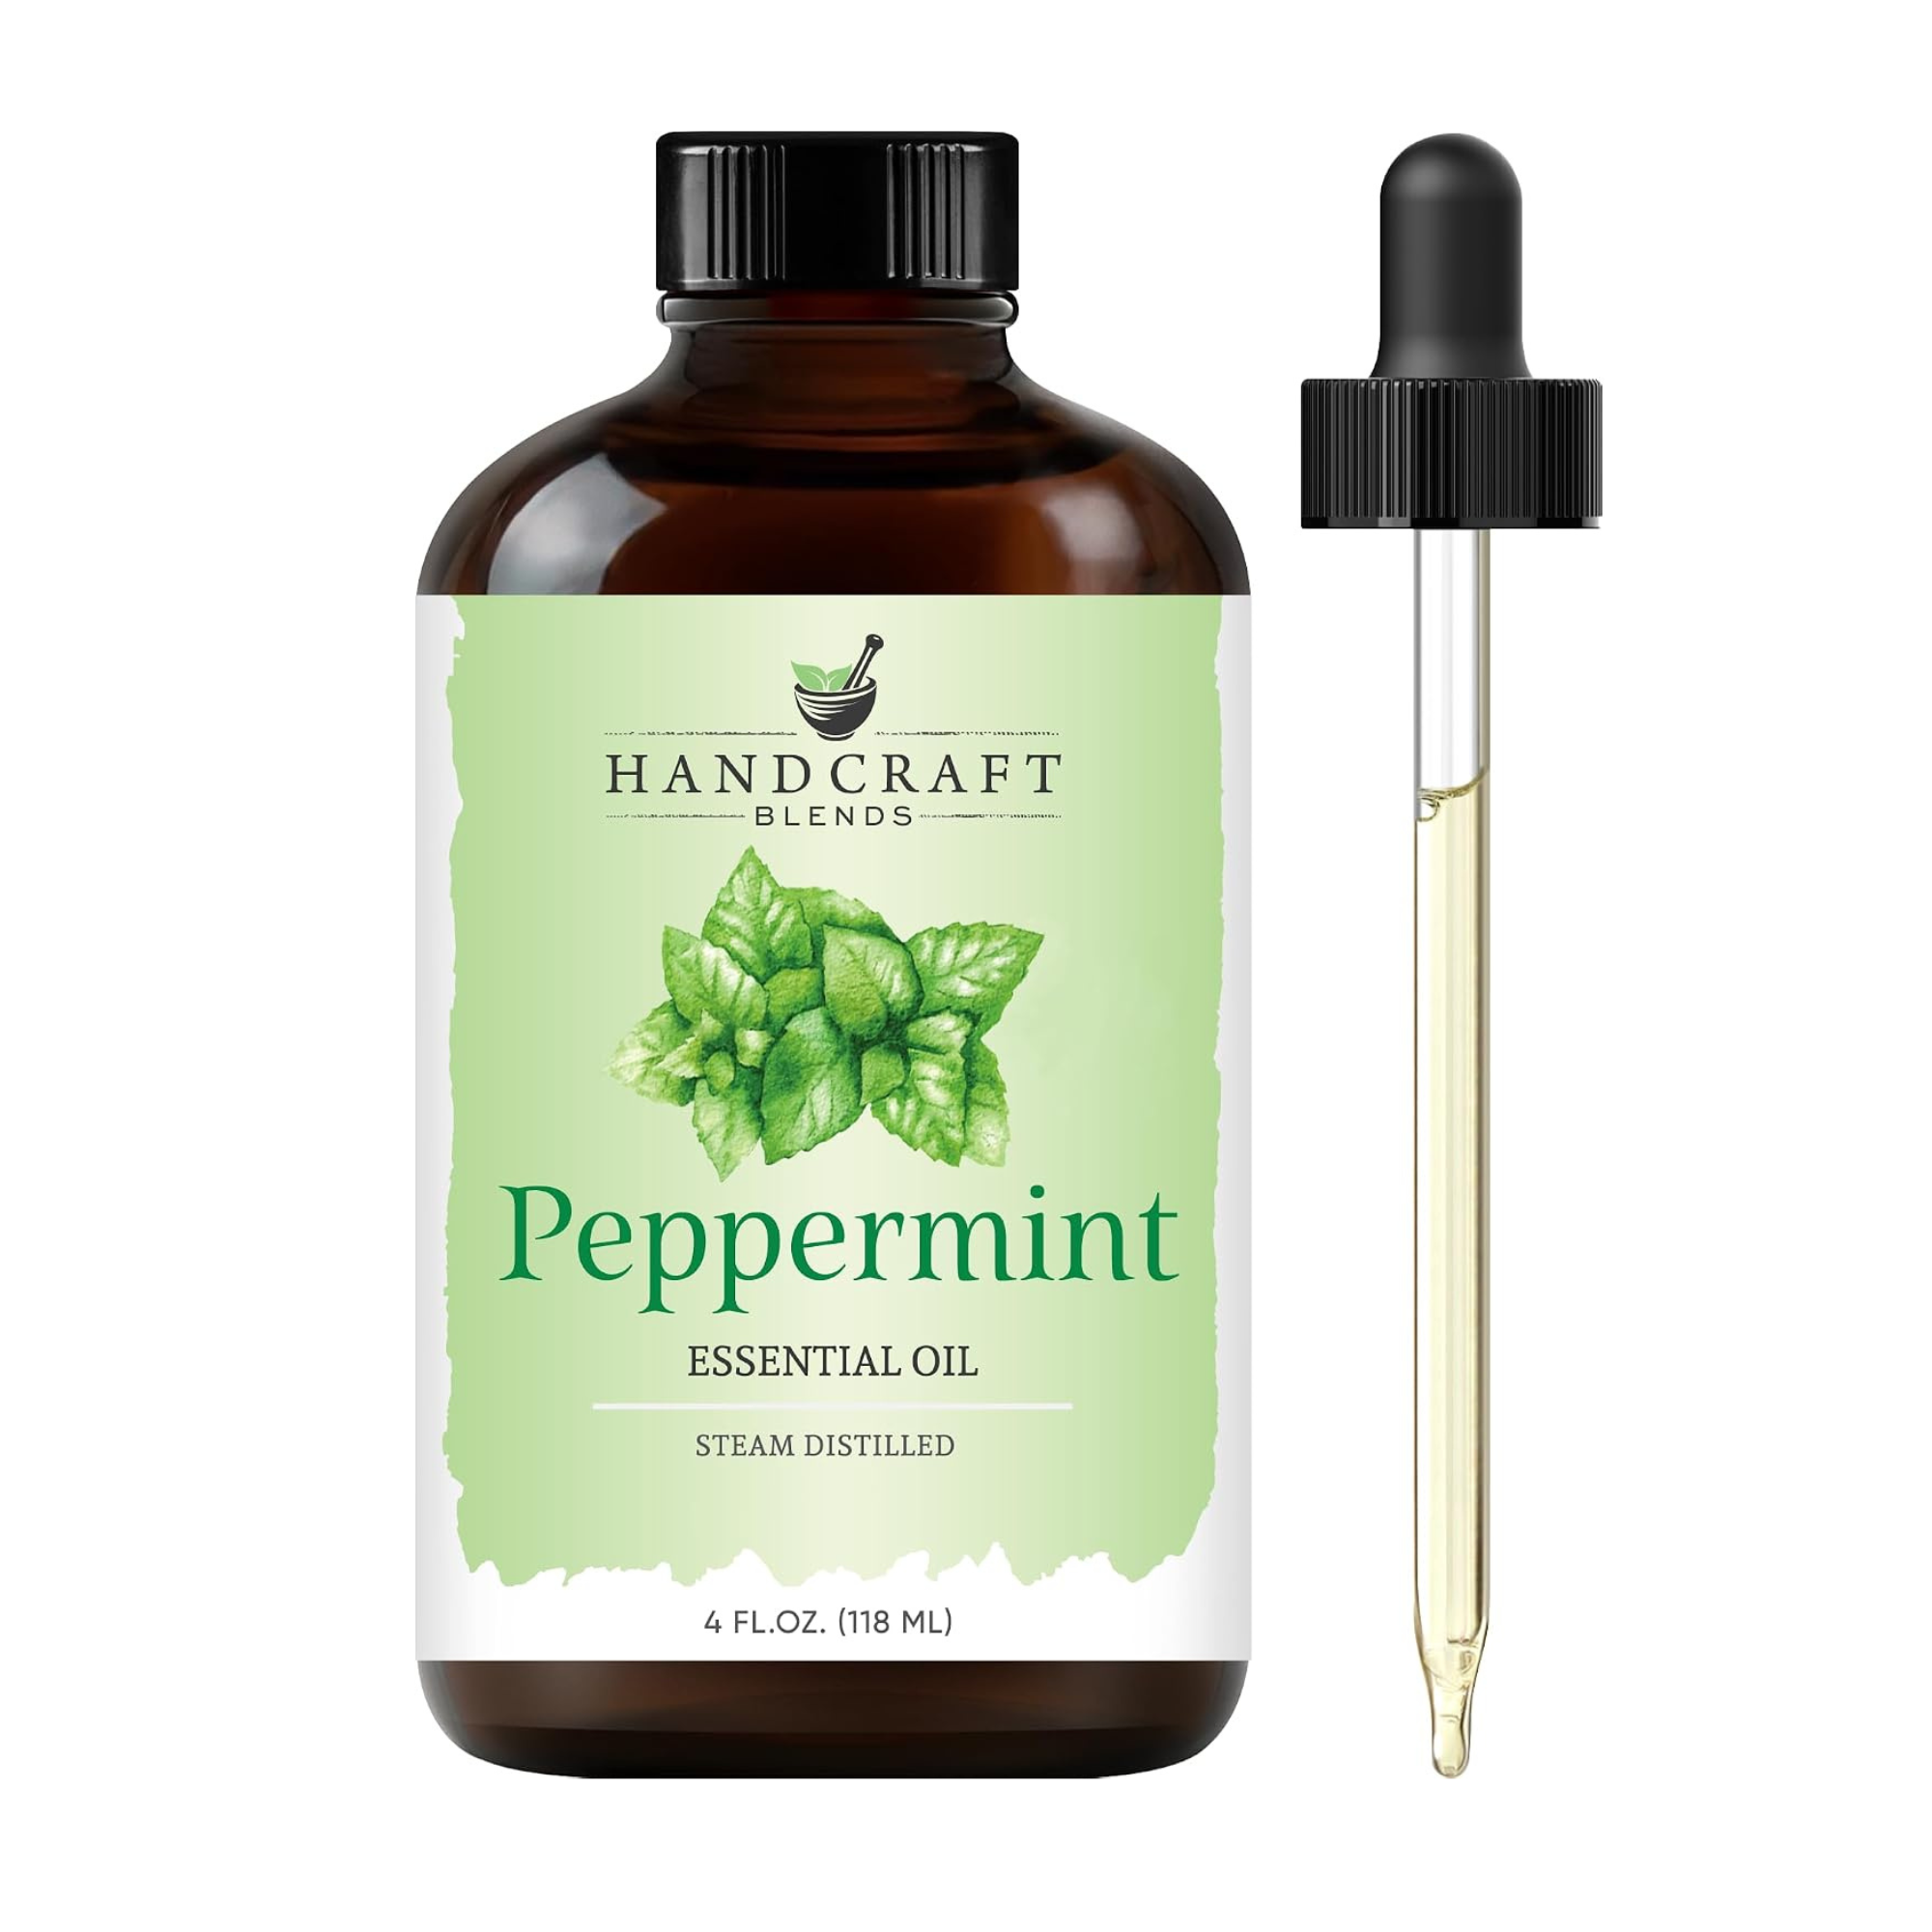
Handcraft Blends
Handcraft Blends Peppermint Essential Oil – Huge 118 Ml
Spiders dislike the smell of peppermint, so mix the oil with water and spray near windows and doors to keep them out.","brand":"Handcraft Blends","name":"Handcraft Blends Peppermint Essential Oil – Huge 118 Ml","urlStyle":"","layout":"hero","noFollow":true,"noAffiliateTracking":false,"promoLabel":"","price":9.99,"salePrice":null,"currency":"GBP","linkLayout":"text","sponsored":false,"hawkProductNameMatchedCode":"","review":{"cons":[],"id":"","name":"","pros":[],"rating":0,"strapline":"","url":""},"id":"","externalId":"8e6b67ba33379422e23ab15eb81371a1e7e332a3","lastCheckedPriceDate":"","link":{"url":"https:\/\/target.georiot.com\/Proxy.ashx?tsid=107653&GR_URL=https%3A%2F%2Famazon.co.uk%2FHandcraft-Peppermint-Essential-Oil-Therapeutic%2Fdp%2FB0756MBLNX%3Ftag%3Dftr-idealhome-gb-21%26ascsubtag%3Dhawk-custom-tracking-21","linkText":"\u00a39.99 at Amazon","editorialMerchantName":"\u00a39.99 at Amazon","merchantName":"Amazon UK","merchantId":1027,"merchantNetwork":"Amazonuk","merchantUrl":"amazon.co.uk"}}}}}” data-link=”https://target.georiot.com/Proxy.ashx?tsid=107653&GR_URL=https%3A%2F%2Famazon.co.uk%2FHandcraft-Peppermint-Essential-Oil-Therapeutic%2Fdp%2FB0756MBLNX%3Ftag%3Dftr-idealhome-gb-21%26ascsubtag%3Dhawk-custom-tracking-21″ data-link-merchant=”Amazon UK” data-link-text=”£9.99 at Amazon” data-merchant-id=”1027″ data-merchant-name=”Amazon UK” data-merchant-network=”Amazonuk” data-merchant-url=”amazon.co.uk” data-model-brand=”Handcraft Blends” data-model-name=”Handcraft Blends Handcraft Blends Peppermint Essential Oil – Huge 118 Ml” data-name=”Product Block merchantlink widget” data-render-type=”fte” data-show-fallback=”button” data-widget-type=”merchantlink” class=”ecom-root”>
Spiders dislike the smell of peppermint, so mix the oil with water and spray near windows and doors to keep them out.
Pestbye
Pestbye Whole House Advanced Spider Repellent
<aside data-article-category="house-manual" data-block-layout="hero" data-block-type="featured-product" data-editorial-currency="GBP" data-editorial-merchant-name="£31.99 at B&Q" data-editorial-price="31.99" data-hawk-json="{"product":{"variants":{"Default":{"image":{"copyright":"","height":400,"id":"bocd9GePit99F2wkGw7WGA","mimeType":"image\/webp","mos":"https:\/\/cdn.mos.cms.futurecdn.net\/bocd9GePit99F2wkGw7WGA.webp","role":"","width":400,"credit":"Pestbye","alt":"Pestbye Whole House Advanced Spider Repellent Deterrent Ultrasonic Electromagnetic Insect Repeller","caption":""},"strapline":"
This device uses a combination of ultrasonic sound and electromagnetic fields to safely and humanely deter spiders and crawling insects. ","brand":"Pestbye","name":"Pestbye Whole House Advanced Spider Repellent ","urlStyle":"","layout":"hero","noFollow":true,"noAffiliateTracking":false,"promoLabel":"","price":31.99,"salePrice":null,"currency":"GBP","linkLayout":"text","sponsored":false,"hawkProductNameMatchedCode":"","review":{"cons":[],"id":"","name":"","pros":[],"rating":0,"strapline":"","url":""},"id":"","externalId":"35dac5b5d561403ce019f9bb7792795e92fe7f26","lastCheckedPriceDate":"","link":{"url":"https:\/\/diy.pxf.io\/c\/221109\/1632830\/18948?subId1=hawk-custom-tracking&sharedId=hawk-prefix&u=https%3A%2F%2Fwww.diy.com%2Fdepartments%2Fpestbye-whole-house-advanced-spider-repellent-deterrent-ultrasonic-electromagnetic-insect-repeller%2F5055837223097_BQ.prd%3F","linkText":"\u00a331.99 at B&Q","editorialMerchantName":"\u00a331.99 at B&Q","merchantName":"B&Q","merchantId":299090,"merchantNetwork":"ImpactRad","merchantUrl":"diy.com"}}}}}” data-link=”https://diy.pxf.io/c/221109/1632830/18948?subId1=hawk-custom-tracking&sharedId=hawk-prefix&u=https%3A%2F%2Fwww.diy.com%2Fdepartments%2Fpestbye-whole-house-advanced-spider-repellent-deterrent-ultrasonic-electromagnetic-insect-repeller%2F5055837223097_BQ.prd%3F” data-link-merchant=”B&Q” data-link-text=”£31.99 at B&Q” data-merchant-id=”299090″ data-merchant-name=”B&Q” data-merchant-network=”ImpactRad” data-merchant-url=”diy.com” data-model-brand=”Pestbye” data-model-name=”Pestbye Pestbye Whole House Advanced Spider Repellent” data-name=”Product Block merchantlink widget” data-render-type=”fte” data-show-fallback=”button” data-widget-type=”merchantlink” class=”ecom-root”>
This device uses a combination of ultrasonic sound and electromagnetic fields to safely and humanely deter spiders and crawling insects.
Will you be introducing a spider curfew to your home this month?
Who doesn’t love a bit of celebrity storage inspo to get you in the mood for decluttering? Well, the latest to catch my eye is TV chef Clodagh McKenna, who’s added a mirror to her built-in bedroom storage, and it’s proved to be a clever design trick for making the space look bigger and brighter.
Integrated wardrobes and drawers are at the top of my bedroom storage ideas, or should I say wishlist. Ensuring all your clothes and accessories have a home, without looking too bulky or taking up too much space.
Having said that, Clodagh’s immense amount of built-in storage had the potential to dominate the room, and this is why the mirror is so clever. Not only does it make the room look bigger, but it breaks up the wall of storage for a considered, luxe look – making it a great example to follow, especially in small bedrooms.
Latest Videos FromIdeal Home
I’ve used Clodagh McKenna’s home as a source of inspiration for some time now. From her use of dried lavender in her kitchen to her gorgeous garden pub, her wonderful rustic style is both cosy and homely, making it a perfect autumnal example to follow.
And her bedroom storage, which is of course painted in her signature green colourway, is proof that you can opt for both style and practicality.
(Image credit: Future PLC/Tim Young)
‘Building a dressing-table zone or additional storage into the wardrobe run is one of the best moves you can make in a bedroom. It treats the wardrobe as a room rather than a wall, and the freestanding dressing table that usually clutters the room disappears entirely,’ says Philipp Nagel, director of Neatsmith.
‘The mirror is framed in the same shaker beading as the doors, so it reads as part of the cabinetry rather than as an addition. Warm LED’s make more difference than people expect. The advice for anyone planning something similar is simple: design this space first and the wardrobe around it, not the other way around.’
Sign up to our newsletter for style inspiration, real homes, project and garden advice and shopping know-how
(Image credit: Future PLC/James French)
What Clodagh has done well is position her mirror to break up what would otherwise be a block wall of storage. The mirror, in turn, makes the room feel brighter and look bigger, compensating for the large amount of storage on offer, which could have looked clunky otherwise.
‘Integrating a mirror into the cabinetry gives the storage a more considered, bespoke feel. For me, luxury in a bedroom comes from balancing that polished finish with warmth and texture. At Reclaim Nation, we love the character reclaimed wood brings – it’s a lovely way to make a room feel inviting and individual,’ says Mark Ward, founder of sustainable furniture retailer Reclaim Nation.
‘It gives you a useful dressing mirror without taking up extra wall or floor space, which is particularly helpful in smaller bedrooms. I’d always consider what it reflects, though – a window or an attractive corner will do much more for the room than a cluttered surface.’
(Image credit: Future PLC/David Giles)
And to achieve the look yourself? Mark says to work with what you’ve got.
‘Repainting existing wardrobes and updating the handles can make a big difference. A generously sized framed mirror nearby can give a similar sense of light and depth without the cost of bespoke work. Finish with soft bedding and a reclaimed or second-hand wooden bedside table to bring in some warmth and character,’ he says.
If you have a small wardrobe, these space-saving hangers hold multiple pairs of trousers, leggings, skirts or scarfs in the place of one.","brand":"MORALVE","name":"Moralve Trousers Hangers Space Saving – 2 Pack ","urlStyle":"","retailer":"","layout":"hero","linkText":"","noFollow":true,"noAffiliateTracking":false,"promoLabel":"","price":28.99,"salePrice":21.99,"currency":"GBP","linkLayout":"text","sponsored":false,"hawkProductNameMatchedCode":"","review":{"cons":[],"id":"","name":"","pros":[],"rating":0,"strapline":"","url":""},"id":"","externalId":"d9fd6e5b463fc574f5593dba97d512eac4f3aae6","lastCheckedPriceDate":"","link":{"url":"https:\/\/target.georiot.com\/Proxy.ashx?tsid=107653&GR_URL=https%3A%2F%2Famazon.co.uk%2FMORALVE-Pants-Hangers-Space-Saving%2Fdp%2FB08RCCP3HV%2Fref%3Dsr_1_4_sspa%3Ftag%3Dftr-idealhome-gb-21%26ascsubtag%3Dhawk-custom-tracking-21","merchantName":"Amazon UK","merchantId":1027,"merchantNetwork":"Amazonuk","merchantUrl":"amazon.co.uk"}}}}}” data-link=”https://target.georiot.com/Proxy.ashx?tsid=107653&GR_URL=https%3A%2F%2Famazon.co.uk%2FMORALVE-Pants-Hangers-Space-Saving%2Fdp%2FB08RCCP3HV%2Fref%3Dsr_1_4_sspa%3Ftag%3Dftr-idealhome-gb-21%26ascsubtag%3Dhawk-custom-tracking-21″ data-link-merchant=”Amazon UK” data-merchant-id=”1027″ data-merchant-name=”Amazon UK” data-merchant-network=”Amazonuk” data-merchant-url=”amazon.co.uk” data-model-brand=”MORALVE” data-model-name=”MORALVE Moralve Trousers Hangers Space Saving – 2 Pack” data-name=”Product Block merchantlink widget” data-render-type=”fte” data-show-fallback=”button” data-widget-type=”merchantlink” class=”ecom-root”>
If you have a small wardrobe, these space-saving hangers hold multiple pairs of trousers, leggings, skirts or scarfs in the place of one.
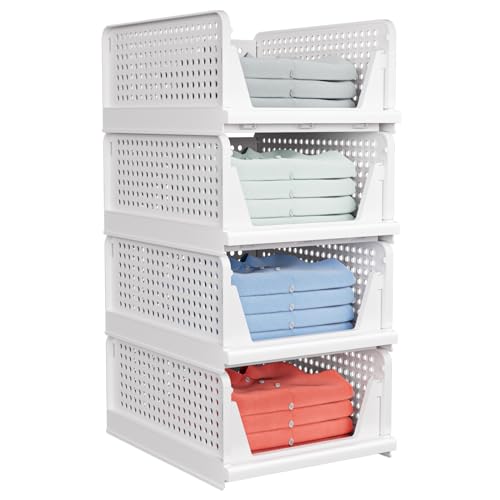
These slot into the bottom of your wardrobe, which is typically empty space, and are perfect for holding bags, jumpers and foldable clothing items.","brand":"caktraie","name":"4 Pack Folding Closet Organizers Box","urlStyle":"","retailer":"","layout":"hero","linkText":"","noFollow":true,"noAffiliateTracking":false,"promoLabel":"","price":38.79,"salePrice":22.97,"currency":"GBP","linkLayout":"text","sponsored":false,"hawkProductNameMatchedCode":"","review":{"cons":[],"id":"","name":"","pros":[],"rating":0,"strapline":"","url":""},"id":"","externalId":"ac3b5bc76e9334d81f53f50a43dd93303a9a2fe7","lastCheckedPriceDate":"","link":{"url":"https:\/\/target.georiot.com\/Proxy.ashx?tsid=107653&GR_URL=https%3A%2F%2Famazon.co.uk%2FOrganizers-Stackable-Container-Cupboard-Bathroom%2Fdp%2FB0CHVKCWS7%3Ftag%3Dftr-idealhome-gb-21%26ascsubtag%3Dhawk-custom-tracking-21","merchantName":"Amazon UK","merchantId":1027,"merchantNetwork":"Amazonuk","merchantUrl":"amazon.co.uk"}}}}}” data-link=”https://target.georiot.com/Proxy.ashx?tsid=107653&GR_URL=https%3A%2F%2Famazon.co.uk%2FOrganizers-Stackable-Container-Cupboard-Bathroom%2Fdp%2FB0CHVKCWS7%3Ftag%3Dftr-idealhome-gb-21%26ascsubtag%3Dhawk-custom-tracking-21″ data-link-merchant=”Amazon UK” data-merchant-id=”1027″ data-merchant-name=”Amazon UK” data-merchant-network=”Amazonuk” data-merchant-url=”amazon.co.uk” data-model-brand=”caktraie” data-model-name=”caktraie 4 Pack Folding Closet Organizers Box” data-name=”Product Block merchantlink widget” data-render-type=”fte” data-show-fallback=”button” data-widget-type=”merchantlink” class=”ecom-root”>
These slot into the bottom of your wardrobe, which is typically empty space, and are perfect for holding bags, jumpers and foldable clothing items.
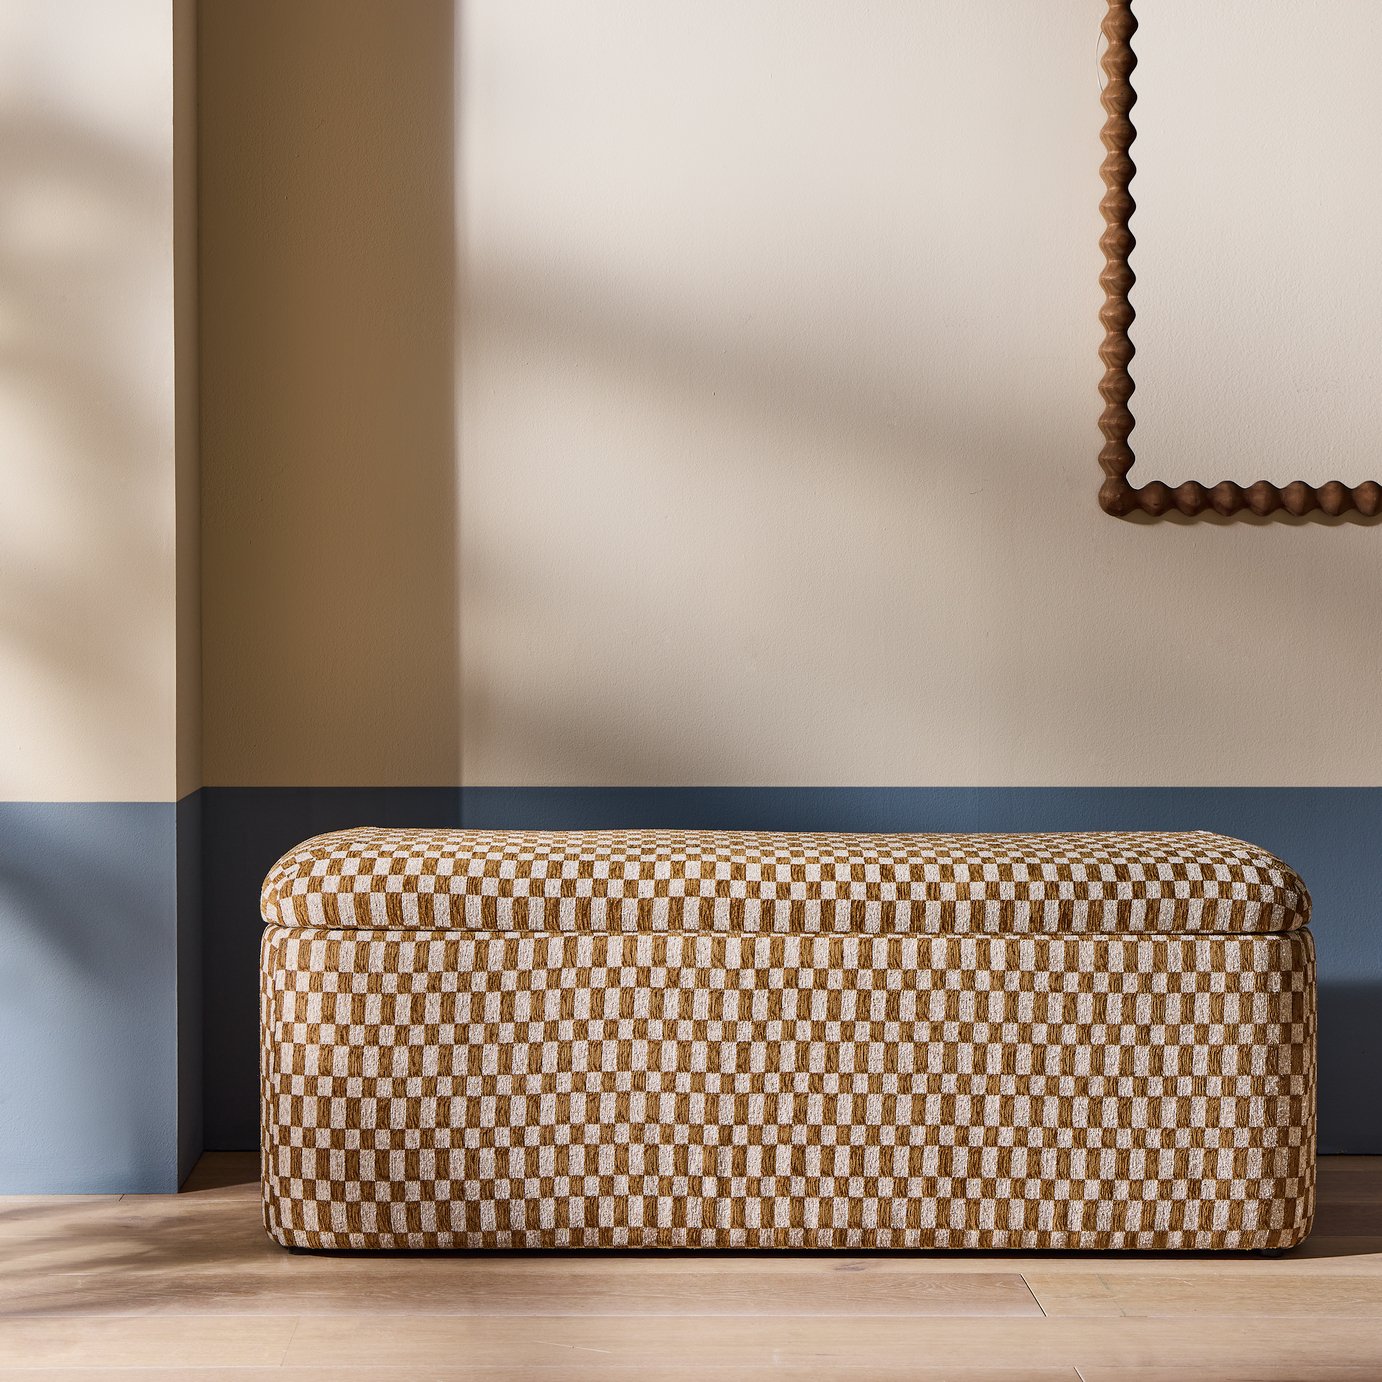
A stylish ottoman not only provides somewhere to sit, but somewhere to stash extra blankets, bedding or even shoes.","brand":"Habitat","name":"Habitat Vinny Fabric Ottoman – Khaki","urlStyle":"","retailer":"","layout":"hero","linkText":"","noFollow":true,"noAffiliateTracking":false,"promoLabel":"","price":150,"salePrice":null,"currency":"GBP","linkLayout":"text","sponsored":false,"hawkProductNameMatchedCode":"","review":{"cons":[],"id":"","name":"","pros":[],"rating":0,"strapline":"","url":""},"id":"","externalId":"41d4d2d8f52a6404afc2a89fd0da54d89c85109b","lastCheckedPriceDate":"","link":{"url":"https:\/\/www.anrdoezrs.net\/click-100624752-17337832?sid=hawk-custom-tracking&url=https:\/\/www.habitat.co.uk\/product\/8564304?","merchantName":"Habitat UK","merchantId":209252,"merchantNetwork":"CJ","merchantUrl":"habitat.co.uk"}}}}}” data-link=”https://www.anrdoezrs.net/click-100624752-17337832?sid=hawk-custom-tracking&url=https://www.habitat.co.uk/product/8564304?” data-link-merchant=”Habitat UK” data-merchant-id=”209252″ data-merchant-name=”Habitat UK” data-merchant-network=”CJ” data-merchant-url=”habitat.co.uk” data-model-brand=”Habitat” data-model-name=”Habitat Habitat Vinny Fabric Ottoman – Khaki” data-name=”Product Block merchantlink widget” data-render-type=”fte” data-show-fallback=”button” data-widget-type=”merchantlink” class=”ecom-root”>
A stylish ottoman not only provides somewhere to sit, but somewhere to stash extra blankets, bedding or even shoes.
‘We recommend incorporating mirrors onto the back panels of the wardrobe along with LED’s as a great way to bounce light around the wardrobe and lift the space. To maximise storage, use all available height and make the most of corners to allow easy access to all parts of the room while creating extra storage space at the same time,’ concludes Philipp.
If you’re looking for ways to upgrade your bedroom storage this autumn, Clodagh’s is a great example to follow if you don’t want to lose a sense of space – in fact, her trick does the opposite, making her bedroom look bigger.
There’s something wonderfully optimistic about planting spring bulbs in autumn. Just as the garden begins to slow down and summer colour disappears, you can start planning for the flowers that will bring it back to life next year.
Tulips, daffodils, crocuses, hyacinths, alliums and many other spring-flowering bulbs are planted months before they appear. Hidden beneath the soil through winter, they quietly establish themselves before emerging as temperatures begin to rise.
The good news is that planting spring bulbs is one of the easiest autumn gardening jobs. You don’t need a large garden or specialist equipment, either. Bulbs can be planted in borders, lawns, raised beds and containers, making them suitable for gardens of almost any size.
If you’re wondering when to plant spring bulbs, how deep they should go or which bulbs to choose, this simple guide covers everything you need to know.
Table of Contents
Quick Answer: When Should You Plant Spring Bulbs?
Most spring-flowering bulbs are planted during autumn, usually between September and November in the UK.
As a general guide:
Daffodils and narcissi: September to October
Crocuses: September to November
Hyacinths: September to November
Alliums: September to November
Muscari (grape hyacinths): September to November
Snowdrops: October to November for dry bulbs
Tulips: October to November, with November often ideal
The exact timing isn’t critical. If you discover an unopened packet of bulbs later than planned, they’re usually better planted than left sitting in the packet. As long as the soil isn’t frozen or waterlogged, late planting can still be worthwhile.
Why Are Spring Bulbs Planted in Autumn?
Spring bulbs need time underground before they flower.
Planting during autumn allows bulbs to begin developing roots while the soil is still relatively warm. They then experience the colder conditions of winter before growth accelerates again as spring approaches.
The bulb itself acts as a miniature store of energy. It contains much of what the plant needs to produce its first leaves and flowers, which is one reason bulbs can create such impressive displays with relatively little effort from the gardener.
Autumn planting also allows you to fill areas that can otherwise look rather bare early in the year. By the time many herbaceous perennials are only just waking up, spring bulbs can already be providing plenty of colour.
When Is the Best Time to Plant Daffodils?
Daffodils are among the earlier bulbs to plant and are ideally put into the ground during September or October.
Planting them reasonably early gives their roots plenty of time to establish before winter. However, don’t worry if October slips into November before you get around to the job. Late-planted daffodils can still grow and flower.
Daffodils work particularly well planted beneath deciduous trees and shrubs, through lawns, at the front of borders and in pots.
They’re also excellent bulbs for naturalising. Choose suitable varieties and leave them undisturbed after flowering, and the display can gradually increase over the years.
When Should You Plant Tulip Bulbs?
Tulips are slightly different from many other spring bulbs because there’s usually no need to rush to plant them at the beginning of autumn.
October and November are good months for planting tulips, with November often regarded as an excellent time to get them into the ground.
Waiting until the soil has cooled can help reduce the risk of problems such as tulip fire, a fungal disease that can affect leaves, stems and flowers.
Tulips are particularly effective in containers because pots allow you to create concentrated displays of colour. They’re equally useful in borders, where they can be planted between perennials that will later disguise fading tulip foliage.
Don’t Forget Smaller Spring Bulbs
Tulips and daffodils may get much of the attention, but some of the most charming spring displays come from smaller bulbs.
Crocuses can provide splashes of purple, yellow and white from late winter onwards, while grape hyacinths produce distinctive clusters of blue flowers.
Other possibilities include scillas, chionodoxas, iris reticulata and anemones.
These smaller bulbs are particularly useful around the front of borders, beneath deciduous shrubs and trees, in gravel gardens and in containers. Many can also be allowed to naturalise, gradually creating larger colonies.
How to Choose Healthy Bulbs
When buying bulbs, look for ones that feel firm, plump and relatively heavy for their size.
Avoid bulbs that are very soft, badly damaged or showing obvious signs of rot or mould. A little loose, papery outer skin is usually nothing to worry about.
Larger bulbs will often produce stronger initial displays, although size naturally varies considerably between different species and varieties.
Once you’ve bought your bulbs, try to plant them reasonably promptly. Store them somewhere cool, dry and well ventilated until you’re ready.
Where Should You Plant Spring Bulbs?
Most spring-flowering bulbs perform best in a position with good drainage.
This is especially important during winter. Bulbs sitting in persistently wet soil are more likely to rot.
Many popular bulbs enjoy sun, but that doesn’t mean every bulb needs an exposed, south-facing position. Spring bulbs can work extremely well beneath deciduous trees and shrubs because they receive plenty of light before the leaves above fully emerge.
Think about what the surrounding garden will look like when the bulbs flower, rather than simply how the space looks while you’re planting them.
A seemingly empty patch of soil in October could be surrounded by emerging perennials by April.
How Deep Should You Plant Spring Bulbs?
One of the easiest rules to remember is to plant bulbs at a depth of roughly two to three times the height of the bulb.
For example, a bulb measuring 5cm from top to bottom might be planted approximately 10–15cm deep.
This is a general rule rather than an exact measurement, so always check the instructions supplied with a particular variety if you’re unsure.
As a rough guide:
Bulb
Approximate planting depth
Crocus
5–10cm
Muscari
8–10cm
Daffodil
10–15cm
Tulip
10–15cm
Hyacinth
10–15cm
Allium
Around 3 times the bulb’s depth
Very large allium bulbs may need to be planted considerably deeper than small varieties.
Which Way Up Should Bulbs Be Planted?
Most bulbs have a fairly obvious pointed end, which should face upwards, while the flatter basal plate where the roots develop sits at the bottom.
But sometimes it isn’t obvious.
If you genuinely can’t work out which way up a bulb should go, don’t panic. Plant it on its side. The emerging shoot will usually find its way upwards.
How to Plant Bulbs in Garden Borders
Planting bulbs in an existing border is straightforward.
First, decide where you want the flowers to appear. Rather than placing bulbs in rigid rows, try arranging them in informal groups or drifts for a more natural effect.
Place the bulbs on the soil before planting so you can adjust the arrangement.
Use a hand trowel or bulb planter to create holes at the appropriate depth. Position each bulb with its pointed end upwards, replace the soil and gently firm it down.
If the soil is dry, you can water the area after planting. During a typically wet British autumn, however, additional watering may not be necessary.
One useful trick is to plant bulbs among established perennials. The bulbs provide early colour, while the emerging perennial foliage later helps conceal their leaves as they die back.
How to Create a Natural-Looking Bulb Display
For a relaxed, naturalistic effect, avoid planting every bulb at identical intervals.
One traditional method is to take a handful of bulbs and gently scatter them across the planting area. Plant each bulb approximately where it lands.
This creates irregular spacing that can look much more convincing than carefully measured rows.
Repeating the same bulb in several areas can also help visually connect different parts of the garden.
How to Plant Spring Bulbs in Pots
You don’t need flower beds to enjoy spring bulbs. Containers are ideal for patios, balconies, doorsteps and small gardens.
Choose a pot with drainage holes and fill it with a suitable peat-free compost. Arrange the bulbs reasonably close together without allowing them to touch.
Because container displays are temporary, bulbs can often be planted more densely than they would be in a border.
Cover them with compost, water them in and position the container somewhere appropriate for the varieties you’ve chosen.
Remember that pots can dry out even during autumn and winter, particularly when they’re positioned beneath a porch or against a sheltered wall. Check the compost occasionally and water if necessary, while avoiding keeping it permanently saturated.
Try a ‘Bulb Lasagne’ for Months of Colour
Example of layered bulb planting
If you want to fit lots of flowers into one container, try making a so-called bulb lasagne.
Despite the name, there’s no pasta involved! It’s simply a way of layering different bulbs within the same pot.
Place the largest and latest-flowering bulbs, such as tulips, towards the bottom. Cover them with compost before adding another layer of bulbs, perhaps daffodils or hyacinths. Smaller early bulbs such as crocuses or muscari can go nearer the top.
Stagger the bulbs so those on the upper layers aren’t sitting directly above the ones below.
With careful variety selection, one container can produce successive waves of flowers from late winter well into spring.
Planting Bulbs in a Lawn
Using a bulb planter to make holes in a lawn for spring bulbs to be planted
Spring bulbs can look beautiful growing through grass, particularly crocuses and daffodils.
For an informal appearance, scatter bulbs over the lawn and plant them where they fall.
Individual holes can be made with a bulb planter, or sections of turf can be lifted if you’re planting larger groups.
The main consideration comes after flowering.
Bulb foliage needs time to die back naturally because the leaves continue photosynthesising and help replenish the bulb’s energy reserves for the following year.
This means you shouldn’t mow the area immediately after flowering. Wait until the foliage has yellowed and died back before cutting it.
For that reason, naturalised bulbs tend to work better in areas of lawn where you’re happy to tolerate slightly longer grass for part of the spring.
What Type of Soil Do Spring Bulbs Need?
The biggest requirement for most bulbs is free-draining soil.
If you garden on heavy clay that becomes very wet during winter, consider improving the soil structure with organic matter and choosing planting positions that don’t remain waterlogged.
Alternatively, grow more vulnerable bulbs in containers where drainage conditions are easier to control.
Many common spring bulbs are surprisingly adaptable, though, and don’t require perfect soil to produce a good display.
Should You Add Fertiliser When Planting Bulbs?
Bulbs already contain stored nutrients, so they don’t necessarily need lots of fertiliser when they’re first planted.
Improving poor soil with well-rotted organic matter can help, and an appropriate bulb fertiliser can be used according to the manufacturer’s instructions if required.
Avoid placing concentrated fertiliser directly against bulbs, as this may damage developing roots.
For bulbs that you hope will return year after year, feeding becomes particularly useful after flowering, when the plant is building up reserves for the following season.
Should Spring Bulbs Be Watered After Planting?
Bulbs planted in dry soil can be watered after planting to help settle the soil around them.
After that, bulbs growing in the ground will generally receive sufficient moisture from autumn and winter rainfall in much of the UK.
Containers need a little more attention because compost can dry out faster than garden soil. Equally, don’t allow pots to become waterlogged. Good drainage is essential.
Can You Plant Spring Bulbs Too Late?
Ideally, bulbs should be planted during their recommended autumn window, but missing the ideal date doesn’t necessarily mean you’ve missed your chance altogether.
If it’s December and you’ve just discovered a bag of forgotten tulips or daffodils, check their condition.
If the bulbs are still firm and healthy, plant them rather than storing them until the following autumn.
They may flower later or less vigorously during their first season, but bulbs left unplanted for many months are unlikely to improve.
The main exceptions are periods when the ground is frozen solid or extremely waterlogged. In those conditions, wait until the soil becomes workable again or consider planting suitable bulbs into containers.
How to Protect Bulbs from Squirrels and Other Wildlife
Anyone who has carefully planted a container of bulbs only to discover holes in the compost the following morning will know that gardeners aren’t the only ones interested in bulbs.
Squirrels can be particularly troublesome with freshly planted tulips and crocuses.
Placing wire mesh over the surface of pots or newly planted areas can help deter digging. The mesh can be removed once shoots are well established.
Daffodils are generally less attractive to squirrels and rodents than some other bulbs.
Avoid relying on potentially harmful homemade deterrents where pets or wildlife could come into contact with them.
What Happens After Spring Bulbs Flower?
Once the flowers fade, resist the temptation to immediately cut off all the leaves.
The foliage needs to remain in place while it is green because it’s helping the bulb store energy for next year’s flowers.
You can remove spent flowers if you wish, particularly from tulips and daffodils, but allow the leaves to yellow and die back naturally.
It may not be the prettiest stage of the bulb-growing cycle, which is another reason planting bulbs among later-emerging perennials works so well.
As hostas, hardy geraniums, ornamental grasses and other plants develop, they can gradually disguise the fading bulb foliage.
Which Spring Bulbs Come Back Every Year?
Late spring garden border
If you’d like a relatively low-maintenance display, choose bulbs with a good reputation for returning and naturalising.
Daffodils are particularly dependable, while crocuses, muscari, snowdrops and many smaller species bulbs can gradually spread when conditions suit them.
Alliums can also return reliably in well-drained positions.
Tulips are more variable. Some types flower successfully for several years, while many highly bred varieties are at their best during their first spring and may produce smaller or fewer flowers in subsequent years.
If longevity matters, look for tulip varieties specifically recommended for perennialising.
Planning Bulbs for Continuous Spring Colour
Rather than choosing bulbs purely by colour, pay attention to flowering time.
A carefully planned selection can provide flowers for several months.
You might start with snowdrops, crocuses and early irises in late winter, followed by daffodils and hyacinths. Tulips can then dominate from mid to late spring, with ornamental alliums carrying the display towards early summer.
Even within one type of bulb, varieties can flower at different times.
Combining early, mid-season and late tulips, for example, can extend the display considerably.
Easy Spring Bulbs for Beginners
If you’re planting bulbs for the first time, you don’t need dozens of different varieties.
A simple combination might include:
Daffodils for reliable early spring colour
Crocuses for late-winter and early-spring interest
Muscari for compact blue flowers
Tulips for strong mid-to-late spring colour
Alliums to extend the display towards summer
Choose colours that complement one another and repeat varieties rather than buying one or two bulbs from lots of unrelated collections.
The result will usually look more intentional and cohesive.
Common Bulb Planting Mistakes to Avoid
Spring bulbs are forgiving, but a few simple mistakes can reduce their chances of performing well.
Planting too shallowly: Bulbs planted very close to the surface can be more vulnerable to weather and disturbance. Follow the recommended depth for the variety.
Choosing waterlogged ground: Persistent winter wet is one of the biggest problems for many bulbs.
Planting too sparsely: A handful of bulbs scattered over a very large border can disappear visually. Groups and drifts generally create greater impact.
Cutting foliage off too soon: Leave the leaves until they’ve naturally yellowed so the bulb can replenish its energy.
Forgetting about flowering times: Choosing early, mid and late varieties will give you a much longer season of colour.
Leaving bulbs in their packets for too long: Once you’ve bought them, aim to get them planted during autumn rather than waiting for the perfect gardening day.
A Little Autumn Effort for a Colourful Spring
Planting spring bulbs is one of those gardening jobs where a relatively small amount of effort can produce an impressive result.
An hour or two spent planting bulbs on a cool autumn afternoon can translate into weeks of flowers just when the garden needs them most.
You don’t have to redesign an entire border, either. Start with a pot of tulips by the front door, a cluster of daffodils beneath a tree or a handful of crocuses through the lawn.
Then comes the difficult part: forgetting about them for a few months.
By late winter and early spring, those first green shoots pushing through the soil provide a welcome reminder that the next gardening season is already on its way.