They say you’ll always find people in the kitchen at parties, and that is so true.
The kitchen is always the place people congregate at parties, whether it be Christmas, birthdays or any other reason, which is why if you’re hosting, you need to make sure you get it ready.
It’s always worth spending a bit of time getting your kitchen ready ahead of a party – here are our top tips.
Ultimately, it all starts with a declutter. You want to create as much space as possible and that requires getting anything unnecessary and unneeded out of the way,
You can store it in another room, or pack it all away in cupboards, but you need to maximise worktop space to allow people to put their drinks and snacks down, as well as giving you the room to be organised in your hosting.
Put out glasses and plates
Things can get confusing, messy and rather noisy if guests are constantly having to look around and open cupboards for glassware, tableware and cutlery, so create a space for it that people can quickly pick up what they need.
It’s simple, but effective and incredibly important.
Separate alcohol and soft drinks
Photo by Taryn Elliott on Pexels
If you can, it can be really useful to separate the alcohol from soft drinks. Firstly, for ease of access and allowing people to understand where everything is.
However, today there are also more people than ever before suffering from addiction, and it’s likely you may well know someone who is either battling it or has received addiction treatment and is in recovery.
Parties can be difficult for them, so just by keeping the alcohol away from the soft drinks you can make a small difference that really might help them out.
Empty the bins!
You’ll have worked hard preparing for this party and chances are you’ll have put on a good spread. But that will involve a lot of waste, and some of it could be pretty smelly.
Don’t ruin the ambience by having a smelly bin people have to stand next to. Last minute, before anyone arrives, change the bins. It’ll also help prevent any overflow during the party.
Do a bit of decorating
Credit: 2M / Shutterstock
While we know many people will congregate in the kitchen at parties, we often ignore the decorating in it. We’ll make the living room, dining room and other areas look pretty, but ignore the kitchen.
Jazz up your kitchen a little and make it a space that is welcoming. There are some great ideas out there online, and it can be cheap and easy to do too, yet make all the difference.
Have you ever wanted to have your own home gym? What about an office for remote working, or a studio to paint or play music in? Many people decide to convert a spare room in their house to a more functional space, and it can transform their quality of life.
Renovating or converting a room allows you to make the most of your existing space, while creating an area for you and your family to be productive and improve your lives. Perhaps you have a basement or attic that is gathering dust. Or a spare bedroom that is empty now your adult kids have flown the nest. Whatever your situation, it makes sense to use this valuable real estate rather than keeping it as a missed opportunity.
But converting a room can be expensive, especially if you hire a professional to do the job for you, paying for their labour, time, and all the raw materials required. It would be so much simpler and cheaper if you could just do it yourself.
The good news is you can. There is no reason why you can’t learn the basic skills and techniques required to renovate a room and transform your home. Here are some tips to help you convert a room in your home into a brand new space.
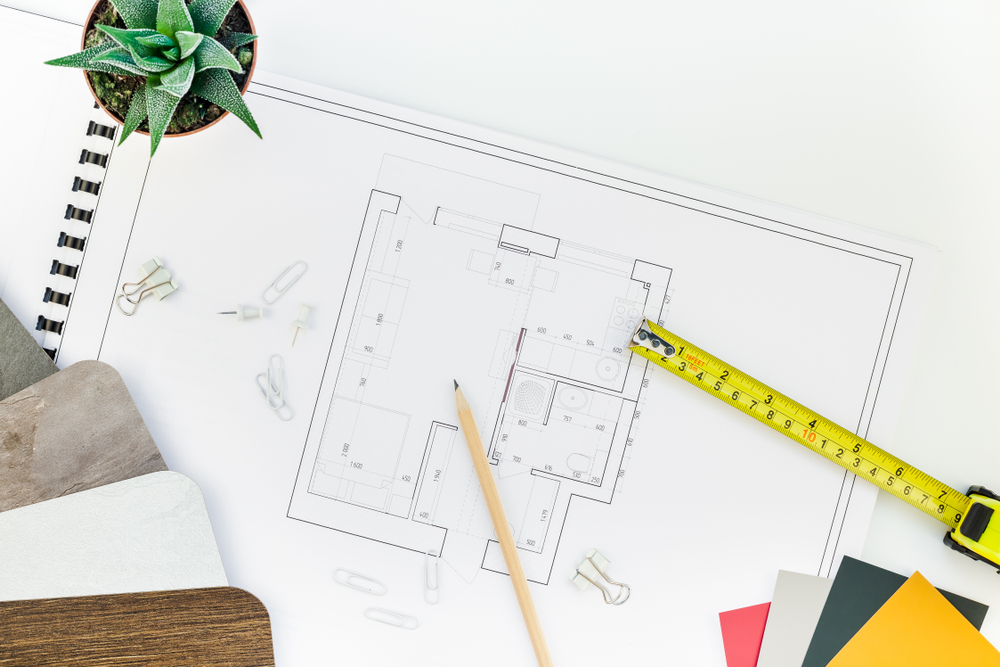
Make a plan
Image credit: Shutterstock
Before you can start the conversion process, you need to have a clear idea of what you want the finished room to look like. You’ll know at this stage whether you are creating a new bedroom, a gym, an office, or something else. Decide what you want it to look like, and what furniture and other items you want it to have. This will dictate every subsequent step from flooring and wallpapering, to cladding and where you’ll need electrical outlets.
Clear it out
If your spare room is being used for storage, you’ll need to clear it out before beginning work. See this as an opportunity to give your home a spring clean. Rather than simply shift your junk from one room to another, go through your possessions and get rid of anything you don’t need. If you’re concerned about waste you don’t have to throw things out. You can take them to a charity shop or sell them online instead. Once the room is clear, you now have a blank slate on which to work.
If the room needs a new floor, it is possible for you to do it yourself. Start by ripping up the old carpet, wood or tiles you want to get rid of. Add a subfloor or underlay to begin with and then you can start installation. Carpet is easy, as you simply need to measure the space and buy the appropriate quantity of carpet tiles. Ceramic or porcelain tiles will require you to lay an adhesive on the floor before placing the tiles and then grouting the spaces between them. If opting for laminate flooring, you will find the job slightly more laborious as you need to ensure each plank is correctly spaced and sized. There are plenty of online tutorials that can help you with this process.
Decorate the walls
It’s likely the walls may need to be painted to give the room the desired effect. Choose a colour scheme that fits with your vision for the space. For example, if it’s going to be an area for relaxation then choose cool pastel hues like blues and pinks. But if you’re building a gym you might want bold, vibrant colours to pump you up. Once you have painted, add some artwork to the walls and other ornaments dotted around to make it feel like home.
It’s time to start filling the space with all the items it needs to fulfil its function. A home workout room will require plenty of gym equipment, as well as storage for smaller items and some speakers or a TV screen for playing music. A home office will need a desk, a computer, and an ergonomic office chair. It may take a bit of time before you find the right layout and configuration but when you do, you’ll be amazed that you converted the room all by yourself.
These are just a few tips to help you get started when converting a room in your house. There is plenty of information on Fresh Design Blog that will help walk you through tasks like wallpapering and decorating. If you are unsure about anything or there is any danger involved, such as dealing with gas or electrics, always call in a professional to do the job for you.
People who like to fix things themselves instead of calling a professional have likely picked up a few expert tips over the years. Whether fixing your car or home appliances, sometimes there’s no need to call a professional do to the job for you. With a little hands-on research, you can save yourself a few extra dollars and keep your plumbing, electricity, and devices in top working order.
DIY projects can be fun, but they can also be time-consuming and expensive. This guide will show you some nifty tricks to help you fix common home problems fast and easily.
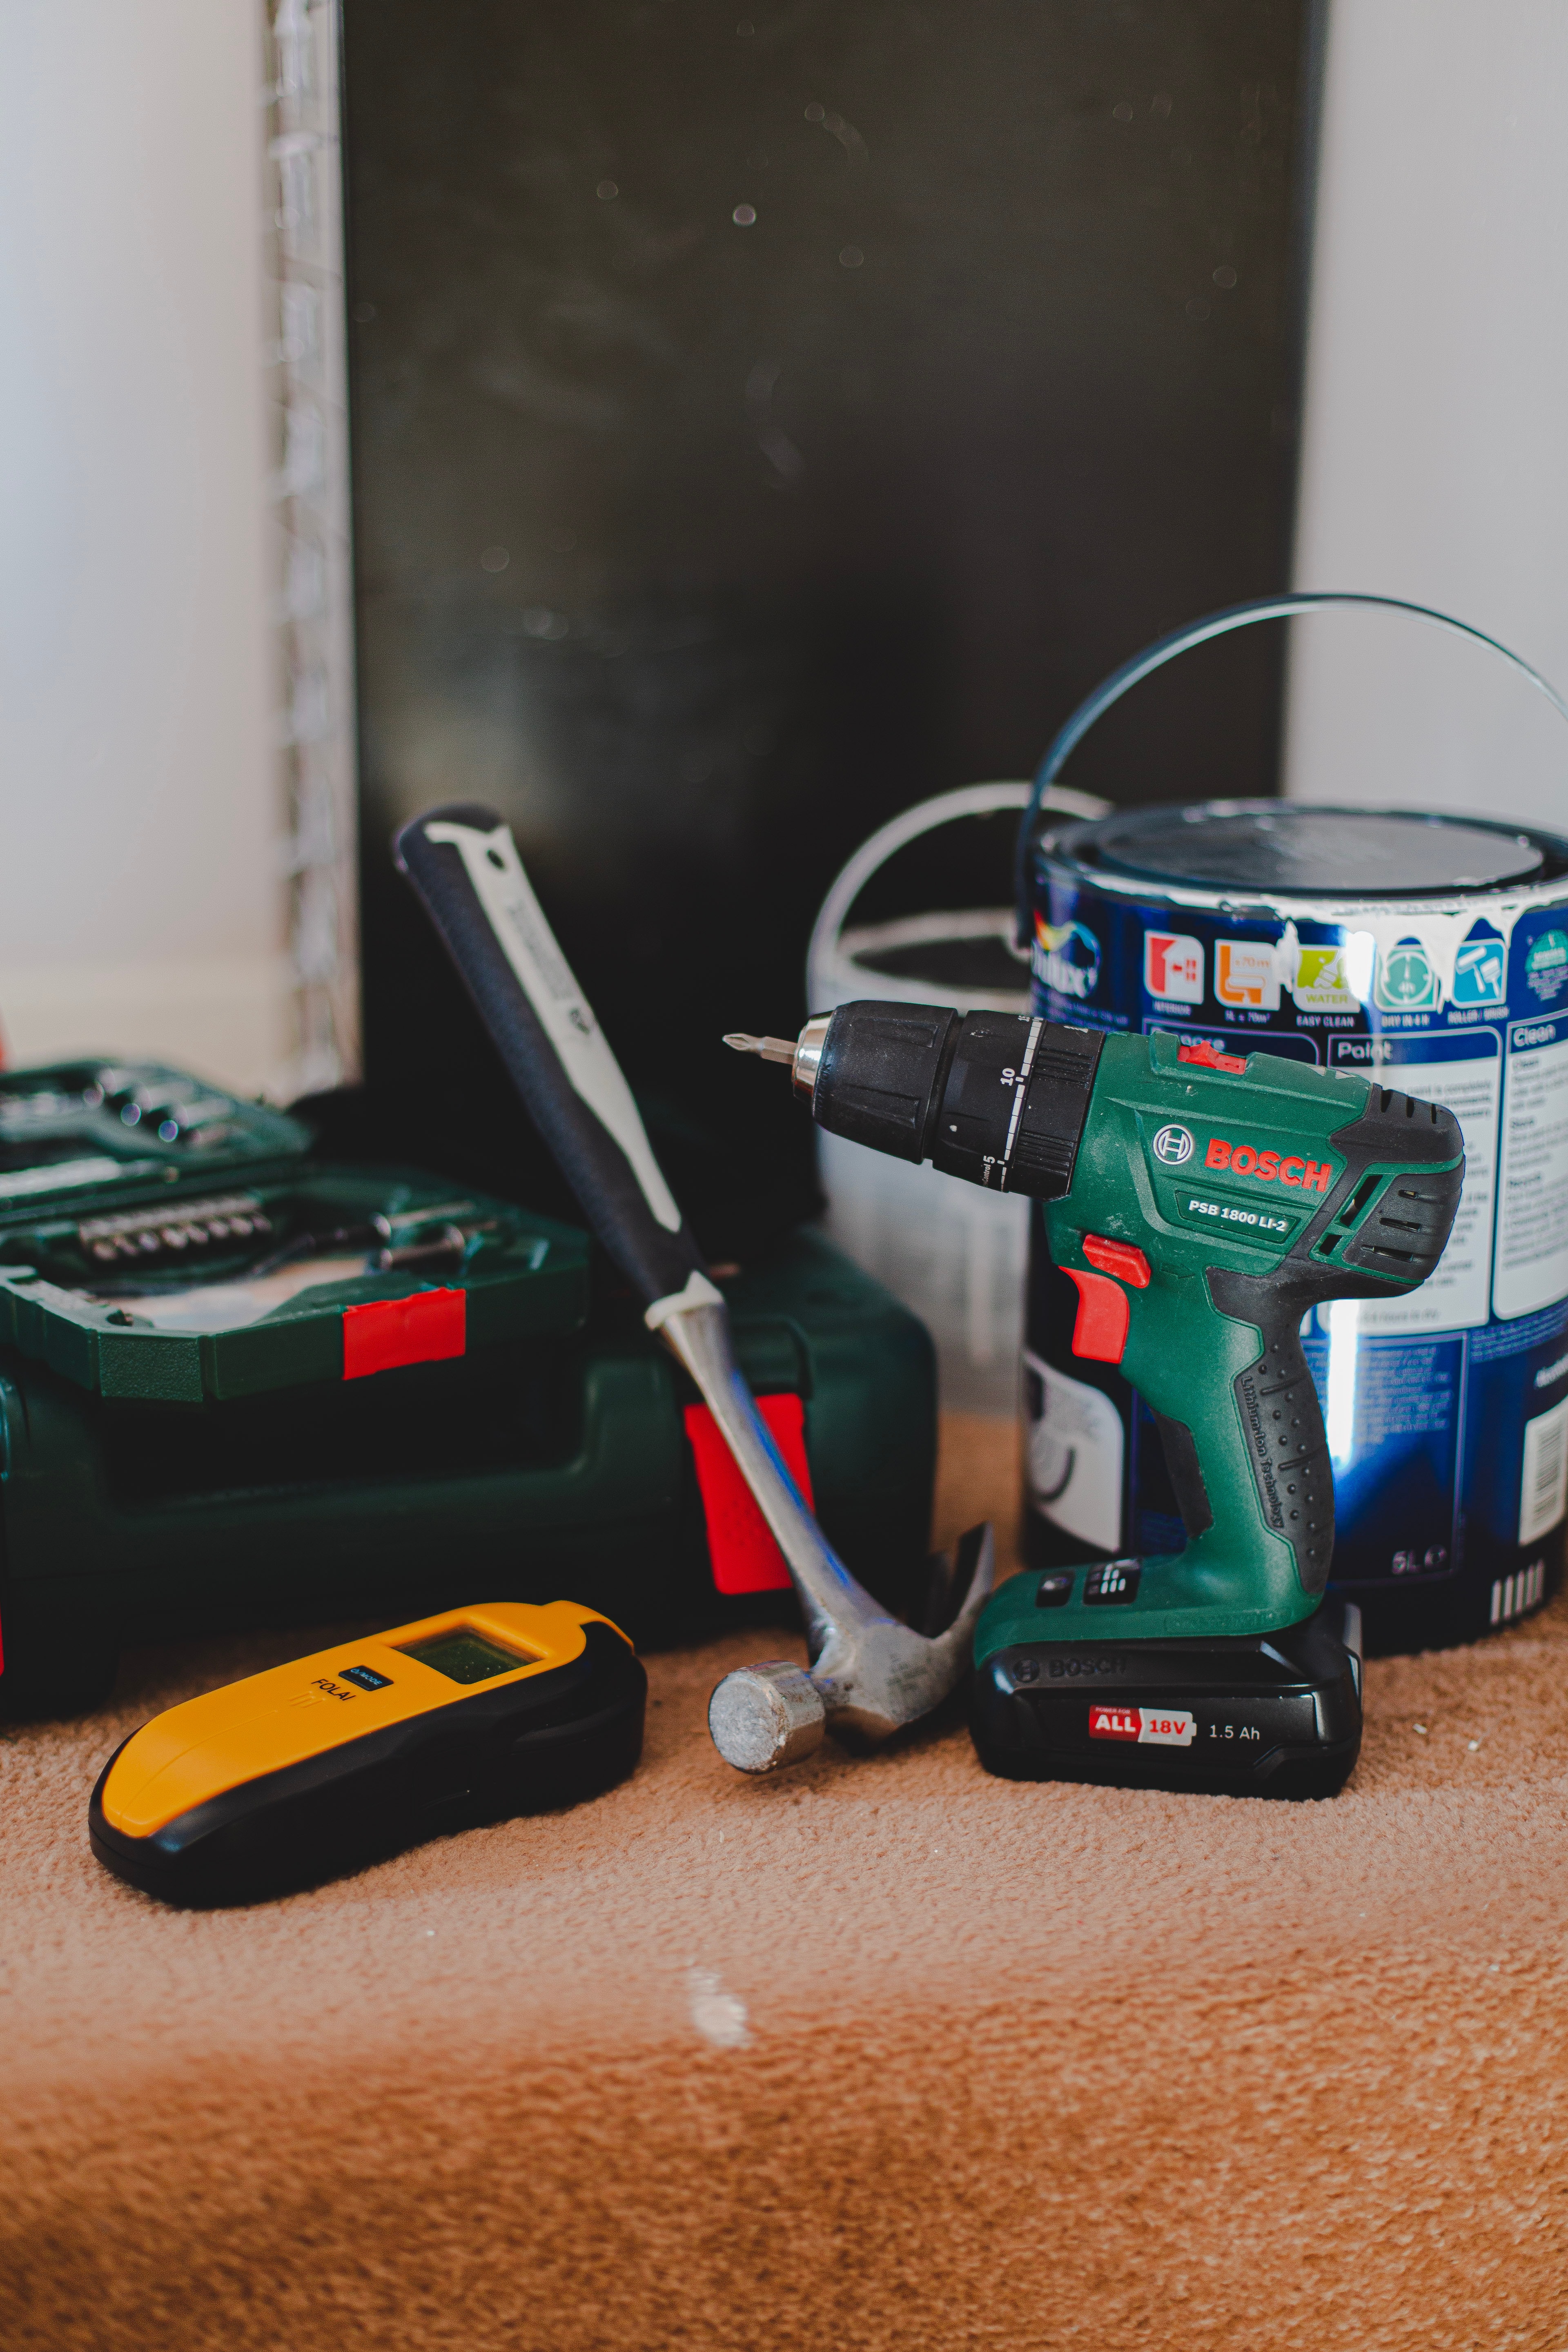
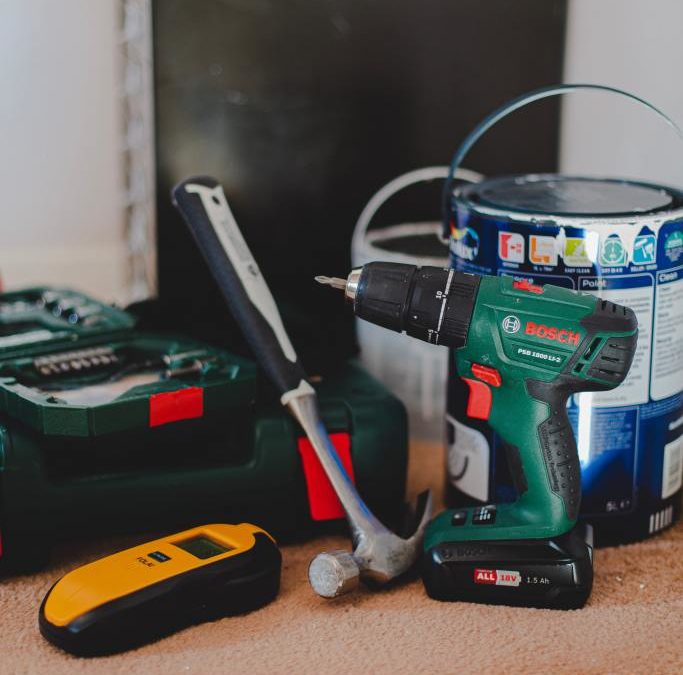
A good half of any job comes with buying stuff in advance. If you need a plumber to take a look at your pipes, it’s going to cost you even before they start working on your house. However, if you have the right equipment and guides you can do the same job for a lot less.
Begin with the basics, if you’re not sure what equipment you should acquire first. For instance, a general tool kit should include basics like hammers and screwdrivers. You can also include engineered fasteners, which are a modern alternative to traditional fasteners such as hex nuts and screws. Once you acquire the right tools, you can move on to purchasing equipment that you think will be the most useful to you. Soon, you’ll have your own collection that you can use whenever there’s any maintenance emergency.
Reuse Raw Materials
Have you ever done anything creative with the old items you have? It would be sad to see old items go to waste if you can turn them into something useful.
For example, a solid wood chopping board can be reused for other purposes. It might become a shelf or a decorative mount for hanging your keys, or a mirror. In addition, you can reuse any hardware salvaged from broken furniture to make new ones. These pieces often have beautiful and distinctive looks but cannot be sold due to their worn or damaged condition.
Bleed Your Radiators
It’s quite common for homes to have excess air in heating systems, which can reduce efficiency and make annoying sounds. You should bleed your radiators of the air to eliminate this problem. Keep in mind that you don’t need professionals for this, as it is a simple process requiring just the right tools.
You can open a radiator valve by using a radiator key that is usually located at the top of a radiator. Note that bleeding radiators can cause low water pressure in your boiler system, so make sure you check the manual of your specific unit to find out how to increase it again.
Paint Tricky Areas With a Painting Mitt
Painting, as any DIY-er with a white wall can tell you, is annoying. The solution, as it turns out, might be right in front of your eyes. You can use mitts to paint along difficult corners and edges, like the ones around stair spindles. With a mitt, these areas are easier for the painter to reach, saving them time and effort. Painting mitts are made from lamb’s wool and have been around for quite a while. They are fantastic for small, tight places in your painting project.
You can even use old gloves or an old sock to varnish the furniture legs or give your stairs an updated look. This makes a truly time-saving DIY project for anyone who wants to spend minimal time on these jobs.
Dents in wood surfaces are annoying and can put a damper on a beautiful piece. Fortunately, they can be easily fixed. Just get a damp washcloth and ring it out to remove any excess water, then place the cloth over the dent. Now, turn your iron on its highest setting and place it on the damp washcloth that is over the area where you want to remove creases.
Make small back-and-forth movements and circles with your hand, holding each section for about 10 seconds without letting go. Before moving on, press down firmly and continue until your washcloth is dry. The water should evaporate quickly. Once the wood fibres absorb it, it will expand back to its original size. Continue applying water until the dents rise to be flush with the rest of the material.
Final Thoughts
You may think that repairing your car or installing your lighting is difficult because not everyone is good with technology and appliances. However, you can still maintain your home without the help of professionals whether you’re a DIY newbie or a pro. Just make sure you get the right gear, learn at every chance you get, and keep track of your equipment and projects.
Dark winter invites you to chill, put your feet up, and enjoy your favourite drink. That means it’s time to think about changing that extra space into a home bar for family and friends. Whether you are a passionate entertainer or an occasional beer drinker, there is always something exciting about having a go-to place for unwinding in your home. Here are a few tips for creating an epic home bar.
1. Create a lounging area
Credit: Kev Gregory / Shutterstock
Consider investing in a comfy sofa, lounge, or some sectional chairs. However, don’t purchase anything without experiencing it first. This means you should go to the store in person and try out different seating options before buying them. When selecting your furniture, focus on creating a comfortable area and a chatting circle where friends can gather and socialize. You can hire interior designers like I-5 Design Build to help you create a casino-like lounging site and execute your plan.
2. Get a bar cart
Photo by Taryn Elliott on Pexels
A bar cart is essential for any sophisticated home bar, and it’s easy to see why. It offers versatility, eclectic style, and convenience to your bar area, especially if you have limited square footage and budget. In addition, a trendy cart gives you an additional space in which you or your guests can try mixing their drinks. Generally, ensure your bar cart is stocked sparingly. You shouldn’t use it as a catch-all for everything you have but instead should be reserved for essential items.
3. Create spots for various activities
Your home bar is a place for chilling and having fun, so how you design the areas should mimic this carefree attitude. Make sure you or your guests have something to keep them entertained. A pool table is a great option, but remember, only a few people can play at a time. Therefore, consider adding a dart board, a TV for watching sports, a ping pong table, or a music system so everyone can get engaged at once.
4. Add a garden
As spring approaches, an outdoor garden is more of a possibility. It can help keep your home bar separate from the house so you can feel like you are actually off to the pub. You can take this idea further by moving your bar to a shed so that you can enjoy your beverage or two, whatever the weather.
5. Light up your bar space
Lighting plays a vital role in any room’s overall atmosphere and function, and your home bar is no exception. To capture your favourite downtown ambiance, ensure your home bar is well-lit to party in but dark enough for those cozy, chill vibes. There are many lighting solutions that give wonderful setups, such as placing LED lights on the walls or behind the counter. Mixing in a statement fixture that can offer more ambient light is another perfect way to heighten the style and atmosphere of your bar space.
Endnote
Credit: Rawpixel.com via Shutterstock
A home bar is a thrilling and fun addition to any home. It can create a customized area for preparing food and drinks, housing and displaying liquor collections and entertaining items, and socializing. Use these tips to design a bar space, and your home will surely become a prominent and appreciated destination among your friends and family.
Allergens are everywhere —and for allergy sufferers, they can be an absolute nightmare. If you’re one of the millions of Americans who suffer from allergies, you know how important it is to keep your home as free of allergens as possible.
Because when allergens are present in your home, they can trigger your symptoms and make you feel miserable. Fortunately, there are easy ways to spruce up your home and create a more hypoallergenic environment.
Replace your mattress
Traditional mattresses are full of dust mites and other allergens that can irritate the skin and lungs. If you suffer from allergies, replacing your bed with an allergen-resistant one is essential.
There are many allergen-resistant mattresses on the market that are comfortable and clean. For example, latex mattresses made with organic material from providers like Essentia (https://myessentia.com/) are an excellent option for allergy-prone individuals.
Your bedding is one place where dust mites and other allergens thrive. To get rid of them, wash your bedding in hot water (at least 130 degrees Fahrenheit) weekly. Even the best bed linen require frequent washing.
If you can’t wash your bedding in hot water, try putting your sheets in the freezer for 24 hours to kill the dust mites. Doing this will help you to sleep more soundly and feel more comfortable in your bed. In addition, be sure to wash your pillowcases often as well.
Use allergen-resistant furniture covers
Another way to reduce allergens in your home and patio is to use allergen-resistant furniture covers. These covers keep dust mites and other allergens from settling deep in your furniture while keeping pet dander and other allergens from contaminating your space.
Just be sure to wash these covers regularly to ensure that they’re working correctly. Or, if you don’t like the look of furniture covers, consider investing in allergen-resistant furniture from reputable sellers.
Vacuum regularly with a HEPA filter
One of the best ways to reduce allergens within your living space is to vacuum regularly with a HEPA filter. A HEPA filter traps tiny particles like dust mites, pet dander, and pollen.
When you vacuum without a filter, you run the risk of particles and dust lingering in your space and spreading further into your home.
In addition to reducing allergens, regular vacuuming will help keep your floors clean and free of debris while reducing the amount of time you spend dusting.
Cleaning your home regularly is one of the best ways to reduce allergens and keep yourself healthy. With the help of a damp cloth, you can clean more effectively without having to use harsh chemicals every time.
Unfortunately, many detergents and chemicals can aggravate allergy symptoms. So sticking with a damp cloth to remove dust, dirt, and grime particles from your surface is the perfect solution.
Though disinfecting some surfaces, like a bathroom or kitchen counter, may require more heavy-duty chemicals, you can stick to a damp rag for most dust-related messes.
Replace your air filters
Replacing your home air filters is one of the best ways to make your home more hypoallergenic. When your air filters are dirty, they can trap allergens like dust mites, pet dander, and pollen inside your home—a recipe for disaster if you’re prone to allergies.
In addition, when your air filters are dirty, they can prevent airflow in your house, making breathing difficult.
If you suffer from allergies, replacing your air filters regularly with high-quality filters that trap allergens is essential. Doing so will reduce the number of allergens and improve the air quality in your house, all while saving you money on energy costs.
If you suffer from allergies, an air purifier is one of the best things you can do to improve your quality of life. Air purification devices remove many allergens and other pollutants from your space, helping to clean up the air around you for better breathing and less sneezing.
However, there is no shortage of air purifier options on the market, so make sure you research to find the best fit for your space and needs. Between ozone generators, activated carbon filters, and electronic air cleaners, there’s sure to be a solution for you.
Wrap up
If you suffer from allergies, you’re not alone. And fortunately, there are several ways to make your home more hypoallergenic. By taking some simple steps, you can reduce the number of allergens in your home and improve your quality of life and well-being.