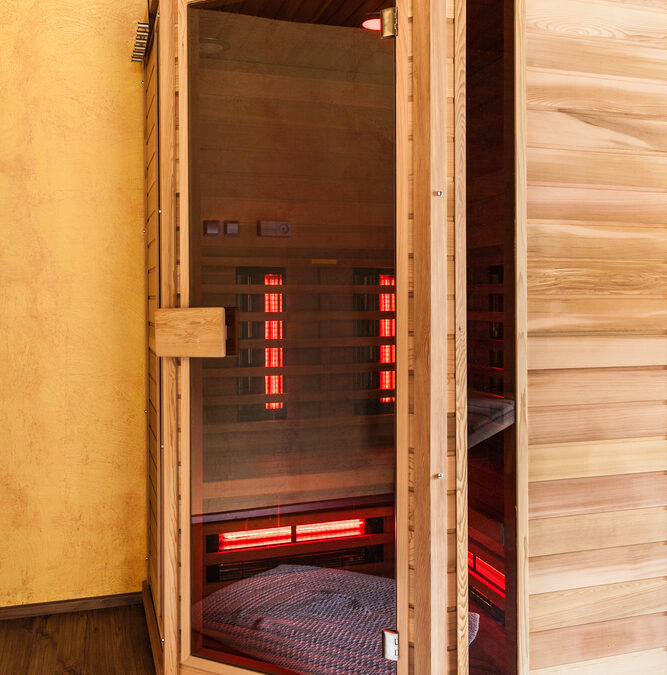
If you want a peaceful, personal escape after a long day, a 1-person infrared sauna can transform your routine. It heats your body gently, eases tension, and fits right in your home. In this guide, we’ll explore the best solo saunas, their benefits, and safety tips so you can relax safely and fully enjoy every session.
The Heavenly Heat 1-Person Infrared Sauna feels like a personal wellness retreat in the comfort of home. As one of the fastest heating infrared saunas, it warms up quickly to a deep, soothing temperature that helps melt away stress after a long day. The design is compact yet surprisingly spacious, with enough room to stretch out and fully relax.
The all-glass front creates an open, modern feel, and knowing it’s made without plywood, stains, or chemicals makes every session feel clean and safe. Setup is simple, and the ultra-low EMF technology adds peace of mind. It’s a smart investment for anyone serious about daily self-care and recovery.
Sunlighten Solo System – Portable and Therapeutic
The Sunlighten Solo System is a game-changer if you want the benefits of an infrared sauna without needing a big space. It’s lightweight, easy to set up, and stores away neatly when not in use, which makes it perfect for apartments or smaller homes. The gentle far-infrared heat feels soothing and helps melt away tension while supporting better sleep and circulation.
It uses high-quality, clinically tested technology, so you know you’re getting more than just a hot box. It feels like a mini wellness escape you can enjoy anytime, without the commitment of a full sauna.
JNH Lifestyles Joyous 1-Person Infrared Sauna – Budget-Friendly with High Performance
The JNH Lifestyles Joyous 1-Person Infrared Sauna is a great choice if you want the benefits of a personal sauna without spending a fortune. It’s compact enough to fit in a bedroom or home gym but still feels cozy and comfortable once you step inside. The Canadian hemlock wood gives it a natural, spa-like feel, and the setup is refreshingly simple.
It has thoughtful details, like the Bluetooth speakers for music and the option to add extras like chromotherapy lighting. It warms up evenly and provides a relaxing experience that feels both soothing and energizing after each session.
Dynamic Saunas Barcelona 1-Person Infrared Sauna – Stylish and Functional
The Dynamic “Barcelona” 1-Person Infrared Sauna is a perfect blend of style and function for anyone looking to unwind at home. Its sleek hemlock wood design feels warm and inviting, while the tempered glass door adds a modern touch. It’s easy to assemble and doesn’t take up much space, making it a great fit for smaller rooms.
The six carbon heating panels provide even, gentle heat that helps relax sore muscles and ease daily stress. With extras like Bluetooth speakers, LED controls, and chromotherapy lighting, it feels like having a personal spa experience anytime you want.
Radiant Saunas BSA2409 1-Person Infrared Sauna – Compact and Efficient
The Radiant Health 1-Person Sauna is a fantastic choice if you’re short on space but still want a full spa-like experience at home. It fits easily in a corner or even a walk-in closet, yet doesn’t skimp on comfort or features. The far-infrared heat feels deep and soothing, and extras like chromotherapy lighting and built-in speakers make each session more enjoyable.
The design focuses on low EMF and smart heating placement, including the floor and bench, which adds to the overall relaxation. Setup is straightforward, and the solid build makes it feel like a long-term investment.
SereneLife Portable 1-Person Infrared Sauna – Convenient and Affordable
The SereneLife Portable 1-Person Infrared Sauna is perfect if you want spa-level relaxation without the hassle of a bulky setup. It heats up quickly to a soothing 140°F, creating a calming space to unwind after a stressful day. It’s compact and folds away easily, so it doesn’t take over your living room or bedroom. The included heated foot pad adds an extra layer of comfort, making each session feel more like a treat. Whether you’re looking for stress relief, gentle detox, or just a warm escape, this sauna makes it simple and affordable to relax at home.
DYNAMIC SAUNAS AMZ-DYN-6106-01 1-Person Infrared Sauna – Spacious and Feature-Rich
The Dynamic Saunas AMZ-DYN-6106-01 strikes a great balance between comfort, design, and functionality for a home wellness setup. The Canadian hemlock wood gives it a warm, spa-like feel, while the carbon heating panels provide steady, even heat that’s both relaxing and effective. It doesn’t take long to assemble, and once running, it heats up quickly to a comfortable range that feels soothing after a workout or a long day. The built-in speakers and lighting add a nice touch, making sessions more enjoyable. Overall, it feels like a solid, thoughtfully designed sauna that delivers real value for daily use.
Benefits of Using a 1-Person Infrared Sauna
Privacy for a Relaxing Personal Experience
A private 1-person infrared sauna allows you to relax without distractions. Shy users feel more comfortable alone, and quiet sessions improve mental clarity. Compared to public saunas, a solo setup reduces noise and foot traffic, creating a serene, restorative experience.
Use Anytime Without Waiting for Others
Owning a single-person infrared sauna means you can start a session immediately, anytime, morning, evening, or late at night. Its solo design gives you full independence and quick-start capability, making relaxation convenient and accessible whenever you need it.
Easier to Fit in Small Spaces
1-person infrared saunas are ideal for apartments or small homes. They require minimal floor space and can fit in a bathroom, bedroom corner, or ventilated closet. Some models fold for extra flexibility, allowing the sauna experience without a dedicated room. Solo saunas bring personal heat therapy to spaces where traditional saunas won’t fit.
Lower Energy and Operating Costs
Infrared saunas use less electricity than traditional saunas, making them cost-effective. Insulated walls maintain heat efficiently, and timers allow sessions only when needed. Monthly operating costs remain low, even with frequent use, making regular sauna use affordable.
Simpler Cleaning and Maintenance
Cleaning a one-person infrared sauna is quick and easy. Wipe down the interior after each use and follow a simple weekly routine to keep it fresh. Infrared heaters require only gentle cleaning. Minimal effort keeps the sauna inviting and encourages regular use.
Customizable Temperature and Session Length
You control both temperature and session length in a one-person infrared sauna. Typical sessions last 20–40 minutes, but you can adjust time and heat to match your comfort and goals. Gradually increasing temperature improves tolerance, while custom session lengths enhance relaxation and detoxification. Personalizing your sauna experience maximizes comfort and wellness.
More Affordable Upfront Investment
One-person infrared saunas cost less than larger traditional models. Their smaller size lowers installation expenses and fits tighter budgets. Portable options are even more affordable, providing personal heat therapy without major renovations. These units make regular sauna sessions accessible with minimal investment.
Safety Considerations of Sauna for Solo Use
Identify Risks to Avoid Accidents
Solo sauna sessions can be relaxing, but they carry certain risks that should not be overlooked. Research published in the International Journal of the Care of the Injured found that most sauna-related injuries result from slips, falls, or dizziness, with contusions, wounds, and fractures being the most common.
The Yale Journal of Biology and Medicine highlights that prolonged exposure to high heat can strain the heart, especially in individuals with pre-existing cardiovascular conditions, leading to risks like arrhythmia, stroke, or heart failure. Web MD warns that alcohol, certain medications, and conditions such as severe aortic stenosis or recent heart attacks significantly increase the danger.
To minimize risk, Healthline suggests limiting sauna sessions to 15–30 minutes and gradually building up time for beginners. Finally, a study in the Journal of Forensic Sciences emphasizes that while sauna-related deaths are rare, alcohol use is a major contributing factor. By staying hydrated, avoiding alcohol, and following time guidelines, solo sauna bathing can remain both enjoyable and safe.
Prepare Gear and Plan for Safety
Before using a sauna alone, gather essential safety gear: a timer, a thermometer or hygrometer, a towel or bathrobe, and first aid supplies. Automated shutoff features provide extra protection. Proper planning ensures a safer sauna experience.
Keep Someone Informed for Emergencies
Always inform a trusted person before using a sauna alone. Share your start time, expected duration, and how to reach you. Check in periodically so they can act quickly in an emergency, reducing the risk of accidents.
Check Weather and Surroundings Before Starting
Before using an outdoor sauna, check the weather. Avoid use during heatwaves, lightning storms, strong winds, heavy rain, or in flood-prone areas. Inspect the surroundings for hazards like falling branches or slippery surfaces to ensure safety.
Wear Protective Gear to Reduce Injuries
Protective gear improves safety in a solo sauna session. Heat-resistant gloves prevent burns when adjusting heaters or doors. Non-slip sandals and mats reduce the risk of slipping on wet surfaces. Towels or covers on benches protect from burns. Proper gear lets you move confidently and enjoy the sauna safely.
Ensure You Are Physically and Mentally Ready
Before using a sauna alone, assess your health. Avoid sessions if you have heart conditions, abnormal blood pressure, or feel unwell. Ensure you are mentally prepared, comfortable being alone, and can recognize early signs of heat exhaustion, like dizziness or nausea. Knowing your limits ensures a safe and enjoyable sauna experience.
Monitor Health and Review Safety After Use
Keep track of your heart rate and check for dehydration during and after sauna use. Monitoring blood pressure helps prevent complications. Stop immediately if you feel dizzy, nauseous, or excessively tired. After your session, rest and evaluate your physical state to determine if the duration was appropriate. Reviewing your experience lets you adjust future sessions for safety and comfort. Consistent monitoring ensures you enjoy your sauna without risk, making each solo visit relaxing, refreshing, and secure.
Final Thoughts
A one-person sauna offers a practical way to bring wellness into your everyday life. You get the gift of privacy and peace, without the distractions of a busy spa. Because it’s always ready when you are, you can fit a session into your schedule with ease, whether that’s early in the morning or just before bed. Even if you’re short on space, these compact designs mean you don’t have to compromise on comfort.
Best of all, you’re in complete control – choosing the temperature, length, and atmosphere that feels right for you. Just remember to keep safety in mind by planning ahead, using the right gear, and staying in tune with your body. With those steps in place, a 1-person sauna becomes the perfect way to relax, recharge, and make wellbeing part of your daily routine.
Renovations are a great way to breathe new life into an old building, but certain practices may inadvertently create a welcoming habitat for pests. Whether it’s the deathwatch beetle tearing into your antique wooden beams or black rats infesting the pantry, pest trouble can quickly turn your renovation dream into a nightmare. Engaging professionals can protect you from this nightmare, but prevention is always better and less costly. This involves avoiding the common renovation mistakes that make your house a haven for pests.
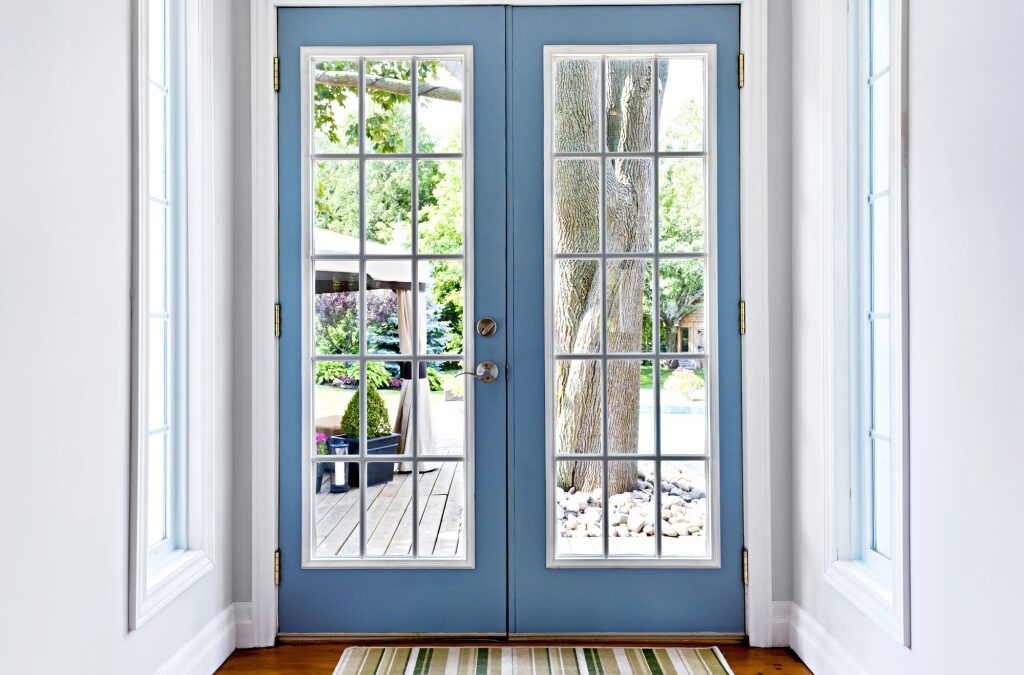
Overlooking Small Gaps
It’s easy to overlook minor spaces, thinking they’re too small to matter. Little do most homeowners realize that even minuscule crevices can be gateways for pests. Smaller pests like ants and spiders need only tiny gaps to access your home. Poorly fitted doors, ill-sealed windows, and gaps left open during renovation works are a few of such overlooked avenues.
Remember, even if they blend well with the design, these gaps may serve as an invitation to uninvited guests. To avoid this issue, ensure all openings left by renovations are sealed properly. If the situation is severe, seek the help of local professionals like exterminators in Salt Lake to make your home pest-proof.
Neglecting Moisture Control
Many pests, including termites and cockroaches, are attracted to moisture. When you fail to keep the moisture in your home under control, you turn your house into an enticing nesting spot for pests. A common renovation habit that causes this is ignoring plumbing leaks or using low-quality materials that fail to resist water. Make sure all your fixtures are watertight, and if you’re facing small leaks, deal with them immediately to avoid larger problems later on.
Poor Material Choices
The choice of building material plays a huge role in pest control. For instance, termites are attracted to wood, and if you use untreated lumber, you might as well send them an engraved invitation. Opt for materials that are pest-resistant, like pressure-treated wood or metal, to keep these troublemakers away.
Disregarding Cleanup
A pile of leftover construction material adds to the aesthetics of a recently renovated home only in the rarest of cases. More often than not, the renovation debris serves as a perfect harboring point for pests. Moreover, wood, paper, and cloth, often found in these debris piles, can offer a direct food source to some pests. Prompt and proper cleanup after the renovation can prevent potential infestations.
Inadequate Ventilation
Pests thrive in humid environments. The lack of ventilation in many renovated homes turns them into suitable habitats for an array of pests. It’s crucial to maintain a good ventilation system in your home — a balance between insulation and airflow. Ensure that your remodelled kitchen, bathroom, and roof have sufficient air circulation to deter pests.
Overlooking Professional Help
With advanced technology and DIY videos just a click away, self-renovation can seem enticing. However, what those videos don’t tell you is that improper renovation practices can make your home a pest magnet. Engaging professionals from the get-go can save you thousands of dollars in pest control later on. A professional renovator will help you avoid common renovation mistakes and ensure your home is pest-proof.
Final Thoughts
Renovating your home is an exciting venture, but it can quickly become a problem when pests decide to join the party. By avoiding these common renovation mistakes that attract pests, you can enjoy a revamped home and peace of mind. Always remember, should you need any professional help, exterminators in Salt Lake are more than capable of assisting you.
They say you’ll always find people in the kitchen at parties, and that is so true.
The kitchen is always the place people congregate at parties, whether it be Christmas, birthdays or any other reason, which is why if you’re hosting, you need to make sure you get it ready.
It’s always worth spending a bit of time getting your kitchen ready ahead of a party – here are our top tips.
Ultimately, it all starts with a declutter. You want to create as much space as possible and that requires getting anything unnecessary and unneeded out of the way,
You can store it in another room, or pack it all away in cupboards, but you need to maximise worktop space to allow people to put their drinks and snacks down, as well as giving you the room to be organised in your hosting.
Put out glasses and plates
Things can get confusing, messy and rather noisy if guests are constantly having to look around and open cupboards for glassware, tableware and cutlery, so create a space for it that people can quickly pick up what they need.
It’s simple, but effective and incredibly important.
Separate alcohol and soft drinks
Photo by Taryn Elliott on Pexels
If you can, it can be really useful to separate the alcohol from soft drinks. Firstly, for ease of access and allowing people to understand where everything is.
However, today there are also more people than ever before suffering from addiction, and it’s likely you may well know someone who is either battling it or has received addiction treatment and is in recovery.
Parties can be difficult for them, so just by keeping the alcohol away from the soft drinks you can make a small difference that really might help them out.
Empty the bins!
You’ll have worked hard preparing for this party and chances are you’ll have put on a good spread. But that will involve a lot of waste, and some of it could be pretty smelly.
Don’t ruin the ambience by having a smelly bin people have to stand next to. Last minute, before anyone arrives, change the bins. It’ll also help prevent any overflow during the party.
Do a bit of decorating
Credit: 2M / Shutterstock
While we know many people will congregate in the kitchen at parties, we often ignore the decorating in it. We’ll make the living room, dining room and other areas look pretty, but ignore the kitchen.
Jazz up your kitchen a little and make it a space that is welcoming. There are some great ideas out there online, and it can be cheap and easy to do too, yet make all the difference.
Have you ever wanted to have your own home gym? What about an office for remote working, or a studio to paint or play music in? Many people decide to convert a spare room in their house to a more functional space, and it can transform their quality of life.
Renovating or converting a room allows you to make the most of your existing space, while creating an area for you and your family to be productive and improve your lives. Perhaps you have a basement or attic that is gathering dust. Or a spare bedroom that is empty now your adult kids have flown the nest. Whatever your situation, it makes sense to use this valuable real estate rather than keeping it as a missed opportunity.
But converting a room can be expensive, especially if you hire a professional to do the job for you, paying for their labour, time, and all the raw materials required. It would be so much simpler and cheaper if you could just do it yourself.
The good news is you can. There is no reason why you can’t learn the basic skills and techniques required to renovate a room and transform your home. Here are some tips to help you convert a room in your home into a brand new space.
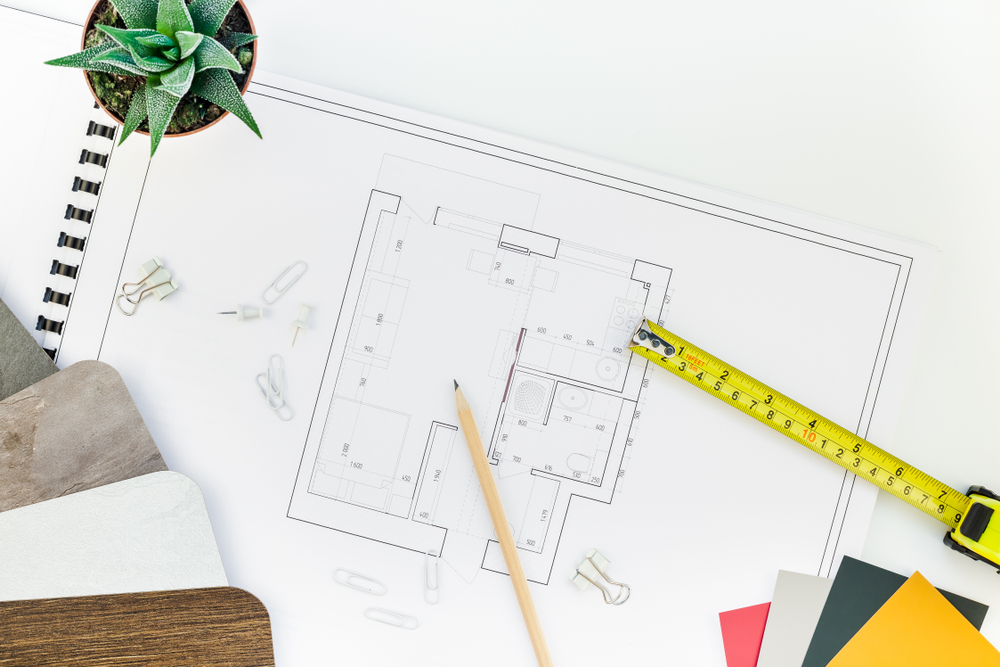
Make a plan
Image credit: Shutterstock
Before you can start the conversion process, you need to have a clear idea of what you want the finished room to look like. You’ll know at this stage whether you are creating a new bedroom, a gym, an office, or something else. Decide what you want it to look like, and what furniture and other items you want it to have. This will dictate every subsequent step from flooring and wallpapering, to cladding and where you’ll need electrical outlets.
Clear it out
If your spare room is being used for storage, you’ll need to clear it out before beginning work. See this as an opportunity to give your home a spring clean. Rather than simply shift your junk from one room to another, go through your possessions and get rid of anything you don’t need. If you’re concerned about waste you don’t have to throw things out. You can take them to a charity shop or sell them online instead. Once the room is clear, you now have a blank slate on which to work.
If the room needs a new floor, it is possible for you to do it yourself. Start by ripping up the old carpet, wood or tiles you want to get rid of. Add a subfloor or underlay to begin with and then you can start installation. Carpet is easy, as you simply need to measure the space and buy the appropriate quantity of carpet tiles. Ceramic or porcelain tiles will require you to lay an adhesive on the floor before placing the tiles and then grouting the spaces between them. If opting for laminate flooring, you will find the job slightly more laborious as you need to ensure each plank is correctly spaced and sized. There are plenty of online tutorials that can help you with this process.
Decorate the walls
It’s likely the walls may need to be painted to give the room the desired effect. Choose a colour scheme that fits with your vision for the space. For example, if it’s going to be an area for relaxation then choose cool pastel hues like blues and pinks. But if you’re building a gym you might want bold, vibrant colours to pump you up. Once you have painted, add some artwork to the walls and other ornaments dotted around to make it feel like home.
It’s time to start filling the space with all the items it needs to fulfil its function. A home workout room will require plenty of gym equipment, as well as storage for smaller items and some speakers or a TV screen for playing music. A home office will need a desk, a computer, and an ergonomic office chair. It may take a bit of time before you find the right layout and configuration but when you do, you’ll be amazed that you converted the room all by yourself.
These are just a few tips to help you get started when converting a room in your house. There is plenty of information on Fresh Design Blog that will help walk you through tasks like wallpapering and decorating. If you are unsure about anything or there is any danger involved, such as dealing with gas or electrics, always call in a professional to do the job for you.
People who like to fix things themselves instead of calling a professional have likely picked up a few expert tips over the years. Whether fixing your car or home appliances, sometimes there’s no need to call a professional do to the job for you. With a little hands-on research, you can save yourself a few extra dollars and keep your plumbing, electricity, and devices in top working order.
DIY projects can be fun, but they can also be time-consuming and expensive. This guide will show you some nifty tricks to help you fix common home problems fast and easily.
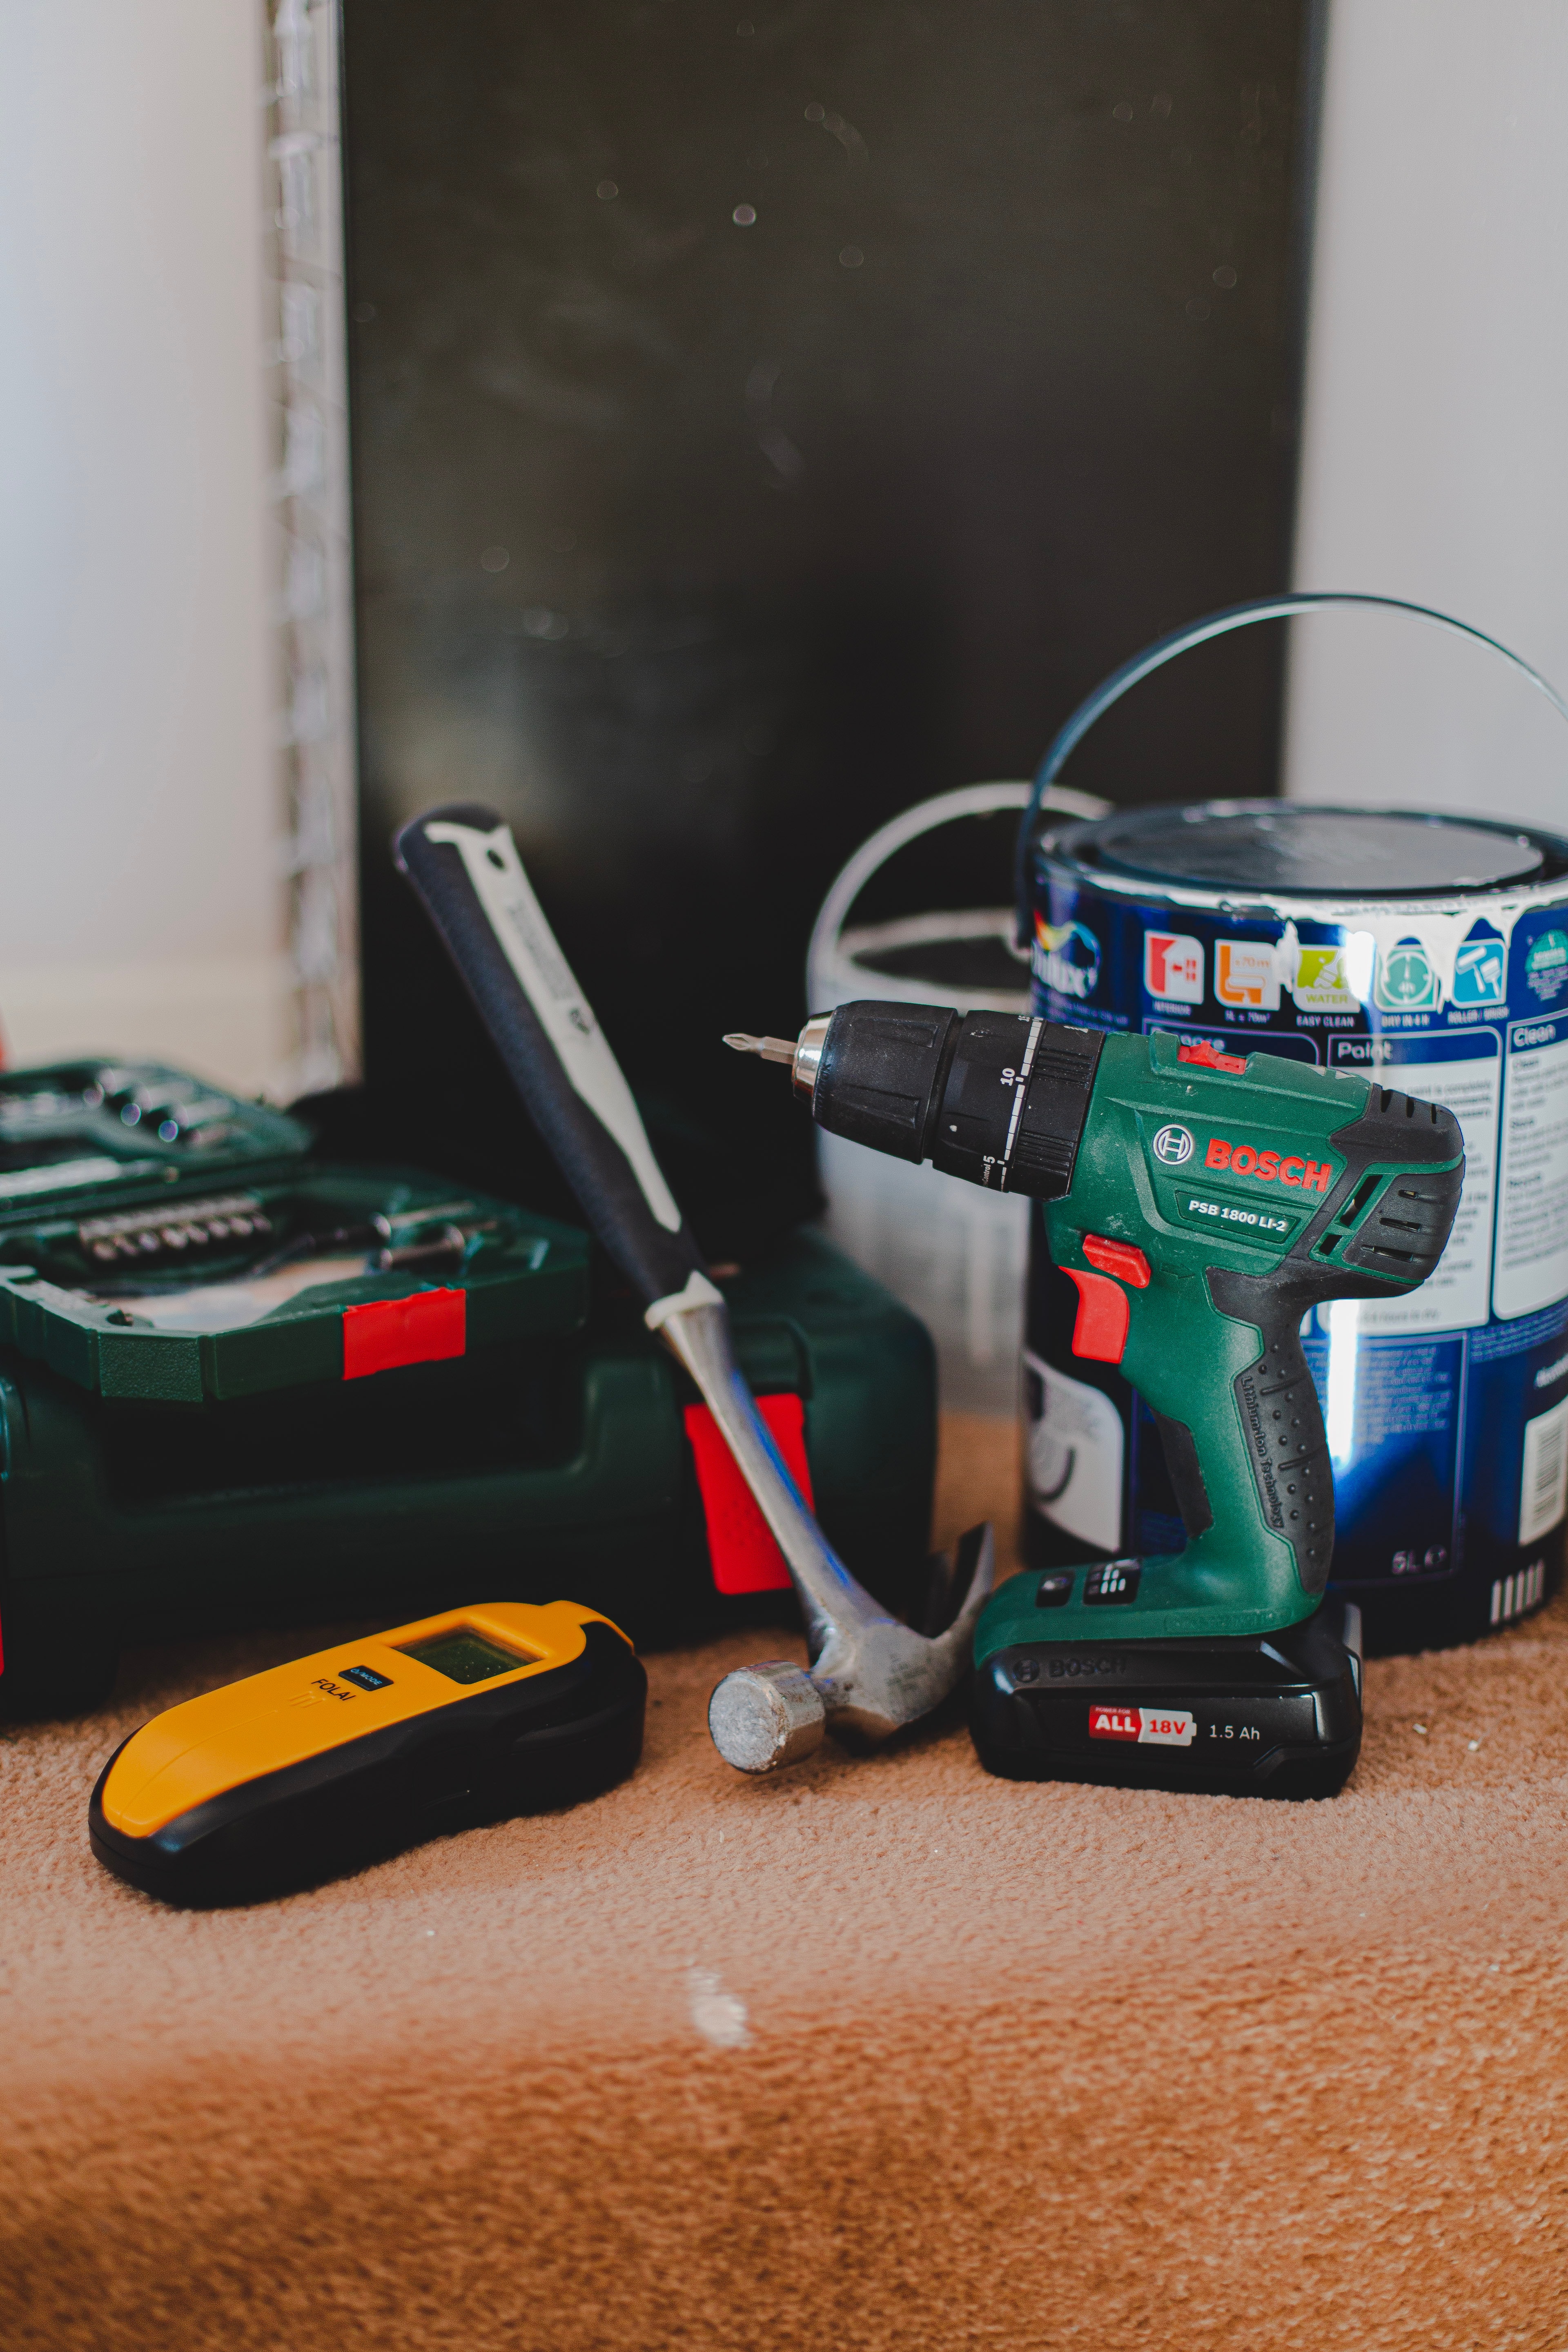
A good half of any job comes with buying stuff in advance. If you need a plumber to take a look at your pipes, it’s going to cost you even before they start working on your house. However, if you have the right equipment and guides you can do the same job for a lot less.
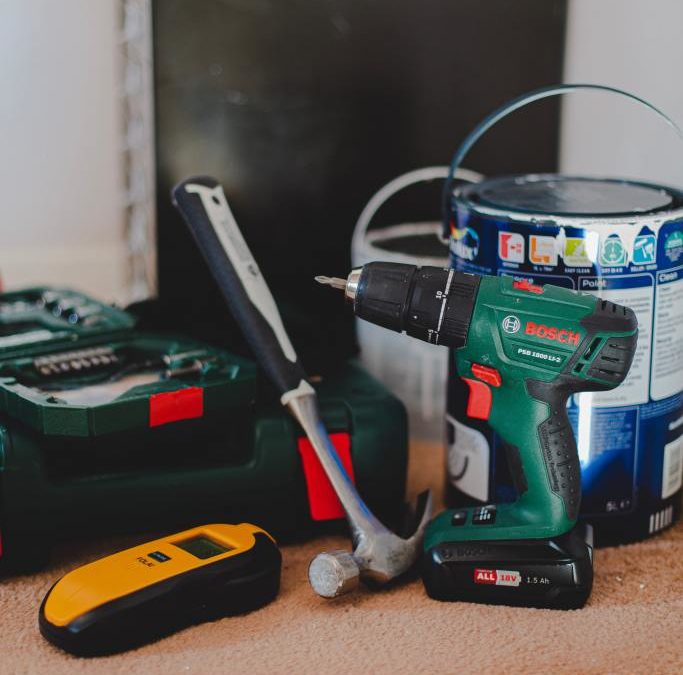
Begin with the basics, if you’re not sure what equipment you should acquire first. For instance, a general tool kit should include basics like hammers and screwdrivers. You can also include engineered fasteners, which are a modern alternative to traditional fasteners such as hex nuts and screws. Once you acquire the right tools, you can move on to purchasing equipment that you think will be the most useful to you. Soon, you’ll have your own collection that you can use whenever there’s any maintenance emergency.
Reuse Raw Materials
Have you ever done anything creative with the old items you have? It would be sad to see old items go to waste if you can turn them into something useful.
For example, a solid wood chopping board can be reused for other purposes. It might become a shelf or a decorative mount for hanging your keys, or a mirror. In addition, you can reuse any hardware salvaged from broken furniture to make new ones. These pieces often have beautiful and distinctive looks but cannot be sold due to their worn or damaged condition.
Bleed Your Radiators
It’s quite common for homes to have excess air in heating systems, which can reduce efficiency and make annoying sounds. You should bleed your radiators of the air to eliminate this problem. Keep in mind that you don’t need professionals for this, as it is a simple process requiring just the right tools.
You can open a radiator valve by using a radiator key that is usually located at the top of a radiator. Note that bleeding radiators can cause low water pressure in your boiler system, so make sure you check the manual of your specific unit to find out how to increase it again.
Paint Tricky Areas With a Painting Mitt
Painting, as any DIY-er with a white wall can tell you, is annoying. The solution, as it turns out, might be right in front of your eyes. You can use mitts to paint along difficult corners and edges, like the ones around stair spindles. With a mitt, these areas are easier for the painter to reach, saving them time and effort. Painting mitts are made from lamb’s wool and have been around for quite a while. They are fantastic for small, tight places in your painting project.
You can even use old gloves or an old sock to varnish the furniture legs or give your stairs an updated look. This makes a truly time-saving DIY project for anyone who wants to spend minimal time on these jobs.
Dents in wood surfaces are annoying and can put a damper on a beautiful piece. Fortunately, they can be easily fixed. Just get a damp washcloth and ring it out to remove any excess water, then place the cloth over the dent. Now, turn your iron on its highest setting and place it on the damp washcloth that is over the area where you want to remove creases.
Make small back-and-forth movements and circles with your hand, holding each section for about 10 seconds without letting go. Before moving on, press down firmly and continue until your washcloth is dry. The water should evaporate quickly. Once the wood fibres absorb it, it will expand back to its original size. Continue applying water until the dents rise to be flush with the rest of the material.
Final Thoughts
You may think that repairing your car or installing your lighting is difficult because not everyone is good with technology and appliances. However, you can still maintain your home without the help of professionals whether you’re a DIY newbie or a pro. Just make sure you get the right gear, learn at every chance you get, and keep track of your equipment and projects.