Creating a Grandmillenial-Style Bathroom

Creating a Grandmillenial-Style Bathroom

This week, we’re creating a grandmillenial-style bathroom by incorporating modern elements to Chelsea’s mid-century main bathroom.

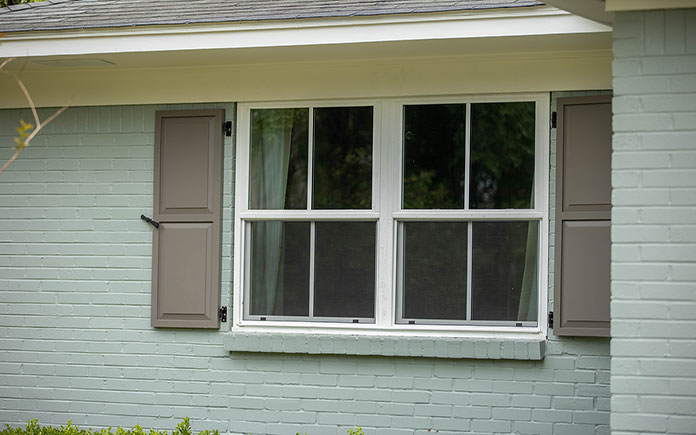
Chelsea plans to do a primary bathroom addition in the future, so for now, we’re updating this bathroom to accommodate her and her husband, Brandon, while keeping in mind its future use for her daughters.

For this reason, we’re keeping the pink bathtub and tile but introducing some new elements that will tie in well to this grandmillenial-style bathroom.


Grandmillenial style floral wallpaper
This granny-chic wallpaper pattern is perfect for this grandmillenial style bathroom. (3 Echoes Content Studio)

Hang Wallpaper

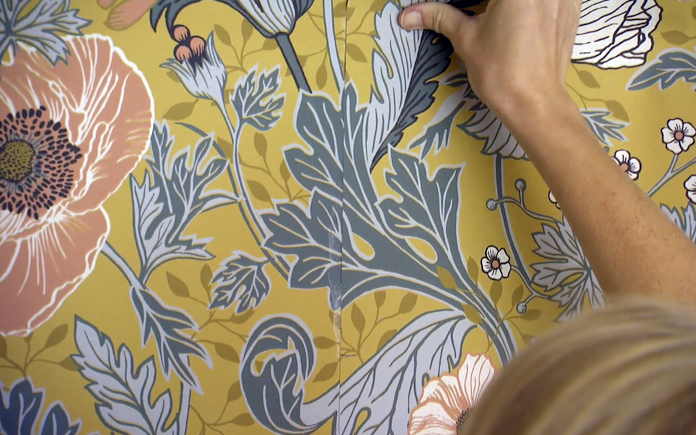
When Chelsea first moved into her home, she removed dated the wallpaper in the bathroom. And now, we’ve come full circle and are applying a new, modern-printed paper that will complement the bathroom’s retro elements and complete this bathroom’s modern grandmillenial design. 

We’re encasing this bathroom with literal wall-to-wall wallpaper, including the ceiling. This will give this future girl’s bathroom a jewelry-box feel. 

Danny Lipford applies drywall mud to patch holes from ceiling trim.
Patching the wall where the ceiling trim once was gives us an even surface for our wallpaper. (3 Echoes Content Studio)

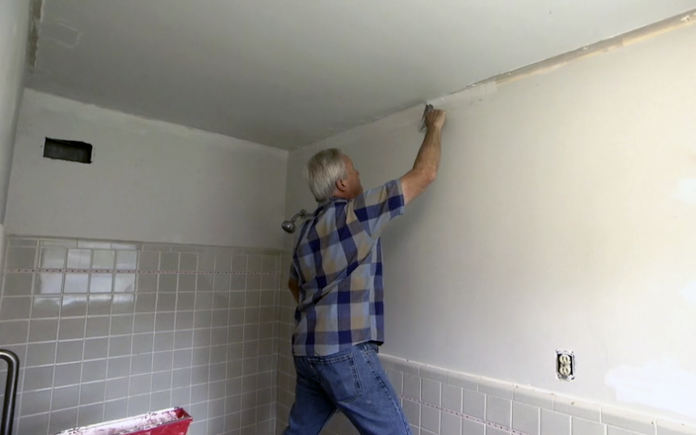
First, we remove the ceiling trim so our wallpaper runs seamlessly onto the ceiling. To fill the spots behind the trim, we apply drywall mud with a putty knife to fill in the gaps left behind. 

Next, we clean the ceiling and walls with a mold killer so we have a fresh slate for the new wallpaper. 

Then, we hang the wallpaper. Here’s a step-by-step guide (link) on how to do it. 
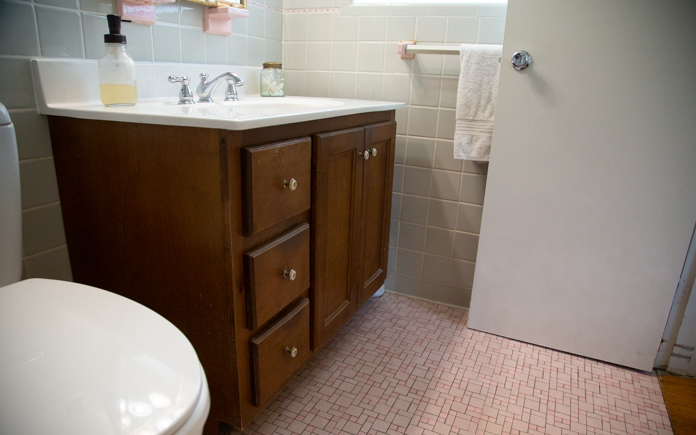
Grandmillenial style bathroom with floral wallpaper and pink ceramic tub
Encasing the bathroom with wallpaper creat a jewelry box feel. (3 Echoes Content Studio)

Outdated bathroom vanity next to pink tile and grey tile walls
This outdated vanity offers little storage space and stands out in a bad way. (3 Echoes Content Studio)

Replace Vanity

This vanity isn’t original to the house, so it looks out of place in this bathroom. Plus, it’s a little too short and narrow. So we’re replacing it with a more functional, modern one that still works with our grandmillenial style.

To replace the vanity, we remove the toiletries stored inside and disconnect the sink plumbing. This old vanity wasn’t connected to the wall, so a firm tug is all that’s needed to detach it. 

A hole in ceramic wall tile.
The wall tile fused to the wall underneath, making it impossible to remove whole pieces. (3 Echoes Content Studio)

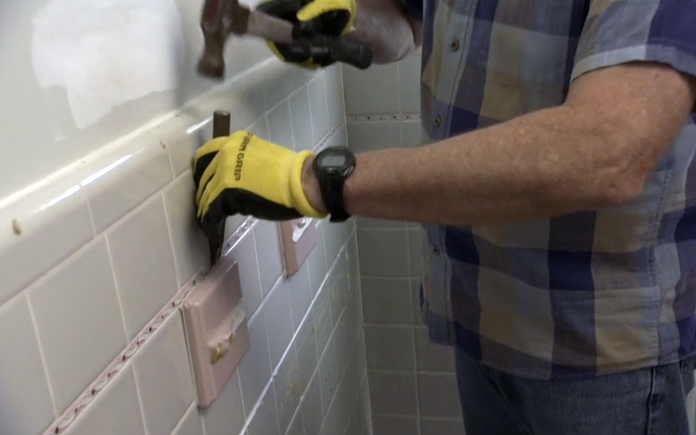
Before we install the new vanity, we try to salvage some of the wall tiles behind it to use for replacement tiles on the wall behind the ceramic towel holder. Unfortunately, the tile is not coming off in one whole piece.

Titebond paiter's plus caulk filling in screw holes on ceramic tile.
Grey painter’s caulk camouflages the holes left behind from the grab bar. (3 Echoes Content Studio)

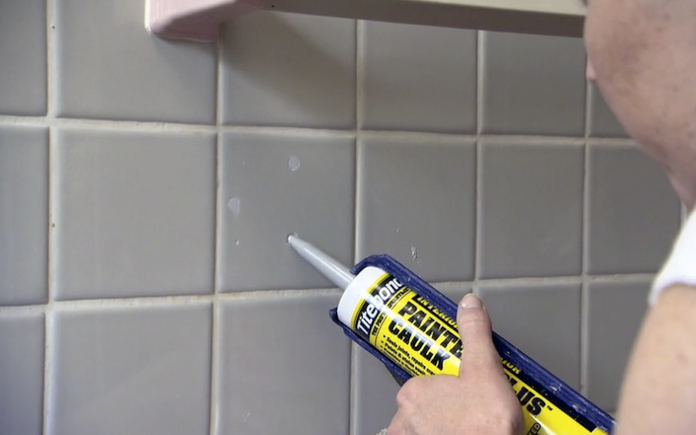
We’re disappointed we can’t remove the towel bar, but when in the end, it’s still functional. The metal grab bars, however, can be removed. We remove the screws and fill the holes with grey caulk that’s a near match to the tile color.  

Removing ceramic holders with a hammer and chisel
A chisel and hammer easily knock off these ceramic holders so we have a flush surface for our vanity mirror. (3 Echoes Content Studio)

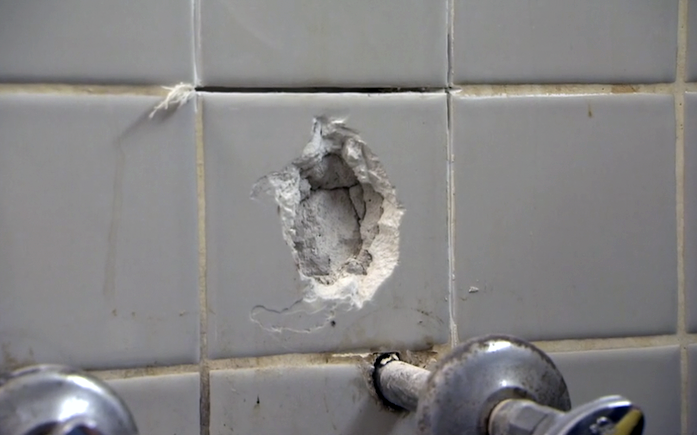
We knock off the ceramic soap and toothbrush holders above the sink so the mirror can lay flush above the vanity. 

New vanity with brushed golf faucet in a grandmillenial style bathroom
The new vanity adds more counter space and storage. (3 Echoes Content Studio)

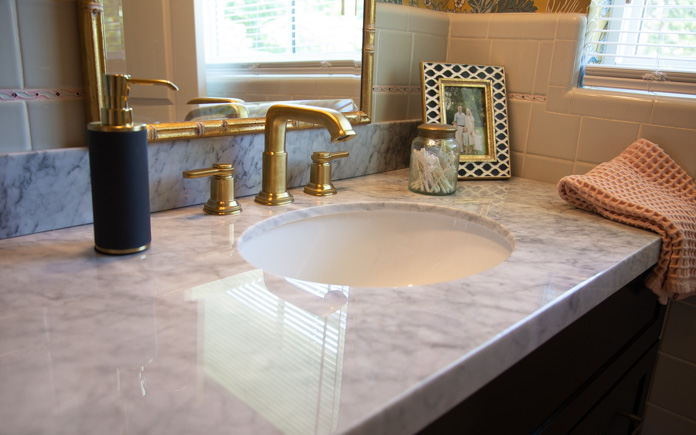
Finally, we install a new vanity that’s taller and wider to provide more counter space and drawer storage. Here’s how we did it:

  • First, we apply some construction adhesive for extra security. 
  • Then we drill through the tile and drive screws into the studs. 
  • Next, we dry-fit the vanity top before we secure it with more construction adhesive.
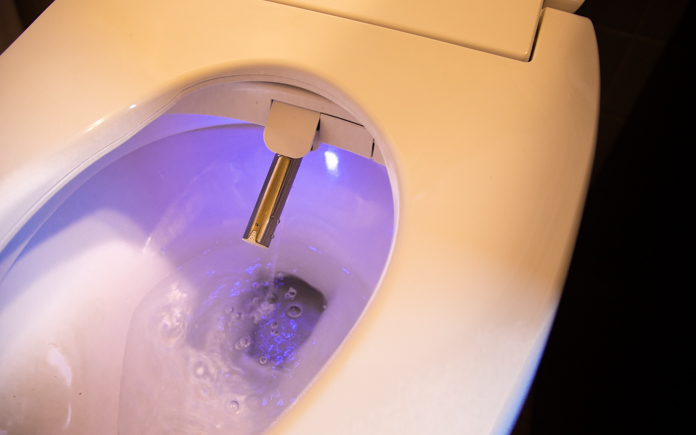
Soft Spa by Fluidmaster bidet
The new bidet adds a luxury spa feature to the bathroom. (3 Echoes Content Studio)

Install a Bidet

The toilet in the bathroom is the only thing that’s been updated this century, so we keep it. However, to add some extra pizzazz, we install a bidet.


This page contains affiliate links. If you purchase a product from these links, we will earn a small commission at no additional cost to you.


We chose theFluidmaster Soft Spa Electronic Bidet Toilet Seat. It features an integrated water heater, adjustable water pressure and wand positioning, as well as a heated seat and warm air-dryer. Plus, it has a remote, so you can face forward to use it, instead of reaching behind to make adjustments.

A T-valve connects to the existing water line that supplies the water to your bidet toilet seat. (3 Echoes Content Studio)

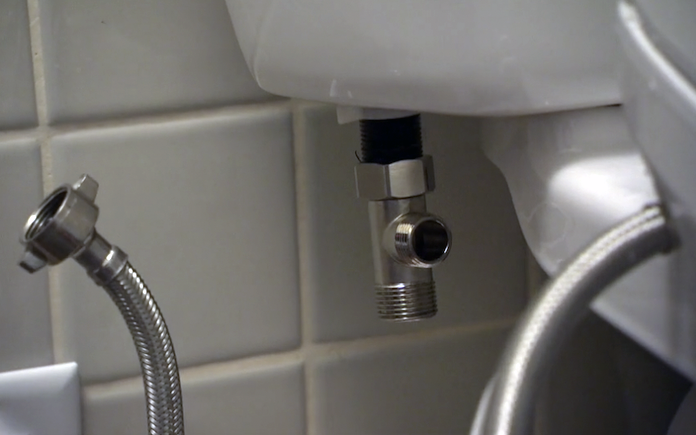
The bidet requires a water line, so we shut off the water at the toilet to install a T-valve so both the toilet and the seat can get water from the same source.

We also:

  • Installed a ceiling vent fan
  • Replaced the light fixture
  • Added an outlet for the bidet

Brandon Wolf and Chelsea Lipford Wolf with Danny Lipford.
Brandon Wolf and Chelsea Lipford Wolf with Danny Lipford. (3 Echoes Content Studio)

Post-Production Thoughts

Chelsea and Brandon’s bathroom is 65 years old. At that age, there’s some baggage like the pink tub and the lack of ventilation.

The vanity was newer than that, but it really didn’t fit the style of the room and it lacked character.

But now, the room is overflowing with character and grandmillenial style. The wraparound wallpaper not only creates the jewelry box feel that Chelsea was after it also makes the pink tub look intentional.

The vent fan makes the space more functional, and the larger vanity makes it easier to use. Plus, its black finish complements the room style, and the new bidet toilet seat elevates the whole room to a spa-like experience.


Other Tips From This Episode 


Products Featured in This Episode


Further Reading

Modern Exterior Design for Chelsea’s Mid-Century Home

Modern Exterior Design for Chelsea’s Mid-Century Home

In this episode, we’re focusing on improving the exterior design of Chelsea’s ranch-style home. 

Several months ago, Chelsea and her husband Brandon bought a mid-century house. They have already done some minor updates before moving in with their three children, Gus, Mary Helen and Lucy. 

Now that they have been living in the home for a while, Chelsea and Brandon are ready for some bigger projects that will really make a difference. 

We’re giving the exterior of Chelsea’s home a facelift from the 1950s and bringing it into this century!


Chelsea's new windows
Chelsea’s new JELD-WEN windows add a huge difference to her home’s exterior appearance. 

Replacing the Windows

Chelsea and Brandon’s home was built in 1956, so replacing the windows — originals to the place— is a must. The old windows were rusty and leaky — keeping them was out of the question.

After we take measurements, Low-E, energy-efficient JELD-WEN windows are installed around the perimeter of the house and sealed.

The windows are sealed with Duramaster, a super-flexible new caulk, to keep them air and watertight.


Chelsea's new garage doors
Chelsea’s new garage doors she built with Danny give her garage some modern flare.

New Garage Doors

Just like the windows, the garage door was old, rusting and leaking. 

Chelsea and I built the new garage doors using wood planks in a diagonal pattern for that modern look. As soon as we install the new doors, Chelsea gets busy sanding and staining them. 

She chose a natural stain to bring out the grain in the wood as well as protect them from the elements.


Chelsea painting the new shutters for her home
Chelsea paints her new shutters to complement the windows of her home.

Painting the Shutters

By replacing the windows, we also needed some new shutters to complement them. Chelsea chooses to paint the shutters a warm brownish-gray color by Behr. 

Once Chelsea paints the shutters, we start installing the mounting hardware and begin to hang the shutters around the perimeter.


Production Thoughts

Chelsea’s house was built in 1956 and it didn’t look like much had changed since then.

The color was kind of “Blah,” the windows were rusty and leaky, as was the garage door, and the lawn and landscaping were a little out-of-control.

There was really nothing to draw your eyes or make you take notice of the place.

But NOW, the whole corner seems to be alive and begging for attention. The new color on the walls is cheerful and bright and the new windows have the clean, modern look that Chelsea wanted, plus a lot more efficiency.

New shutters continue that crisp look, and the new front door adds warmth and character to the house, along with the cedar shakes on the front gable and the new garage doors around the back.

The exterior updates of Chelsea’s house really took her curb appeal to the next level. It now has a welcoming feel to the home and has brought this mid-century home back to life. 


Further Reading