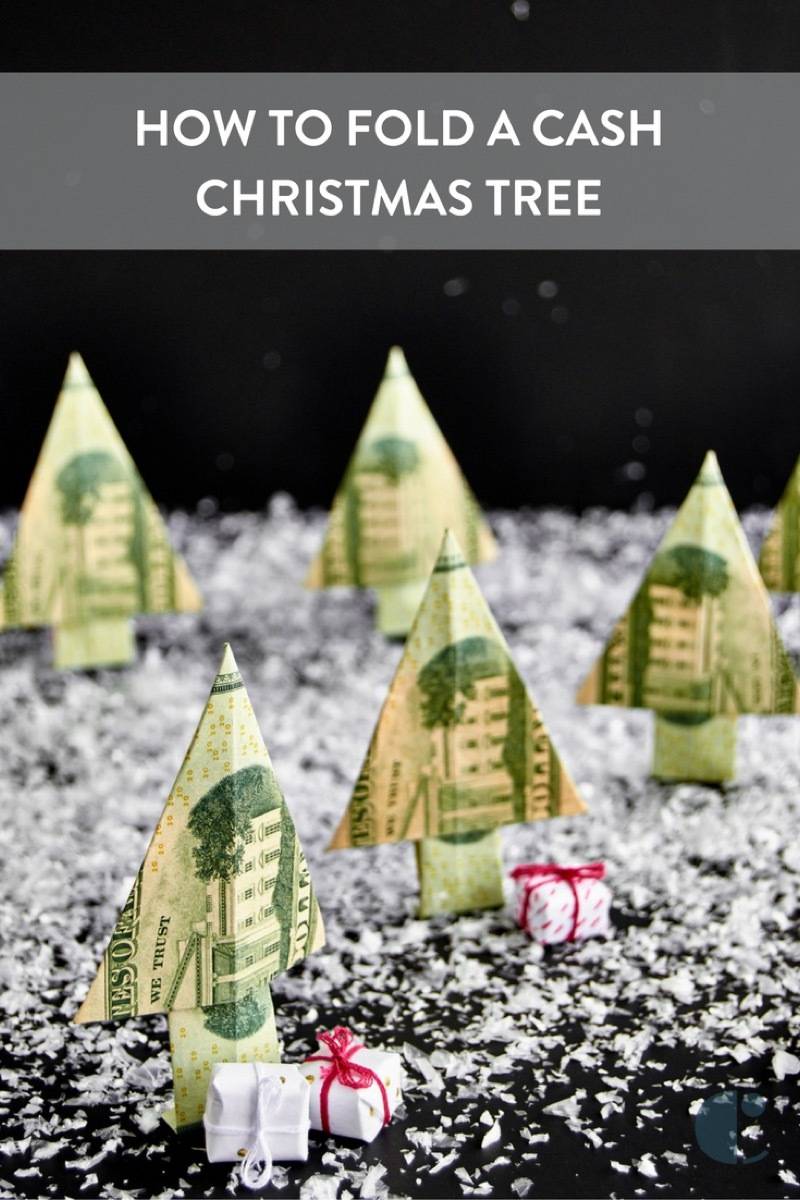
Giving cash this Christmas? (We still think it’s better than a gift card.) Instead of just sticking the bills in a card, how about festively folding them into a Christmas money tree shape? With this simple technique, you’ll have the whole project done in less than five minutes. Here’s how to make a money tree for the holidays this year…
How to make a money tree in eight simple steps
Step

Start by folding the bill in half lengthwise. Make sure your folds are crisp and clean. Use a bone folder to crease the folds perfectly.
Step

Next, unfold the first step and fold in half the short way.
Step

Fold the top layer down about two-thirds of the way.
Step

Fold the corners down as shown in the photo above. The space between the folded corners should be about 3/4 of an inch wide.
Step

Fold the bottom left over, unfolding the corner you just made. Flatten the corner and then repeat the step for the right side.
Step

You should have two flattened corners, and a ‘tree trunk’ beginning to take shape.
Step

Fold down the top corners to the center as shown.
Step

Fold the top corners down one more time. Flip the tree over, and you’re done!


You could also hang these as ornaments on your tree, or use them as fun stocking stuffers for kids. Now that you know how to make a money tree, you have a fun way to give cash gifts for any occasion throughout the year. Have fun making your Christmas money trees!
Looking for more seasonal DIY projects and ideas?
This post was originally written by JoAnn Moser in 2008. She also came up with the folding technique. Updated with new photos and video in December, 2016.
