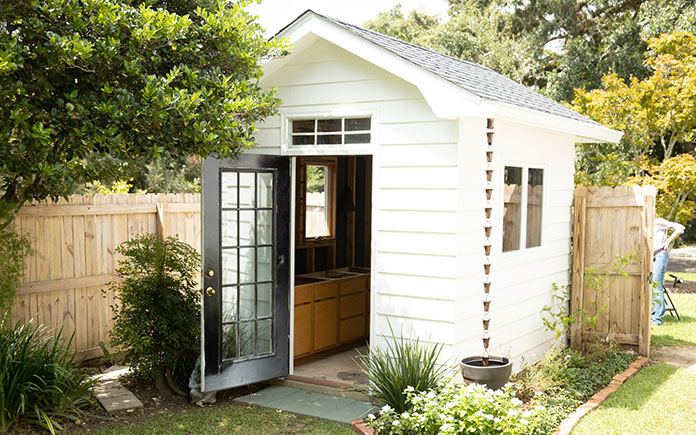
We’re transforming a shed into an art studio for homeowner Linda Johansen.
Linda is native to Mobile, Ala., and has settled in Fairhope, Ala., after adventuring around the world with Delta Airlines. She has gradually redone her home one room at a time but needs a little help with her shed — and we’re happy to help!
Linda’s shed has great potential for an artist’s oasis!
Preparing the Shed
For prep, we didn’t have to do too much. Linda helped us out by cleaning out as much as she could so we could get right to the renovation.
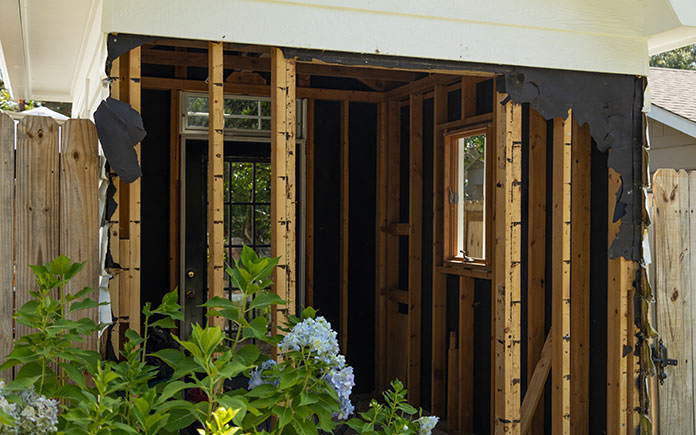
We start by removing the siding that faces the street to close up the door. By closing up the door, both security and more room for Linda’s shed.
By removing the siding, we can now close up the door to create more space.
We also remove the small concrete ramp leading to the door. It’s rare if the slab of the concrete floor and the ramp are poured at the same time. Since there’s no line between the ramp and the concrete slab, I’m using a saw to score it so the ramp has a clean break.
Chelsea and Linda get busy sanding the cabinets.
Refinishing the Cabinets
Linda has the original kitchen cabinets that came with her home. Like us, Linda hates to waste perfectly good furniture. So instead of getting rid of the kitchen cabinets, we’re refinishing and putting them in Linda’s she-shed!
The new color Linda chose for her cabinets makes the space pop.
Chelsea and Linda took to sanding the old cabinets and painting them a fun shade of blue. This shade of blue is actually color matched from one of Linda’s pillows and makes the space pop more!
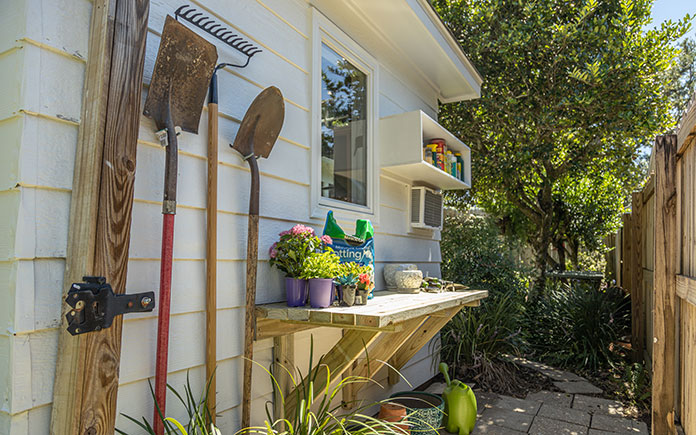
The new potting bench adds more character to Linda’s she-shed!
Adding a Potting Bench
To add more of Linda’s personality to the shed, we’re building a free-standing potting bench. It enhances the appeal of the shed from the outside while also allowing storage for Linda’s garden tools.
With the potting bench in place, Linda’s shed is now a home for all of her hobbies!
“Today’s Homeowner” hosts Danny Lipford and Chelsea Lipford Wolf, pictured with Linda Johansen.
Production Thoughts
When we first saw Linda’s shed it was attractive on the outside but had yet to reach its potential on the inside. Linda needed a space for her creative side to paint and garden as she pleases.
By covering up the door facing the street, we created more wall space for functionality. The refinished cabinets add a pop of color and creativity to this artist’s shed. And the potting bench on the side of the shed adds even more of Linda’s personality to her hobbies!
Other Tips from this Episode
Products Featured in this Episode
This page contains affiliate links. If you purchase a product from these links, we will earn a small commission at no additional cost to you.
In this episode, we’re bringing a vintage 80s brick home into this decade with an exterior refresh.
Homeowner Kim Hetzman and her three children live in this home that her children have deemed ‘the hot dog stand.’ (The nickname comes from the awnings that resemble a hot dog kiosk.) Needless to say, Kim is ready for a change and we’re more than happy to help!
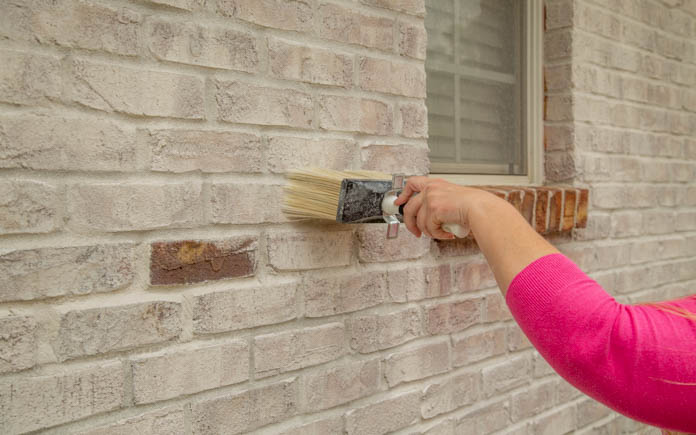
To make Kim’s home stand out and boost its curb appeal, we limewashed the exterior bricks.
Limewash is a mix of lime, minerals and water that applies directly to brick and actually soaks into the brick instead of sitting on top of it. It’s easy to apply and creates a beautiful rustic look on any brick surface.
The brick needs to be wet before applying the limewash. We used a sprayer to apply the limewash to speed up the process a little bit, but this can also be done with a masonry brush.
After letting it dry for about 15 minutes then you can go back and remove some of the limewash with water in selected spots.
A clear sealer protects the shutters from water damage and maintains the wood’s natural color. (3 Echoes Content Studio)
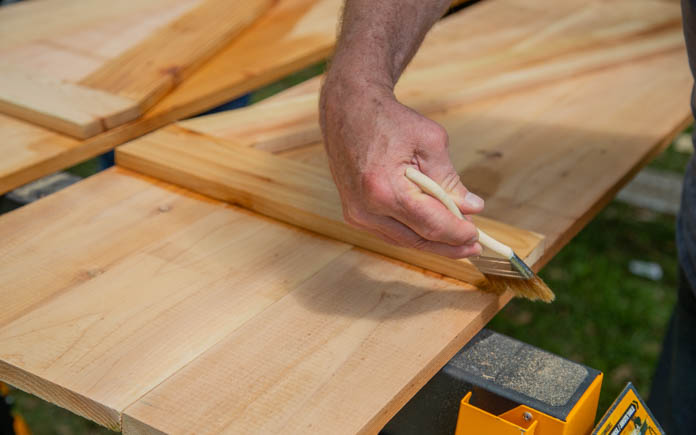
Building New Shutters
Kim and Chelsea build new cedar shutters for Kim’s home. They look timeless and add some vintage charm.
Chelsea creates a jig using a few stop blocks to slide the shutter components in place and so she won’t have to measure every piece. The shutters are built upside down; this way, no nail holes are noticeable!
We build the shutters from three 1-by-6 cedar boards across and, using the same width, one 1-by-4 at the top and bottom. The diagonal accent piece is also 1-by-4.
When assembling the shutters, place the smooth side of the cedar down so it faces out once completed. Once all the boards are in place, Chelsea attaches the screws in from behind — this way, no nail heads will show on the outside of the shutter.
Note: Be sure the screws aren’t too long because the tip can come out of the front side of the shutter and ruin the project!
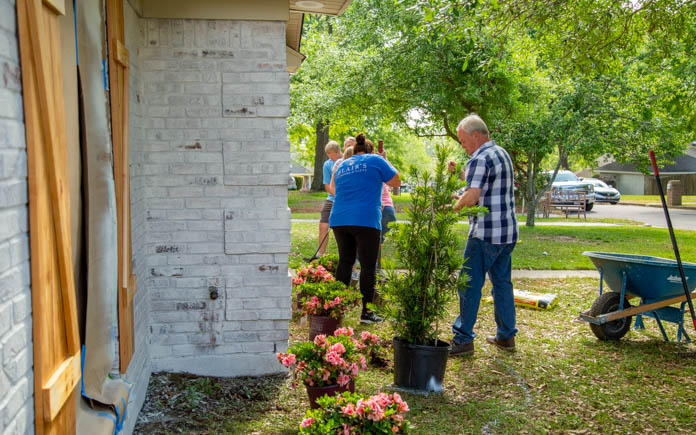
These small azaleas won’t grow as large as the ones originally in the yard. (3 Echoes Content Studio)
New Landscaping from Blair’s Nursery
To finish off Kim’s curb appeal update, we had help from our friends at Blair’s Nursery, a nursery located right here in Mobile, Alabama.
Owner, Blair Kovar, helps us create a beautiful landscape plan for Kim’s home that is low maintenance and accents the home.
Kim’s landscaping includes a variety of plants and flowers that you can check out at blairsnurseryandgifts.com.
When we first arrived at Kim Hetzman’s home, or ‘hot dog stand’ as her three kids called it, it was a home in great shape for a 30-year-old home but didn’t fit her personality.
It was dated and dull but just needed some love added to it. Now the house is lighter, brighter and full of character thanks to the limewash added to the bricks. The rustic cedar shutters add warmth to the house making it comfortable and cozy.
The new landscaping adds depth and color that enhances Kim’s curb appeal!
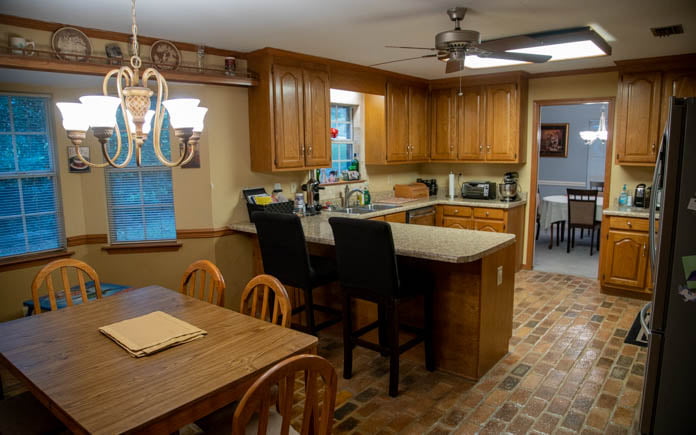
We’re bringing an ’80s-style kitchen into this decade with a special two-part episode.
Homeowners Lloyd and Aimee Meyers and their two kids love their home, but they want to make some updates to their kitchen.
We’re happy to help this family with a renovation that’s inexpensive, at just $1,200 in materials, but will leave a big impact!
This article covers part one of the project.
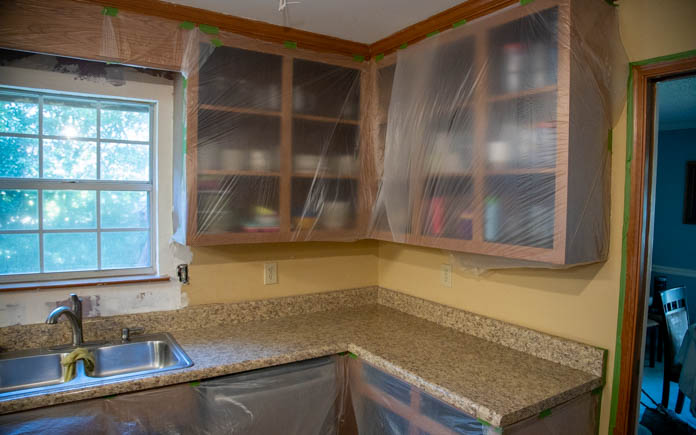
Lloyd and Aimee are looking to make several updates to their 80s style kitchen.
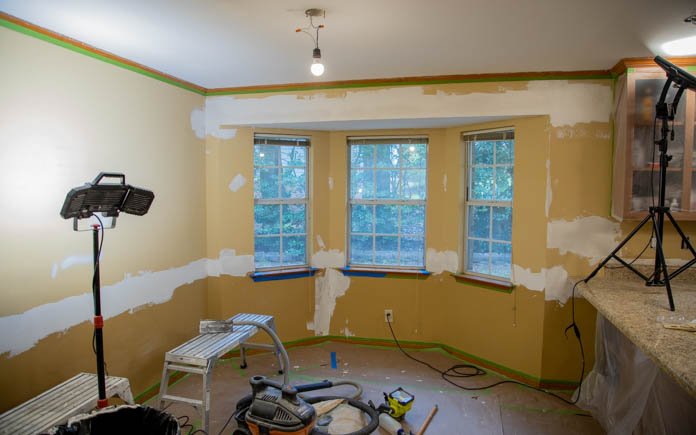
Preparing the Space
We begin by removing the galley rail above the windows in the dining area. It currently serves as a display shelf for decorative china, but modern homes don’t include this feature and it makes the room feel crowded.
The ceramic backsplash only protects the area behind the sink, so we will replace it with a subway tile backsplash that covers everything behind all the countertops. This consistent look will enhance the kitchen’s overall design.
We will replace the unsightly chandelier above the dining table, move the ceiling fan to a more functional location because Aimee cooks a lot, and remove the long fluorescent light above the work area.
Even the ceiling gets an update because this one has “popcorn,” or texture, that’s no longer in style. (Lloyd already removed some of the popcorn before we arrived.)
When removing a popcorn ceiling, I prefer using a metal scraper. The pros often sand off the scraper’s corners so the edges are rounded, which prevents damage.
After removing the galley rail and chair rail, we begin patching any holes with the joint compound.
Once we’ve removed everything, we use joint compound to cover any holes we found and install new drywall in place of the sink’s backsplash.
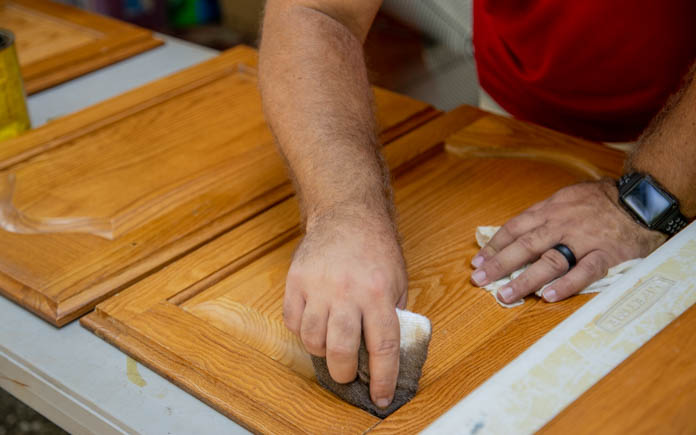
We removed the kitchen cabinets’ doors to give them an upgrade.
Touching Up the Cabinets
Painting wood cabinets is on-trend, but Lloyd and Aimee like their cabinets — they just want to freshen them up.
So, instead of replacing or painting the cabinets, we’re giving them a facelift. That just means taking the doors off the boxes, cleaning them, repairing any scratches and applying a fresh coat of polyurethane before installing new hardware.
Many homeowners paint their wood cabinets white, but if you want to keep the grain, just refinish them.
We will complete this project in episode two, but when all is said and done, the cabinets will look new and the hardware will complement them nicely!
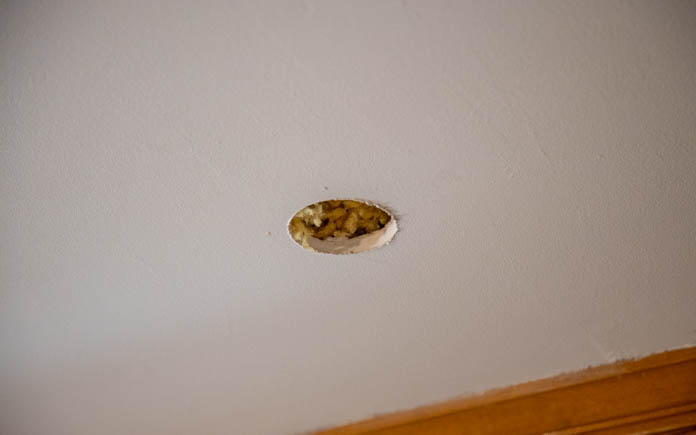
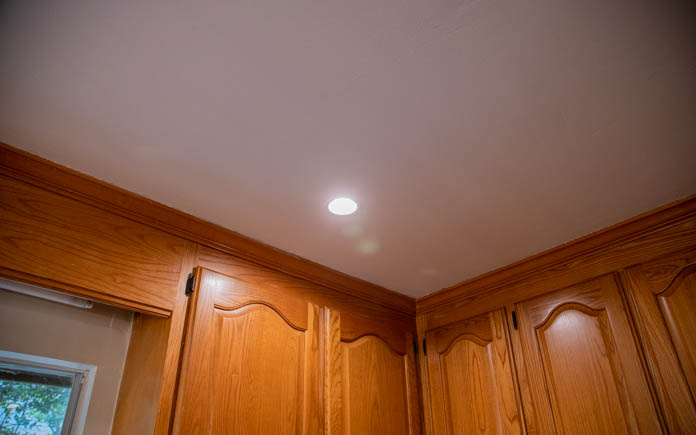
With a little know-how, canless recessed lights are easy to install.
Installing Canless Recessed Lighting
This kitchen had massive light fixtures that were dated, unattractive, and didn’t fit the space. We’re adding new light fixtures, including canless recessed lighting that will accent the room and add ambiance.
The LED lights we will install, from Commercial Electric, are small and don’t put out much heat, so they’re energy-efficient and attractive (a win-win).
This page contains affiliate links. If you purchase a product from these links, we will earn a small commission at no additional cost to you.
Installation is easy — all you have to do is cut a small hole in the ceiling with a hole saw, attach the wires to the junction box and push them up into the ceiling!